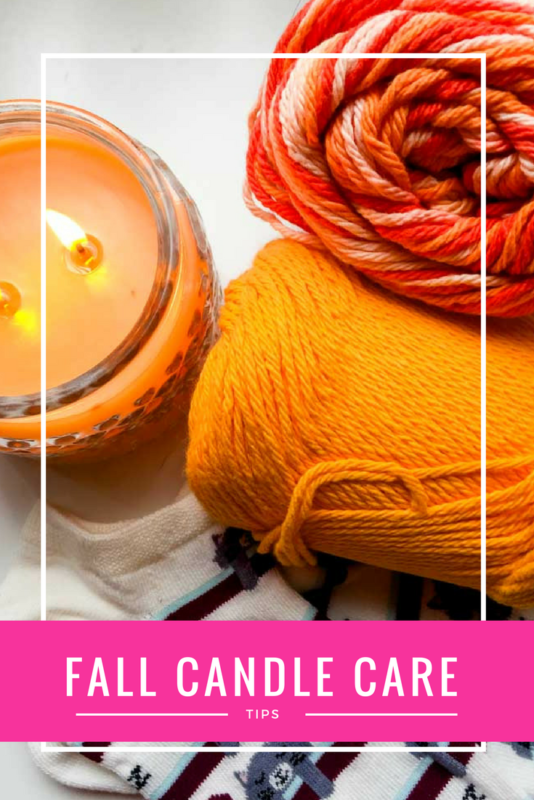
Get into the fall spirit, set the mood, and keep your candles lasting longer and burning better with these simple fall candle care tips!
If you come to my apartment at any point during the fall season you’ll see maybe a garland, some DIY projects that I haven’t taken down yet and a whole lot of yarn in random places. Okay so what I’m trying to say is that even though I write about DIY projects and decorating your home, I’m really bad at having a cohesive vision for what I want things to look like and therefore fail at decorating. I can make pinterest boards like crazy, but I have a hard time setting the mood… or if I do, the cat decides they’re her new toys. Welcome to my single adulthood 🙂
SET THE MOOD: FALL 2017 PLAYLIST
That being said, I actually spend a lot of my time helping others set up their homes. At any day you can find me doing crafts with kiddos, bringing over pumpkins to paint and creating decorations for the families I work for. I absolutely love it. Here’s the thing though, when I’m home, I want to feel like I’m still in the season even though I haven’t decorated. The best solution? Turning on Practical Magic, grabbing some knitting, and lighting a scented candle. If I can’t look at fall foliage (Hello Los Angeles living) I darn well want my house to smell like a freaking pumpkin patch. Or Halloween party. Or…. something. This year, my dear friend Jodi rescued me in my time of need by giving me some ridiculously cute Gold Canyon lumies.
MAKE IT: JACK SKELLINGTON CAKE STAND
My apartment currently smells like Pumpkin Cider and I’m transported back to pumpkin patches with my mom and crafting with my MeMaw while she makes her own potpourri. Okay, I’m getting super sentimental but you totally get my drift! What are your favorite fall scents and memories?

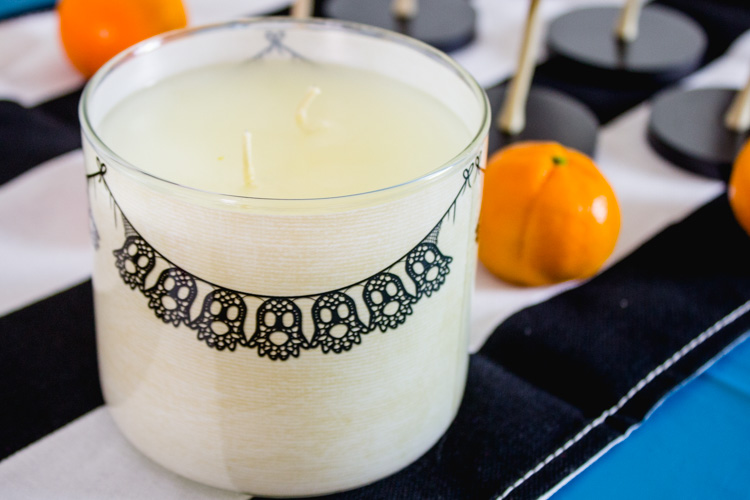
Fall Candle Care Tips
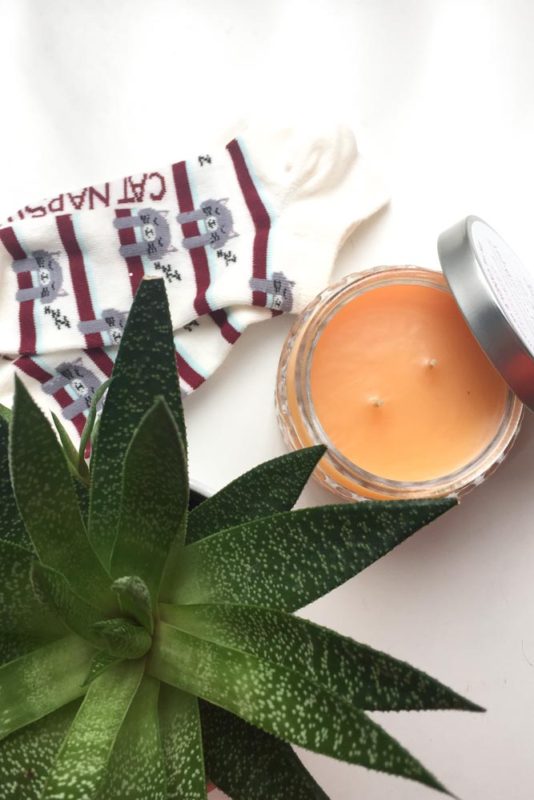
- Trim your wicks! – I know it’s not something we really think about but keep being told to do, but make sure to keep your wicks trimmed to 1/8 inch. This will promote an even burn and really, if you’re are given and/or use expensive candles, a wick trimmer is a good investment.
- Don’t blow them out! – Keep your wicks conditioned by using a snuffer or dipping the wicks in the wax. I just grab a toothpick or a kebab skewer. Then straighten the wick out so it doesn’t get embeded in the wax once it dries.
- Prevent memory rings or tunneling! – Ya’ll know what I’m talking about with these. When you burn a candle for a short amount of time, a ring forms, kinda like a canyon or a cave. Theres wax all up the sides but the wick is way down low. To prevent this, allow your candle to form a 1/4 inch deep, even layer of melted wax the very first time you burn it; about an hour per inch wide.
- Rest it! – Theres a lot of temptation to relight a candle after the scent has dispersed. Don’t do it! Give your candle at least 4 hours in between each burning to prevent uneven burns.
- Clean out your used candles! – As a DIY-er, I love finding re-uses for things. One of my favorite methods for cleaning out the jars is the freezer method. Simply put your candles in the freezer for a few hours then tap the wax out like you’re using a glass ketchup bottle. From there, you can scrape the residue from the sides with a butter knife and finish clean up with super hot water. If you’re using soy candles, you can can clean them out with warm soapy water!