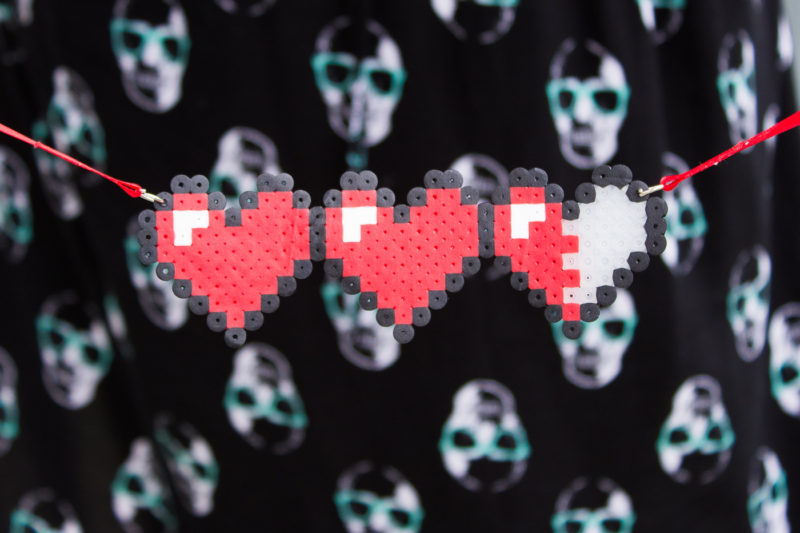
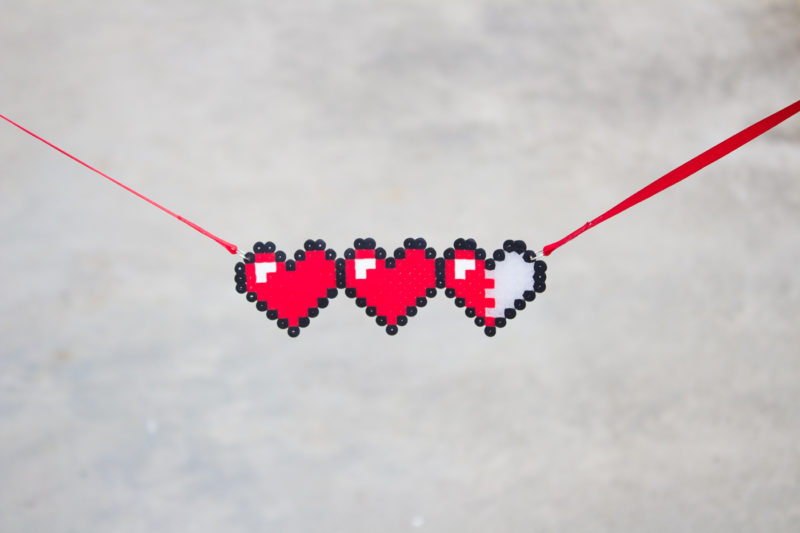
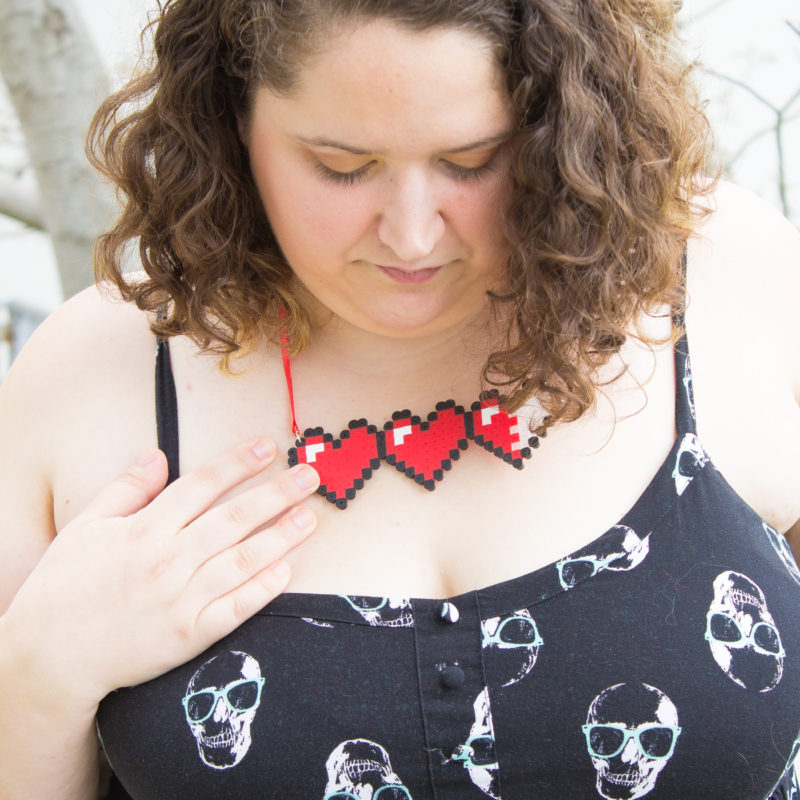
Let your geek flag fly with a DIY Legend of Zelda Pixel Heart Statement Necklace. Pull out some perler beads and your nintendo and party like it’s 1986.
This post may contain affiliate links, that means I make a few pennies if you purchase through my links….but the price for you stays the same!
Photos by Rodnesha Green of Inspired Photography
Okay, show of hands… who has been downright obsessed with the Nintendo Switch lately? If you raised your hand, you’re not the only one. The last few days have been spent in this weird pizza and wine fueled haze of Zelda: Breath of the Wild and too few hours of sleep in between craft projects and work. I feel like I’m back in college discovering Kingdom Hearts and not coming out of my dorm room for days. You guys!!! I have regressed! Is there a support group for this? I’m sure it’ll wear off right? Right?
Okay, so video game playing aside I’m working on getting in to
uch with the side of me that says… “I don’t care what everyone thinks, if I like it, I’m gonna wear it!” That side coupled with my “Hey I can do that for cheaper” side has resulted in this really awesome geek chic perler bead statement necklace. Pretty cool right? Even better, it was basically free using products I already had on hand from other projects. Don’t worry though, start up costs are minimal and super rewarding. Especially if you have a class full of 6-12 year olds that you have to keep quiet and busy and don’t have a Disney movie handy.
Zelda Pixel Heart Statement Necklace
Supplies:
2 Large Square Pegboards
Black, White, Red and clear Perler or Hamma Beads
9 MM Jump rings
Red satin ribbon
Iron
Hot Glue or E6000
Pen or Awl
Parchment or Wax paper
Time: 30-60 minutes (I spent a lot of time sorting beads okay!?!)
Cost: FREE to $10 for a whole bunch
Geekery Level: a solid 6
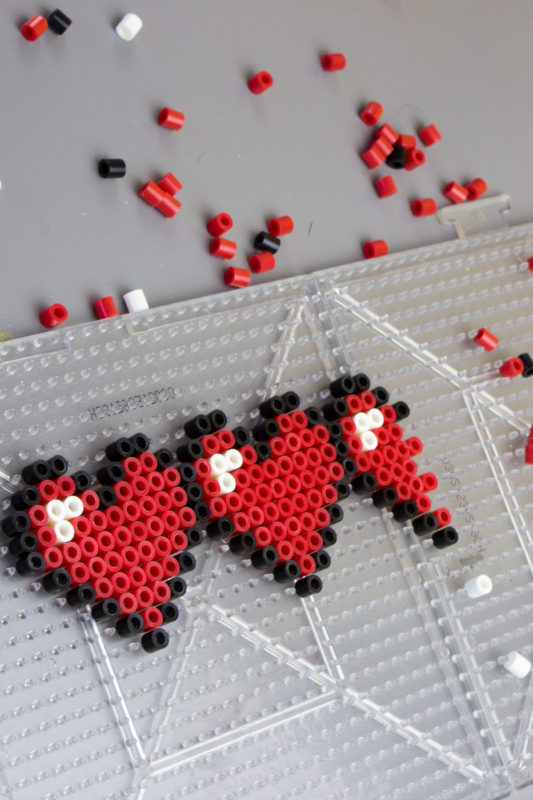
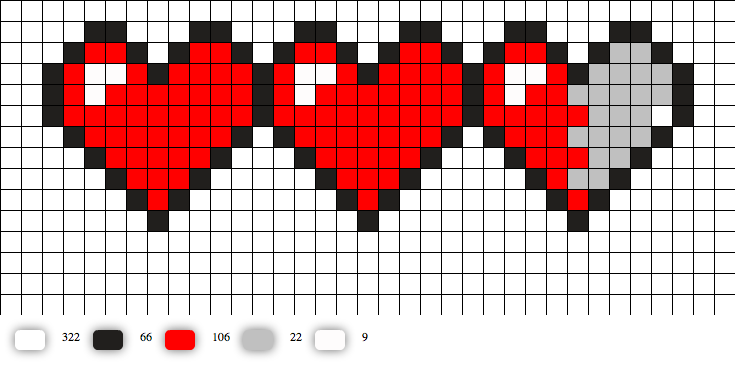
This Pixel Heart statement necklace is pretty straight forward. Just follow the pattern to create your heart with perler beads. The grey beads on the pattern are actually clear ones, but I’ve done this with white beads instead as well, just depends on what you have on hand.
Once all of your beads are in place, it’s time to fire up the iron! Since I use a travel iron, I set it to the highest possible. If you’re using a regular size, set it to medium high with NO STEAM. If you are a child, please ask an adult for help with this part.
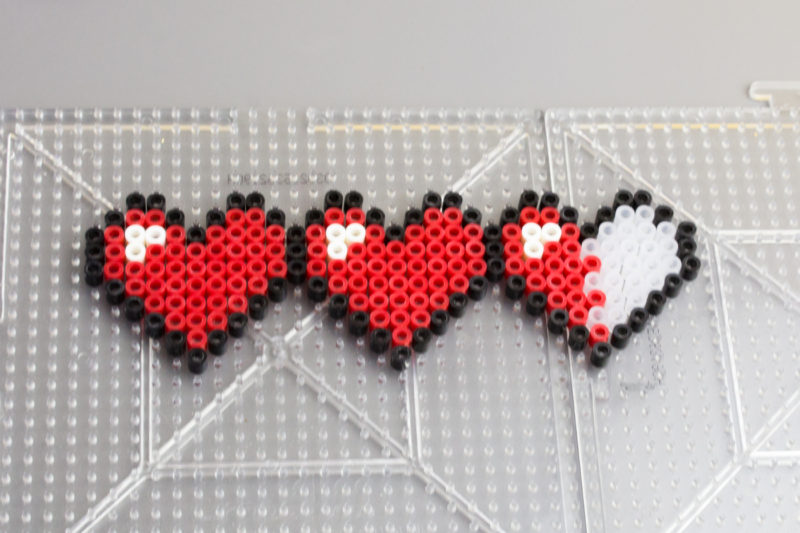
Cover the perler beads with wax paper or parchment paper and gently iron in a slow circular motion until the beads are fused together. Generally 15-20 seconds per area. Allow it to cool on the board then flip over and repeat. If you’re concerned with it cooling flat, place a heavy book on top of it as soon as you’re done ironing the Zelda Statement Necklace and remove it once its cool… usually about 15 minutes maximum. This will ensure a flat project as well as have a lower chance of breakage from trying to straighten.
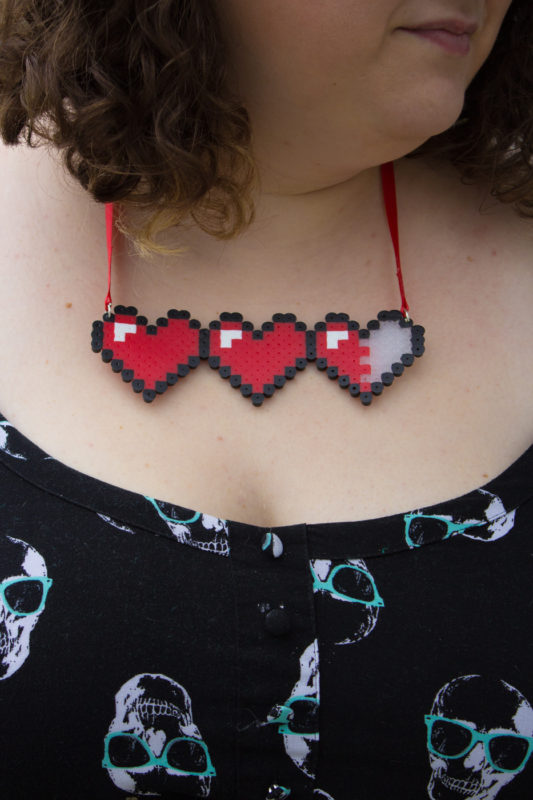
Grab a pen or an awl and widen the holes on each side of the heart. Top left and top right. Insert the jump rings through these holes and close them back up.
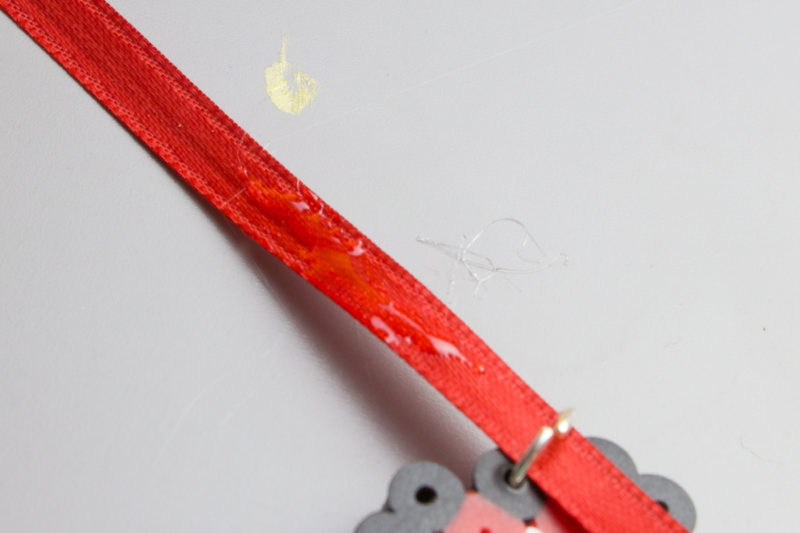
Cut two 1 foot lengths of red satin ribbon and secure them to the jump rings using craft glue or hot glue.
Once the glue is set you’re ready to wear! Just tie the lengths or ribbon at the desired length around your neck and you’re ready to go on an adventure!
If you’re obsessed with reliving 90s nostalgia or Zelda or just want some more perler bead fun in your life, don’t forget to PIN this to your crafts boards on pinterest!




6 Comments
I ❤ these! They are so pretty, will have to look for my beads now…
April 4, 2017 at 6:02 amAw thanks Hanna! I’ve been obsessed with these little guys over the last 2-3 weeks. Also my favorite thing to keep the 5 year olds busy haha
April 4, 2017 at 1:12 pmmy daughter in law loves things like this and it looks rather simple to make thanks for sharing
April 7, 2017 at 8:56 amcome see us at http://shopannies.blogspot.com
[…] Sleep Sack for Toddlers by A Proverbs 31 Wife DIY Hand Embroidered Bookmarks by Busy Being Jennifer DIY Zelda Pixel Heart Statement Necklace by Do It your Freaking Self DIY Bee House by Dukes and Duchesses DIY Dog Sweater from a Sweatshirt […]
April 8, 2017 at 3:01 am[…] Sleep Sack for Toddlers by A Proverbs 31 Wife DIY Hand Embroidered Bookmarks by Busy Being Jennifer DIY Zelda Pixel Heart Statement Necklace by Do It your Freaking Self DIY Bee House by Dukes and Duchesses DIY Dog Sweater from a Sweatshirt […]
April 8, 2017 at 8:00 am[…] DIY Zelda Pixel Heart Statement Necklace by Do It your Freaking Self […]
May 27, 2017 at 4:32 am