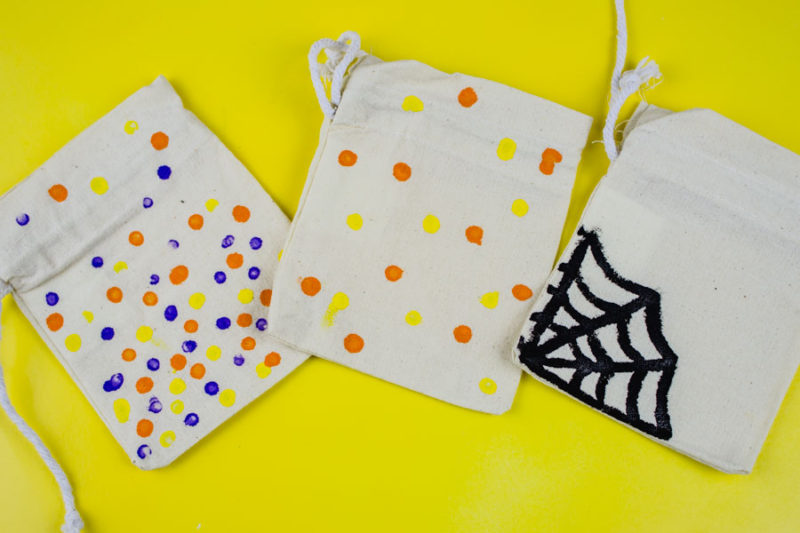
Create these simple Painted Halloween Mini-Giftbags for all of your holiday treats and goodies! A quick project for everyone to enjoy!
I am ready to admit that I am pumpkin spiced out… yes, I know we are only 2-ish weeks into fall but it’s EVERYWHERE and I just can’t you guys. I can’t. What does pumpkin spice have to do with today’s post? Nothing. I just felt like I needed to share that tidbit of information.

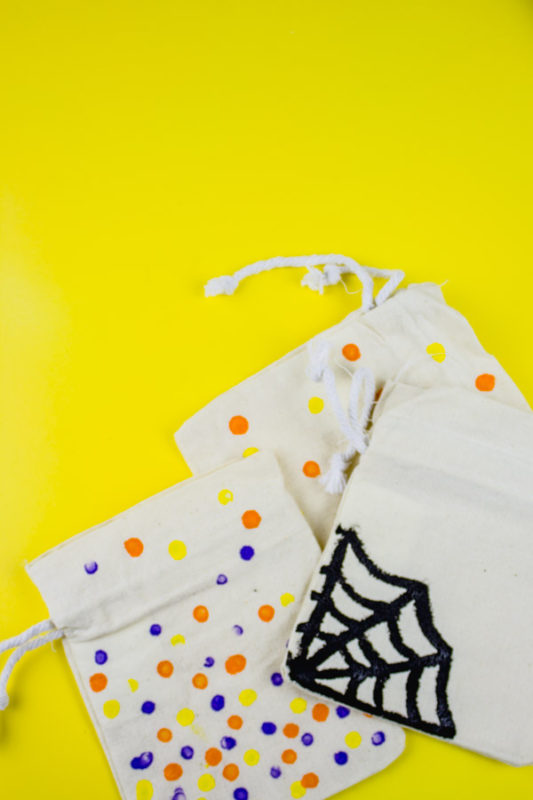
Okay, now on to better things… like crafts! I’m entering into my busy season (yes, I have like 5 of them) with babysitting and nannying which means I’m racking my brain to come up with crafts to keep the kiddos entertained and also not cover mom and dad’s house with random knick-nacks. I think I’ve got a win with these. I tried these halloween mini-giftbags the other day with my 4 year old kiddo and she was all about some polka dots! I think they’re going to put “spooky” school supplies in there for her class… but she may just use them to keep random princess jewelry in so who really knows.
I’m also super stoked to partner with Oriental Trading on this post. We’ve used them a lot while I was working at the Church during things like VBS and Family Camp, but I didn’t realize how much of a selection they actually had! The best part? I can order my party supplies and my craft supplies in one go. Pretty awesome if I do say so myself. Check out their craft supplies here!
And now onto some bags!
Make it: DIY Halloween Fox Ears
DIY Painted Halloween Mini-Giftbags
Cost: $5-10
Time: 15 minutes or less!
Awesome level: Festive and Easy!
MAKE IT: HALLOWEEN TYPOGRAPHY VASE
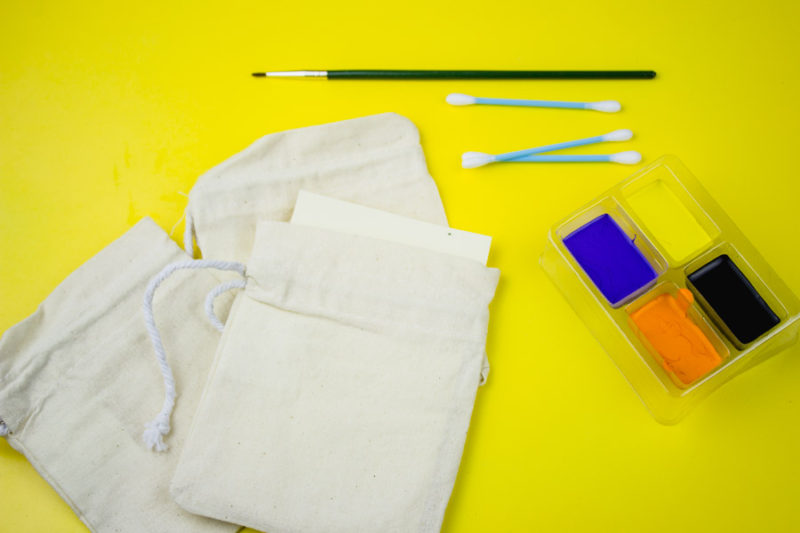
Supplies:
Mini Drawstring canvas bags
Cotton Swabs
Small paintbrush
Paint in chosen colors
Cardstock – for separating the bags
Begin by cutting a piece of cardstock to size and fit it inside of each bag. This will keep the paint from bleeding through.

Pour some paint onto a pallet or paper plate and use the cotton swabs to make polkadots! Easy peasy! If you’re working with kids, or in a batch, it’s easiest to do one color at a time.

Remove the paper and let the bags dry. You can heatset with an iron, but it’s not crucial.
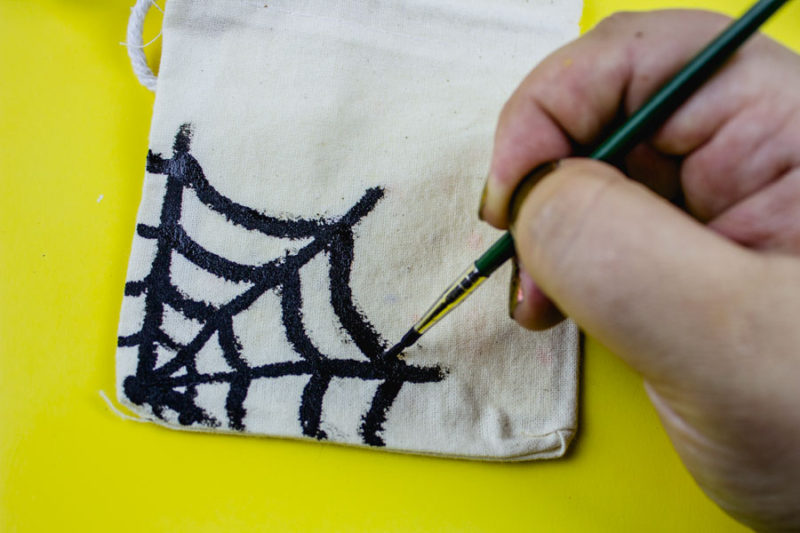
For the spider web, I used black paint and a small paintbrush. You can probably sketch out the general design but I like to live on the wild side.
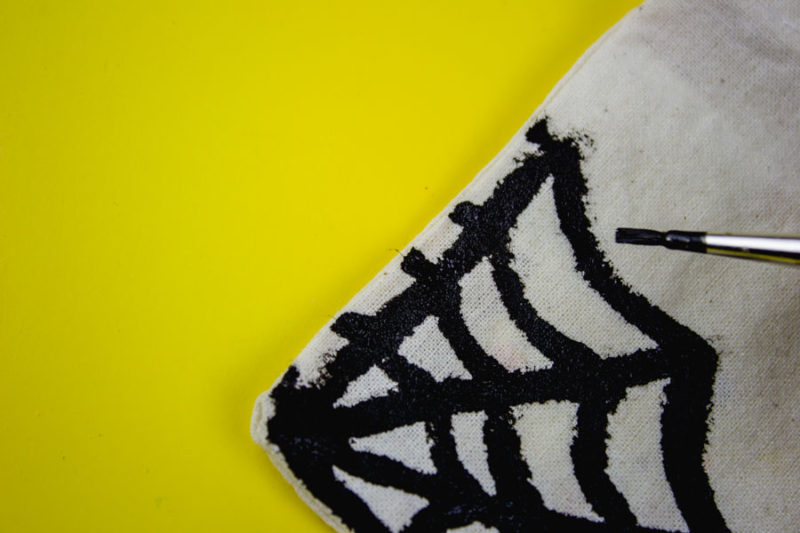
Just like in elementary school, paint a few straight lines then connect them with a few droopy lines to make a web. I ran into the problem of having my lines look too…. sketchy? So if that happens, make sure you have a full brush then paint outside in.
What are your favorite Halloween projects?
Loved this project? Don’t forget to PIN it to your Halloween or Crafts boards!


