This is going to be a short and sweet one guys because in T-minus 2 hours, my Mom is coming into town for the first time ever! That’s right. I’ve lived here for 3 years and my mom is finally able to come visit me!
Do I have anything planned? Not really. Honestly, if it were up to me, we’d just have craft days and bake all day and watch “shoot ’em ups”. I think that’s what I miss the most about having my mom close. What are your favorite things to do with your mom?
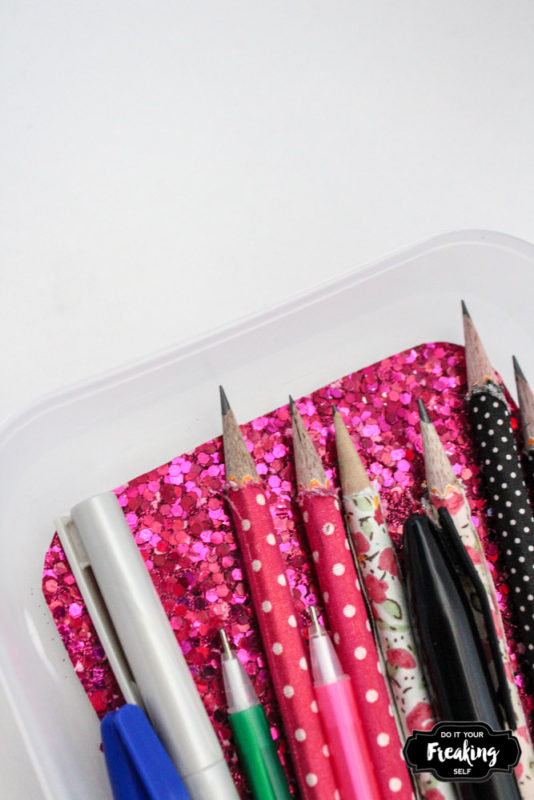
On to some craftiness. As you know, I LOVE school supplies but sometimes I can’t find the types of things I’m looking for. Anyone remember that feeling when you find the PERFECT pencil case? Or the almost disappointed feeling when you don’t? I’m right there with you. But for those of you that are feeling the disappointment this year, here’s a quick DIY Glam Pencil Box add some MAGIC to an otherwise clear and boring pencil box. Because Glitter = Magic okay? Disney says so!
Time: 15 minutes or less
Cost: $5 or less (pencil box and paper)
Cuteness level: Magic
Quick and Easy DIY Glam Pencil Box

1 Clear Pencil Box – I got mine for $1 at Staples
1 sheet glitter scrap book paper
E6000 Glue
Mod Podge
Foam Brush
Pencil
Scissors
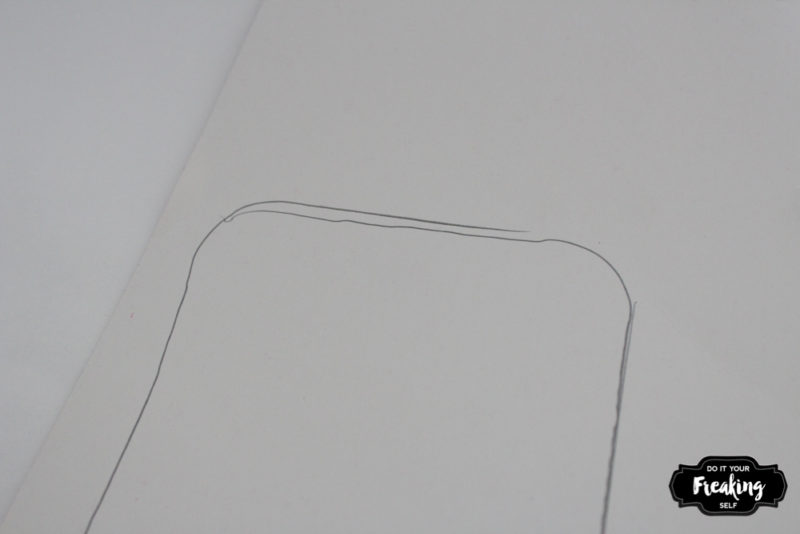
Flip your paper over, and with the pencil on the wrong side, trace the bottom of your pencil box. If you go in at an angle instead of straight up and down you won’t have to trim edges very much.
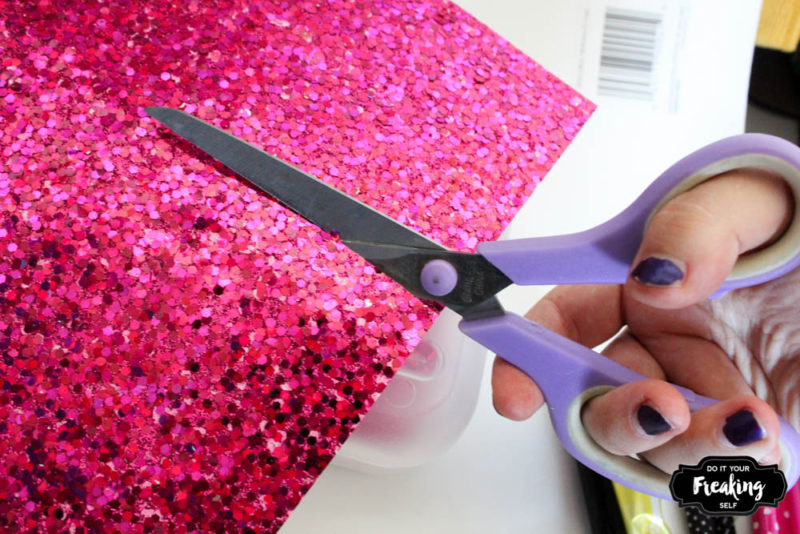
Cut out your shape and make sure it fits snuggly into the bottom of your pencil box. If it doesn’t, use your scissors to trim it down.
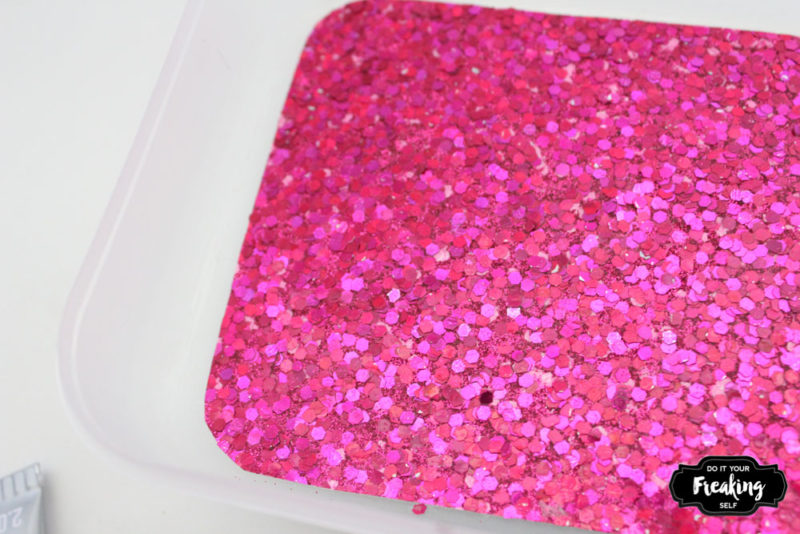
Use the e6000 glue to secure the paper to the bottom of the pencil box. The paper I used is thick, so place something heavy on it for about 10 minutes to allow the glue to set.
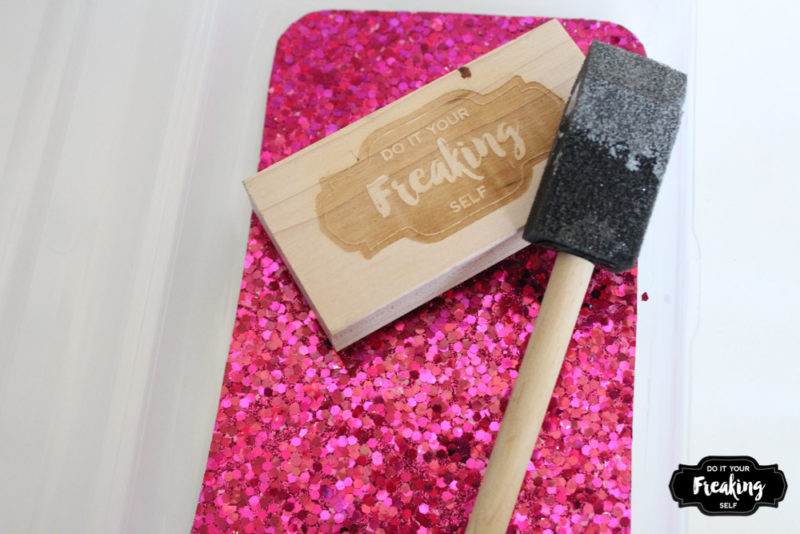
Once the e6000 is set, coat the paper in a thin layer of mod podge. This will allow it to stand up to some of the more normal wear and tear that a pencil box gets.
Let the box dry and feel the magic every time you reach in to grab a marker!