Spring is in the air! Full of flowers and sunshine and allergies. Ugh.
I’ve been working on a lot lately and honestly, I feel like I’m spinning my wheels? Anyone else feel like they just overcommit without any really payoff? On top of that I haven’t really made time to craft. And non-crafting Chelsea = a stressed out Chelsea. Funny how that works.
So, in an effort to be festive, cause I LOVE Easter, get rid of some fabric scraps and work on a craft that I can really spend some time on I’ve been decoupaging like a mad woman. Go me!
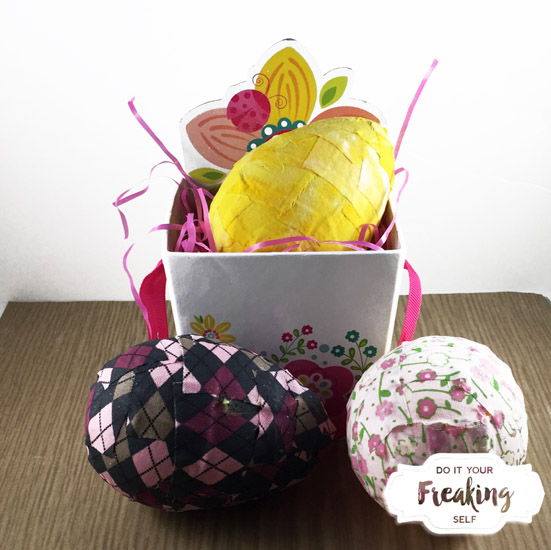
Want to make some of these Fabric Decoupage Easter eggs?
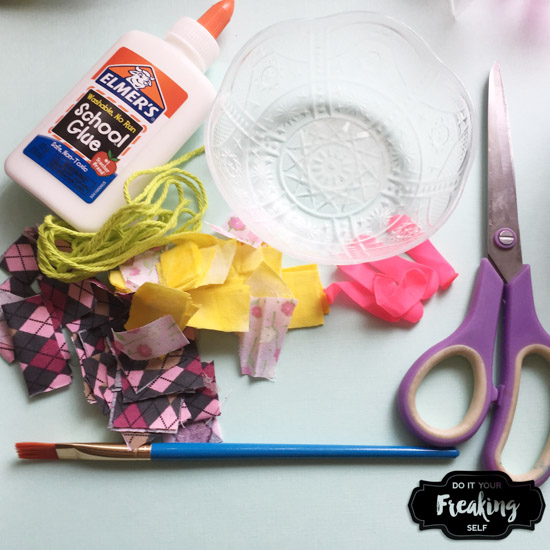
Here’s what you need!
Fabric Decoupage Easter Eggs
Water Balloons
Scrap fabric or Fat Quarters
Elmers Glue or Mod Podge
Wide paint brush
Scissors
Lenghth of string for hanging
Okay, lets get started.
Cut your scrap fabric into small squares and set aside
Blow up your balloons so that they are vaguely egg shapped. Not all the way full because then they end up looking distorted.
Pour your glue into a shallow dish and get to painting. Now, there’s one of two ways you can do this. You can dip the fabric squares into the glue and stick them straight on the balloon then paint over them with a thin layer of glue whenever you are done OR (a less messy and far more relaxing way) is to paint the area you want to stick the fabric to with glue, place the fabric over it, then paint over that piece one by one. Personally, I like the second method because it makes me have to pay attention, its less messy, and it tends to look a bit cleaner when dry.
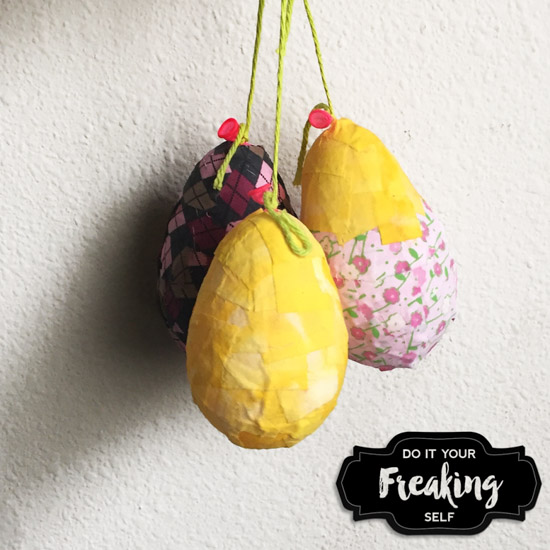
Once your balloons are covered in fabric and glue, tie some string around the end of the balloon and hang it up to dry. The best way I’ve found to do this is to use a hanger and some clothes pins. If you don’t have any of those, door knobs are also great alternatives! These should be dry in about 24 hours or less.
Once they’re dry they’ll be very delicate depending how much you layered the fabric, so keep that in mind when you’re getting the balloon out. Cut a bit into the top of the balloon and pull out through the hole.
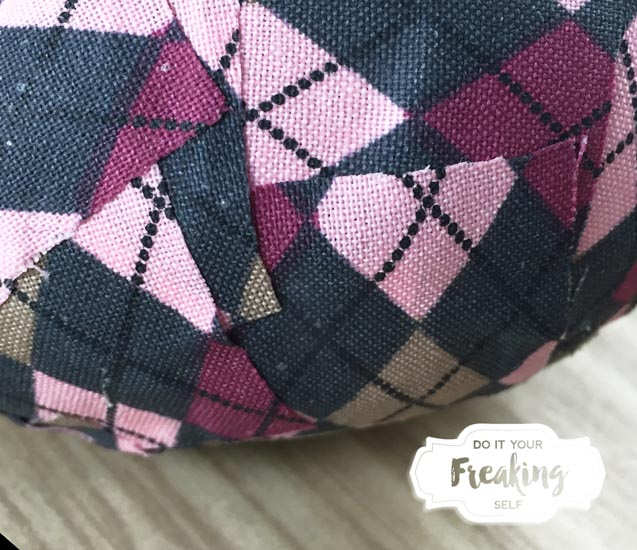
Got it? Awesome! Don’t worry if it deflates your fabric eggs too. That happened to me! Just take a pencis or pen and insert it into the top opening to pop it back out. Keep in mind that these can be pretty delicate.
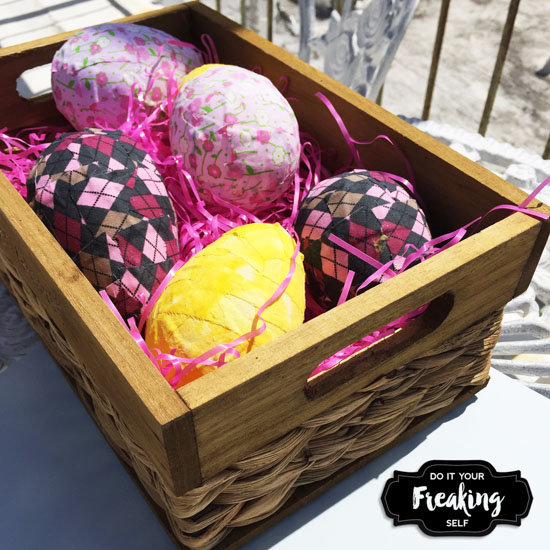
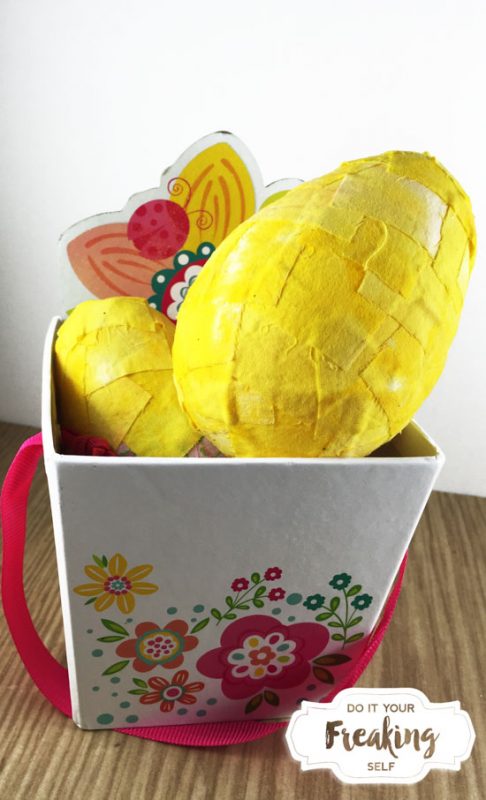
Okay, last thing you need to do is close up the balloon opening. Just take a small piece of the fabric and glue it over the open area. Let it dry and display your unique Decoupage Easter Eggs! Or you know, let your cat sniff at them?





6 Comments
I’ve become a bit of sucker for decoupage. It’s so relaxing to sit there brushing on glue and fabric!
March 5, 2017 at 9:21 pmWhat a lovely idea! Thank you for sharing with us at #OvertheMoon Link Party. I’ve pinned and shared.
March 7, 2017 at 2:17 amWhat a neat way to make colorful Easter eggs! I have never tried doing the fabric decoupage eggs. Thank you for linking up with us at the #HomeMattersParty – we hope you will join us again when the party opens on Friday!
March 12, 2017 at 3:47 pmSuch a fun idea! Thanks for sharing at the Inspiration Spotlight party. Pinned & shared.
March 16, 2017 at 3:34 pm[…] Do it Your Freaking Self – Decoupage Easter Eggs […]
March 19, 2017 at 6:34 am[…] Fabric Decoupage Easter Eggs by Do It Your Freaking Self […]
April 6, 2017 at 5:01 am