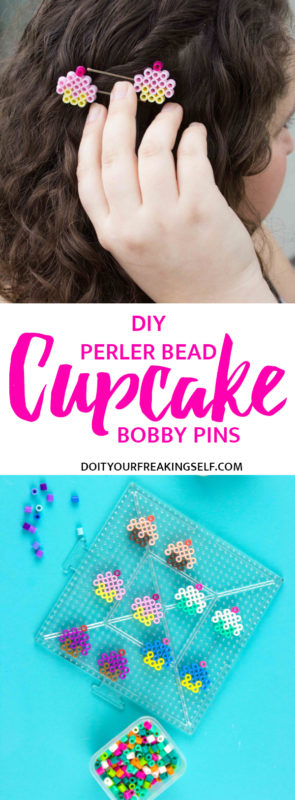
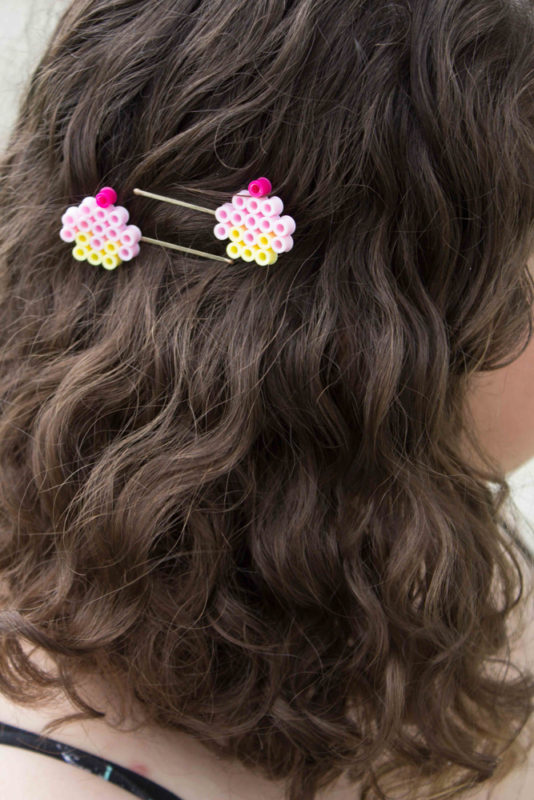
Add some fun to your hairstyle with a nostalgic twist! Learn how to turn mini cupcakes into adorable perler bead hair pins for the kid in all of us!
This post may contain affiliate links, that means I make a few pennies if you purchase through my links….but the price for you stays the same!
Perler bead time friends! I’m feeling a bit nostalgic today and also a little bit introverted so a nice quiet project seemed like a good idea. As a nanny (or you as a parent) or just as a grown up who needs creative quiet time, this is my favorite thing to do to keep myself and the kiddos busy. These Cupcake Perler Bead Hair Pins are also great because they can hold your hair back while you’re feeling yourself in a flirty skater dress outfit (because we all have one). They also make really great gifts that kids can make for Valentines Day, birthday parties, etc.
Cupcake Perler Bead Hair Pins

Supplies:
Perler Beads
Square perler bead peg board
Parchment or Wax paper
Iron
Bobby Pins
E6000 glue
A piece of cardstock or cardboard
Nail polish (optional) to color your hair pins
Time: 30 minutes or less (or more depending on how into it you get)
Cost: $5 or less for a lot
Nostalgia level: A solid 6
Let’s get cracking shall we?
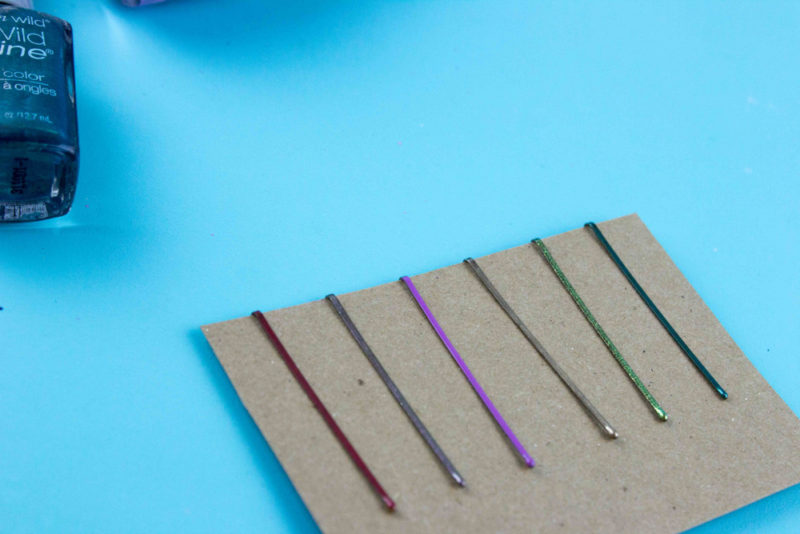
If you’re planning on painting your bobby pins, do that first so they have time to dry. Simply split them on a piece of card stock or cardboard and paint the flat edge with your chosen color. I chose several different colors to go with my cupcakes. Allow it to dry for 10 minutes and paint a second layer if needed. Set aside.
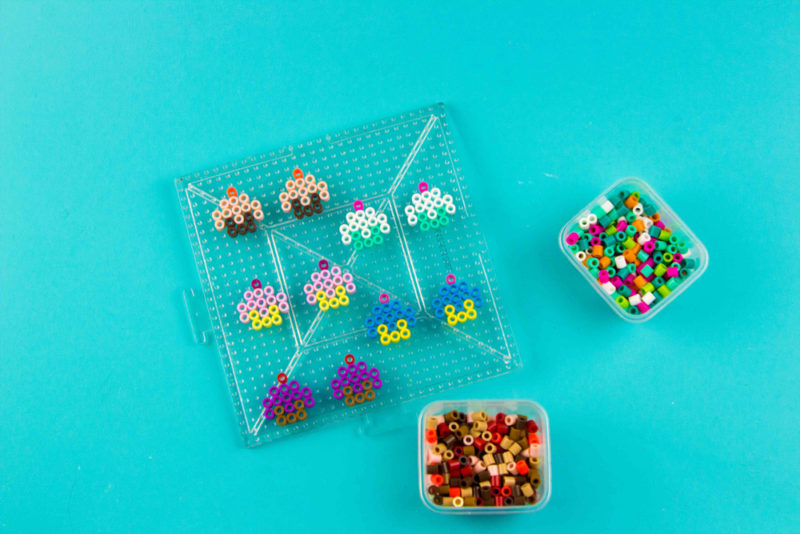
For the cupcakes, follow the pattern below in your chosen colors. I did 2 of each style to have multiple matching sets.
Heat your iron to a medium/high heat and place a sheet of iron paper or wax paper over the designs. This will iron up pretty quick so place the iron down and rub in a gentle back and forth motion using medium pressure for about 10-15 seconds. You want to make sure the beads are all fused together.
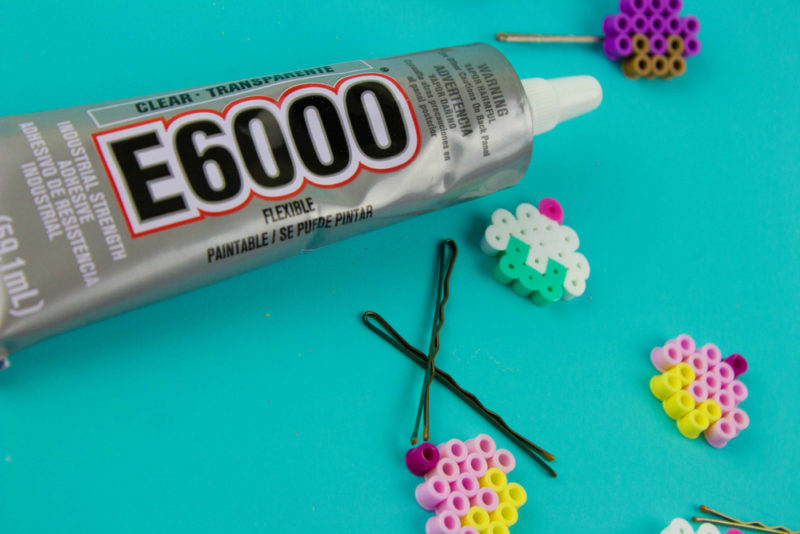
After your cupcakes have cooled, place a dab of E6000 glue on the back of the design and attach to the end of the bobby pin by gently pressing the pin down onto the glue for 20 seconds. Set aside and allow to dry fully for 1 hour.

I suggest waiting a full 24 hours before use for full curing, but you should be okay after 1 hour.
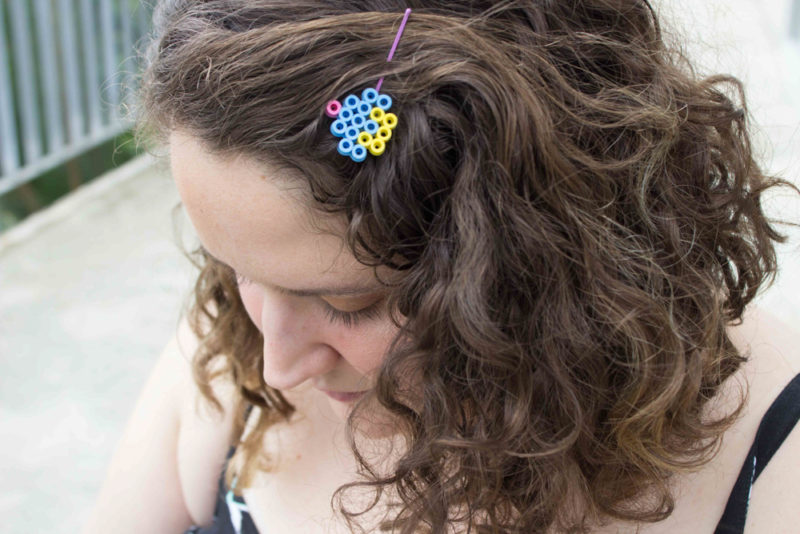
Pin your Cupcake Perler Bead Hair Pins in your hair or place on a cute card for a handmade gift!
If you’re love cute simple gifts and crafts, be sure to PIN this project to your kids crafts, perler beads, or DIY Gifts Pinterest boards!