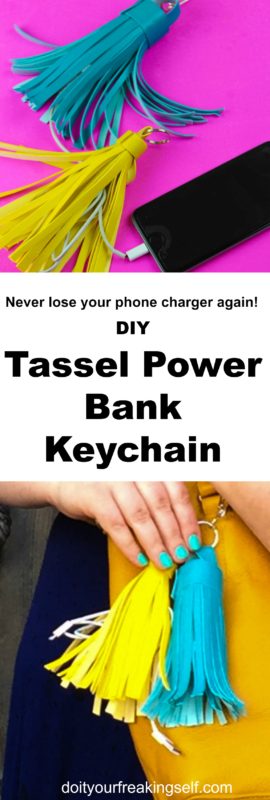
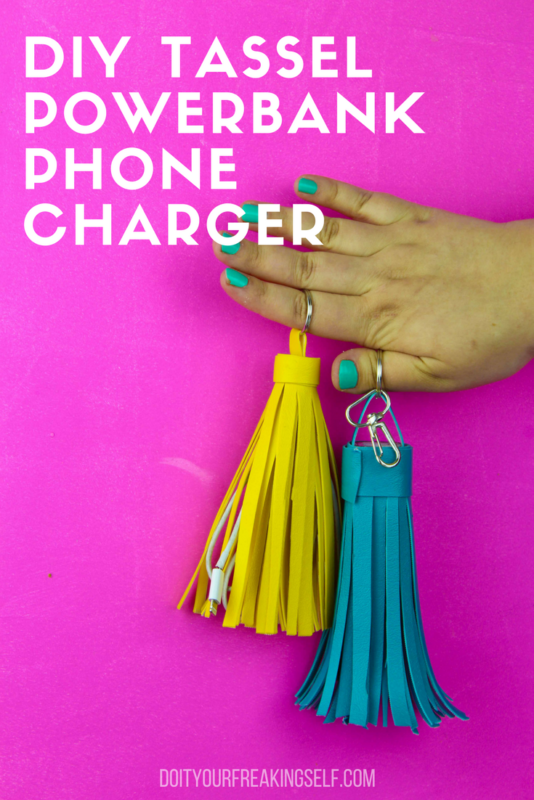
Charge your phone in style with a Leather Tassel Power Bank Keychain. Never be without your portable phone charger with this diy!
This post may contain affiliate links. Buying from these links gives us some pennies and helps feed Grampa the cat but the cost for you is the same.
I have a confession to make friends. Sometimes when I say I’m unplugged, it’s really because my phone died and I can’t be arsed to find a charger. Or I know where it is, I just don’t feel like feeling at the bottom of my bag for it. Anyone else? Okay cool. Glad I’m not alone. Oh! And I keep losing the darn things! Which, as you know, are not cheap to keep replacing.
So I’ve finally figured out a way to jump on the tassel trend (you didn’t think I was gonna go there, did you!) and make the tassel super useful too! I’m the first to say that I like pretty things, but pretty and useful… LETS DO THIS!
Leather Tassel Power Bank Keychain
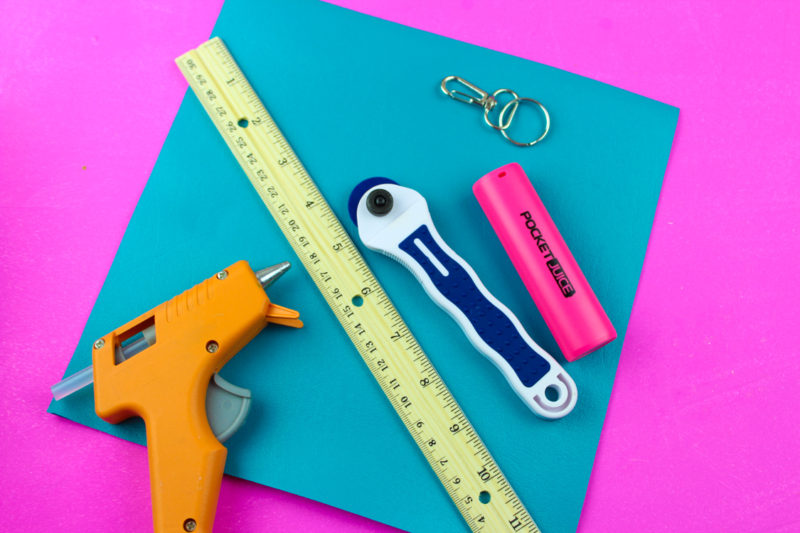
Supplies:
Small tube shaped power bank
1/4 yard colored leatherette vinyl – I got mine at Joanne’s for $5 from the upholstery section but you can also use Cricut’s faux leather.
Keychain findings
Hot glue or E6000
Rotary Cutter
Ruler (for straight lines)
Time: 45 minutes or less
Cost: $10 or less
Style level: A conservative 8
1. To begin, cut a piece of 9″x9″ leatherette. If you’re using leatherette by the yard, you only need to cut the 9 inches lengthwise.
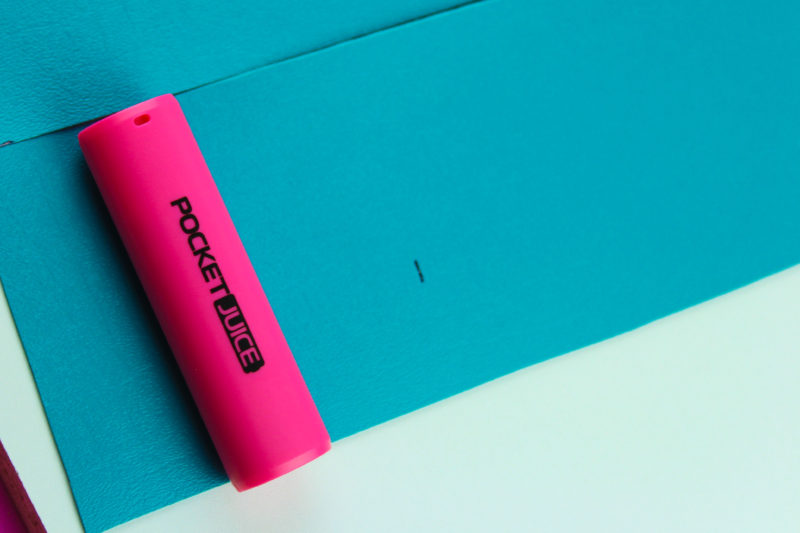
2. Next, roll the power bank along the edge of the leatherette to see how much you will need to cover the charger. Mark that place. Then draw a line the width of the charger and cut straight across the vinyl. I ended up with a 9″x4″ strip. Cut the line for you made for the wrap. Then cut 2 more lines about 1/4 inch thick from the same strip. You’ll be left with a square to discard.
3. Using hot glue or E6000 glue, secure one of the small strips you cut to each side of the non-plug side of the power bank, threading a keychain finding through the middle. Secure with rubber bands if using E6000 for about 10 minutes.
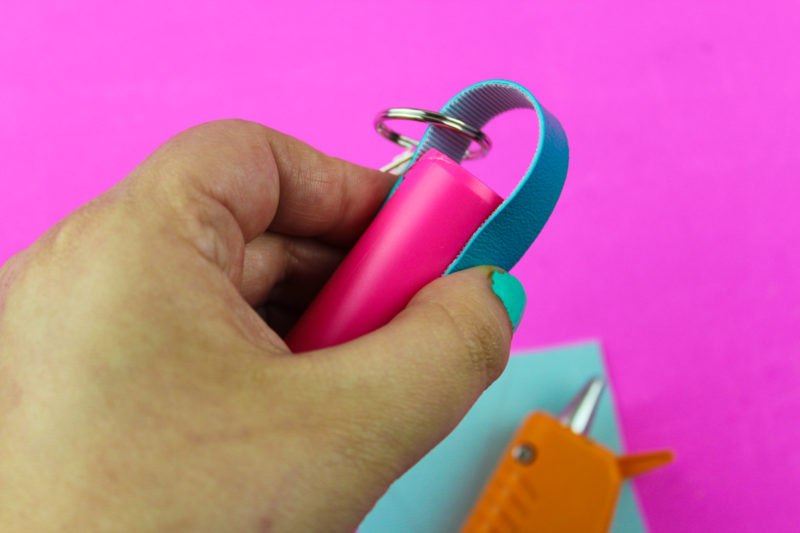
4. Slowly and carefully glue the leatherette to the power bank. I used hot glue because it dried faster. Do one small strip of glue lengthwise then stretch the vinyl and keep going. When it’s done set aside. Again, secure with rubber bands if using E6000.
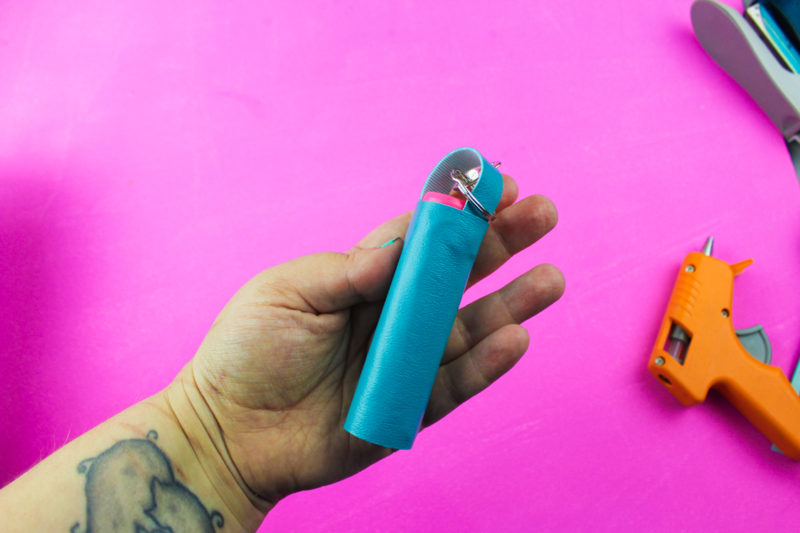
5. Now we’re going to make fringe! YAY! Grab that ruler and rotary cutter. You’re gonna need them. With the back facing up, draw a line approximately 1/4 inch from edge of the long side. This will guide you as you start cutting. Use the ruler to create straight lines and cut strips of 1/8″ or less (so long as they look good!)
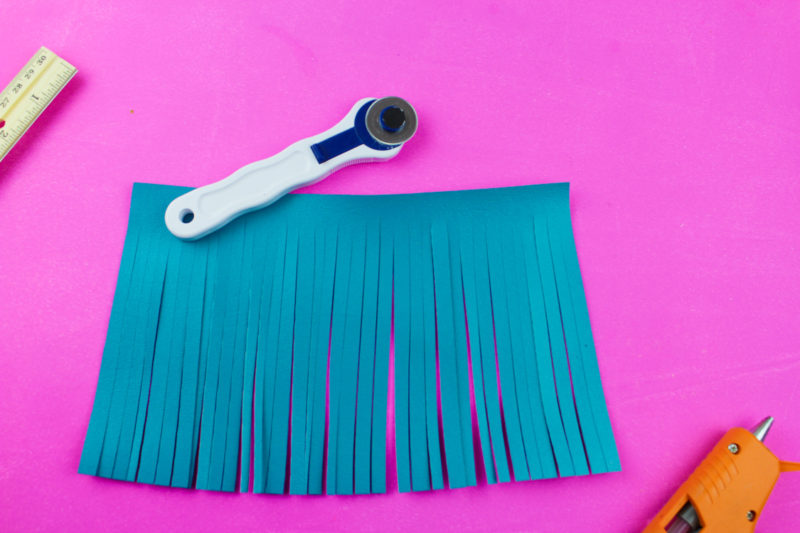
6. Once your fringe is cut, secure it around the non-plug side of the power bank. I used hot glue again for this part. Start with a small amount then slowly and tightly wrap the uncut edge of the fringe around the power bank. Secure with rubber bands if using E-6000 and let it dry for at least 10 minutes.
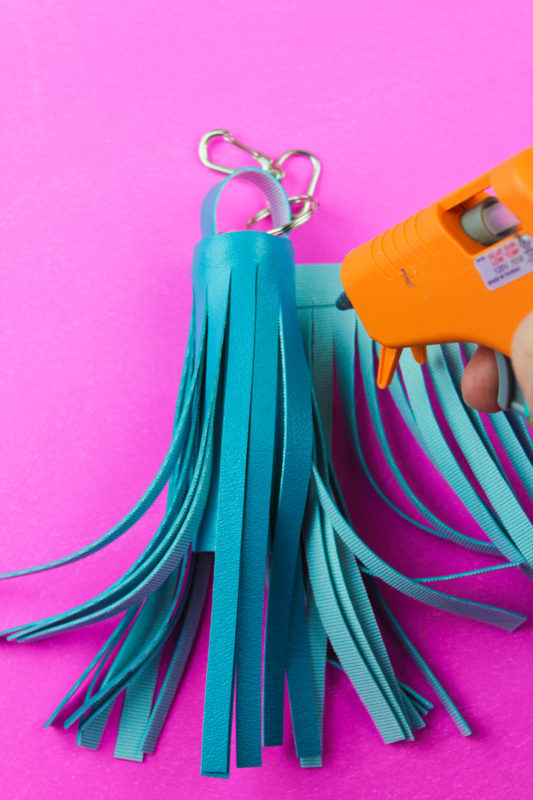
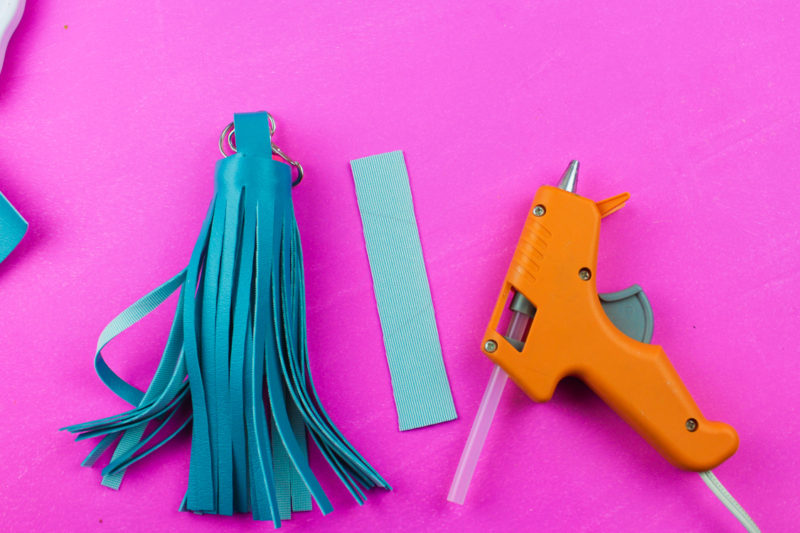
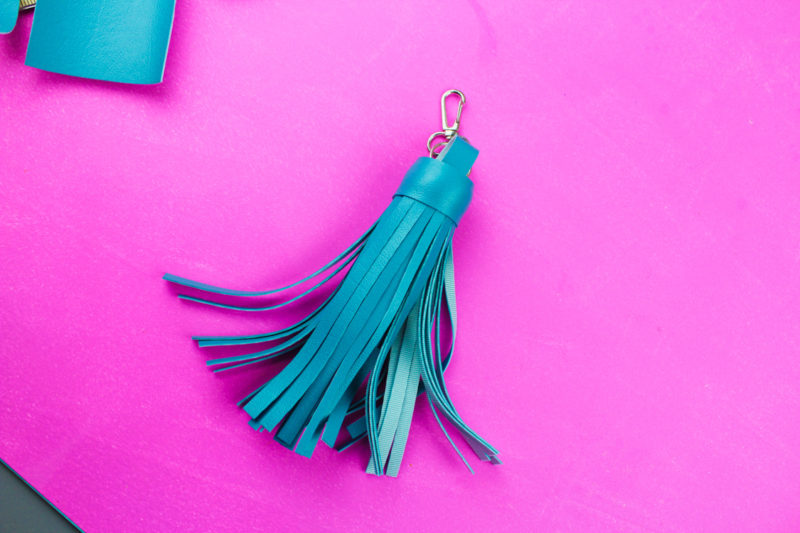
7. To finish, wrap and glue that last strip of leatherette around the top of the tassel. Let dry overnight if you’re using E6000 and voila! You’re ready for your next adventure!
LOVE useful DIY’s? Me too! Don’t forget to save this to your pinterest boards for the next time you need a really awesome bridesmaid or gal pal gift!
