As a nanny, I’m always looking for a craft that is going to keep the kiddos engaged. Here’s my rule, if the set up and clean up take longer than the craft itself, I’m not doing it. Sorry, I’m sure they’re cute, but if it makes my life harder, its not worth my time when I can be spending it with the kiddos. These Coffee Filter Butterflies had one 5 year old busy for 1.5 hours. Yep… HOURS. Who doesn’t love that?

Recently I’ve been having a love affair with coffee filters. Seriously, I have a keurig, so I don’t really need them, but OMG they make great craft supplies! And just in time for spring, I have been making butterflies with the kids! They’re pretty amazing because they turn out great no matter what. Even if your child uses a million colors and scribbles in zero decipherable pattern.

Coffee Filter Butterflies
Coffee Filters – Any size will do, just make sure they’re the circular ones
Washable markers
Clothes Pins
Small paint brushes or pipettes
Washable glue (optional)
Gems (optional)
Pipe Cleaners (optional)
Aluminum foil for work surface
Step 1:
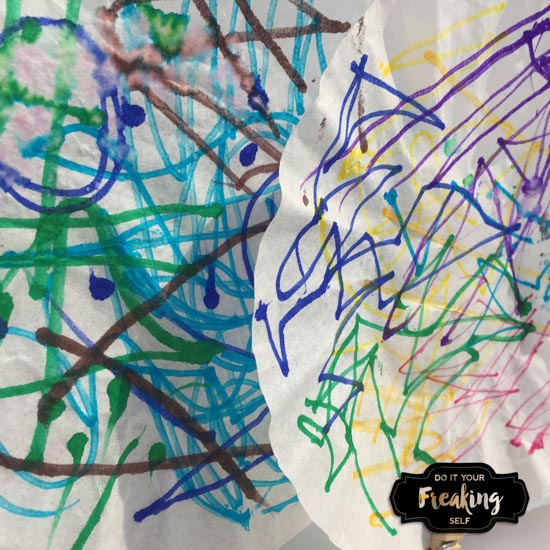
Have your child color the coffee filter with washable markers. Encourage them to color ALL over the filter. Get the edges. Use all the space. They might notice how the colors will bleed on the filter and will love it
Step 2:
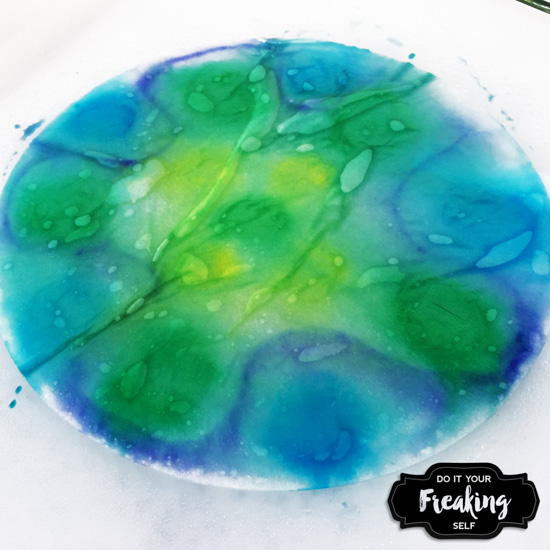
Once coloring is done give each child a shallow cup of water and a paintbrush. Have them paint over the entire surface so that all of the colors start bleeding together and gives you a tie dye look.

Step 3:
Set them outside to dry! If its a sunny spring day this should take maybe 15 minutes. Your kiddo will probably want to make another filter while they wait.
Step 3.5:
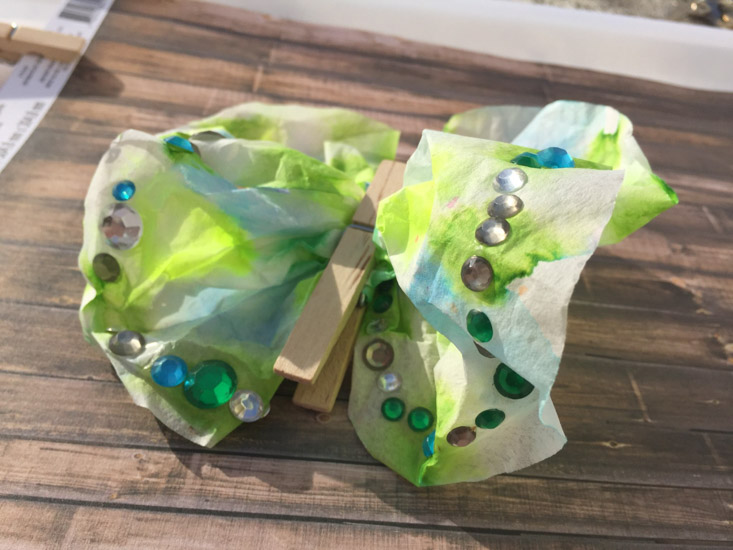
Place glue around the edges or in strategic places around the coffee filter (avoiding the center line) and have your child place gems or sequins along the glue line. You can also use glitter, but the gems are great for motor skills and keeping them busy longer.
Step 4:
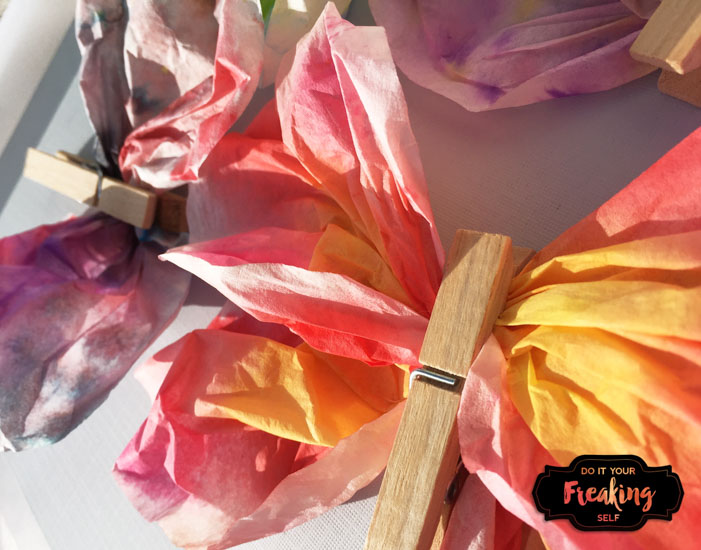
Once your filters are dry, its time to make butterflies! Simply scrunch your filter down the middle to create 2 circles-ish on each side for the wings then place the clothes pin at the smallest part of it. If you’re feeling really crafty (or low on clothes pins) you can use 2 filters for each butterly with 4 wing parts. You can also make antenae with pipe cleaners, but at this point, I didn’t because that was extra time I would have to spend twisting things and I really didn’t want to deal with it.

Step 5:
Play! There are a ton of things you can do with these butterflies. One of my kiddos made about 10 of them and decided to decorate her room with the coffee filter butterflies. Another just wanted to play butterflies and gave them all names. And another just wanted to keep making more to give to friends.
Price Breakdown:
| Coffee Filters | $1 – $3 |
| Washable Markers | $3 |
| Clothes Pins | $2 |
| Small Paint Brush | $1 |
| Pipe Cleaners (opt) | $2 |
| Gems (opt) | $3 |
| Washable Glue for Gems (opt) | $1 |
| Aluminum Foil | $1 |
| Base Total Cost | $10 |
| Total Cost with optional items | $16 |




5 Comments
What a creative idea! Thanks so much for sharing with us at #overthemoon. I’ve pinned and shared.
April 16, 2017 at 11:50 pmI used to make these with my students when I taught science – they always loved making them! It is a great craft for kids!
April 17, 2017 at 5:15 pmSuch a fun and simple craft, and featuring this week of Family Fun Friday.
April 27, 2017 at 12:37 pmThis is exactly what I was looking for. I would suggest using spray bottles with water in them instead of paint brushes (possibly depending on the age of the kiddos!)
April 27, 2017 at 2:13 pmThanks for the tip! I tend to do this project with 3+ kiddos and they’re loving being able to paint but I love the idea of spray bottles!
April 29, 2017 at 9:03 am