Browsing Category:

Halloween

Food Safe DIY Jack Skellington Cake Stand

on September 26, 2017

Scare up a good treat by making a simple DIY Jack Skellington Cake stand! Perfect for your Halloween decor or party tablescape! Dollar Store DIY!

Scare up a good treat by making a simple DIY Jack Skellington Cake stand! Perfect for your Halloween decor or party tablescape! Dollar Store DIY! - Nightmare Before Christmas | Tim Burton | Food Safe | Halloween Projects | Party table - Doityourfreakingself.com

Do you ever have those movies that you’re maybe glad you didn’t see as a kid but are also your favorites? I was not allowed to see Nightmare Before Christmas when it came out. Granted, I was about 5 years old with an overactive imagination so this was probably a good decision on my parent’s part. And while I still have quite the imagination, this film has become one of my absolute favorites… At this time of year especially.

MAKE IT: NIGHTMARE BEFORE CHRISTMAS ZERO PILLOW PAL

Also, Hocus Pocus! I saw that movie when I was 7 and it (for some reason) scared the bejebus out of me! I don’t think my parents ever would have let me see it at that age, but we were at a neighbors house and no one really told our parents what we were watching. I spent the entire walk home thinking Billy Butcherson was chasing me and that I should never light a black candle. Like… ever. Now… I love that movie! It is so delightfully campy and I can’t figure out why I was scared in the first place. However, I probably would have loved it anyway so there’s that.

Scare up a good treat by making a simple DIY Jack Skellington Cake stand! Perfect for your Halloween decor or party tablescape! Dollar Store DIY! - Nightmare Before Christmas | Tim Burton | Food Safe | Halloween Projects | Party table - Doityourfreakingself.com

Okay so yes, I had protective parents. But a part of me is glad they understood me enough to not let me give myself nightmares.

Anyway!!! Welcome the Halloween Season! I’m so glad you’re here! It’s probably my favorite because it is also fall and I can wear sweaters with Star Wars characters on them and not get funny looks. This year, I’m hosting a Tim Burton inspired Halloween party so I KNEW I needed to create something Jack themed. This Food Safe DIY Jack Skellington Cake Stand cost me $10 MAX and I can’t wait to show you how to make it!

Food Safe DIY Jack Skellington Cake Stand
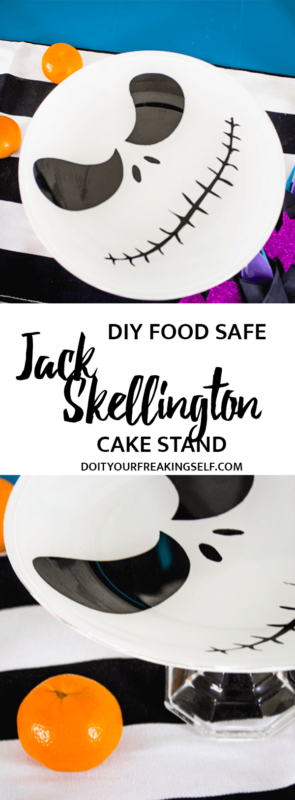
Scare up a good treat by making a simple DIY Jack Skellington Cake stand! Perfect for your Halloween decor or party tablescape! Dollar Store DIY! - Nightmare Before Christmas | Tim Burton | Food Safe | Halloween Projects | Party table - Doityourfreakingself.com

Time: 30 minutes + Heat/Dry Time
Cost: $10 or less
Spooky Level: 2

Scare up a good treat by making a simple DIY Jack Skellington Cake stand! Perfect for your Halloween decor or party tablescape! Dollar Store DIY! - Nightmare Before Christmas | Tim Burton | Food Safe | Halloween Projects | Party table - Doityourfreakingself.com

Supplies:
9″ Clear glass plate – I got mine from Ikea but you can get the same ones from amazon.
Multi Surface or enamel paint in black and white
Paintbrush and large foam pouncer
Clear spray sealant (optional)
Glass candle stick – I got mine from the dollar store
E6000 Glue
Printout of Jack’s Face – I sized mine to be 7.5 inches just to give myself some room – you can do this by either loading it into a photo editor or playing around with the scale.


Start by cleaning the back of your plate with rubbing alcohol.

Place the Jack Skellington face on your surface with the plate FACE DOWN over it. This will give you a guide to paint the face!

Scare up a good treat by making a simple DIY Jack Skellington Cake stand! Perfect for your Halloween decor or party tablescape! Dollar Store DIY! - Nightmare Before Christmas | Tim Burton | Food Safe | Halloween Projects | Party table - Doityourfreakingself.com

Using a paintbrush and black enamel paint carefully paint the design on the back side of the plate. Allow it to dry then add a second coat. Let it dry for at least 2 hours.

Scare up a good treat by making a simple DIY Jack Skellington Cake stand! Perfect for your Halloween decor or party tablescape! Dollar Store DIY! - Nightmare Before Christmas | Tim Burton | Food Safe | Halloween Projects | Party table - Doityourfreakingself.com

Scare up a good treat by making a simple DIY Jack Skellington Cake stand! Perfect for your Halloween decor or party tablescape! Dollar Store DIY! - Nightmare Before Christmas | Tim Burton | Food Safe | Halloween Projects | Party table - Doityourfreakingself.com

After painting the face, it’s time to fill in the back. I originally used spray paint but it ended up bubbling and probably wouldn’t have held up after washing. SO! Switching tactics, using white enamel or multi surface paint and a large foam pouncer, fill in the back of the plate. Make sure to paint over the black areas too so the plate will look good from all angles. Let it dry for an hour and go back in for a second coat or just fill in patchy places.

To heat set your paints PLEASE follow the instructions on your paint. Each kind is different with different dry times and I don’t want to tell you different.

I let mine dry for 1 hour then set the plate in a COLD oven paint side up. I then heated the oven to 350 then let it cook for 30 minutes once it hit temperature. After that I let it cool IN THE OVEN with the door open.

Once your paint is set, it’s time to add the stand part. I’ve seen people use other things like painted vases or wooden candle sticks so just find what you like. You do you girl! I chose the candle stick because I happened to have a few in craft storage and figured I should probably use it.

Scare up a good treat by making a simple DIY Jack Skellington Cake stand! Perfect for your Halloween decor or party tablescape! Dollar Store DIY! - Nightmare Before Christmas | Tim Burton | Food Safe | Halloween Projects | Party table - Doityourfreakingself.com

Mark the center of the plate – I measured 4.5 inches in from the edges – and use E6000 glue to secure the candle stick to the bottom of the plate. Let it dry overnight and you’re good to go!

Scare up a good treat by making a simple DIY Jack Skellington Cake stand! Perfect for your Halloween decor or party tablescape! Dollar Store DIY! - Nightmare Before Christmas | Tim Burton | Food Safe | Halloween Projects | Party table - Doityourfreakingself.com

Scare up a good treat by making a simple DIY Jack Skellington Cake stand! Perfect for your Halloween decor or party tablescape! Dollar Store DIY! - Nightmare Before Christmas | Tim Burton | Food Safe | Halloween Projects | Party table - Doityourfreakingself.com

Use your DIY Jack Skellington Cake Stand as a cake stand or a cookie display! You can also use it as a jewlery holder or really whatever you’d need it for!

Scare up a good treat by making a simple DIY Jack Skellington Cake stand! Perfect for your Halloween decor or party tablescape! Dollar Store DIY! - Nightmare Before Christmas | Tim Burton | Food Safe | Halloween Projects | Party table - Doityourfreakingself.com

SaveSaveSaveSaveSaveSaveSaveSave

SaveSave

DIY Nightmare Before Christmas Zero Pillow Pal

on November 22, 2016

Does anyone else have a pillow that they take everywhere? I do. Well… not a pillow per se, but a pillow pal. Yep. I’ve got one and I have no shame. I have a Stitch Pillow Pet that I take with me any time I have to spend the night somewhere that is not my home and I love it. The kids I babysit do too!

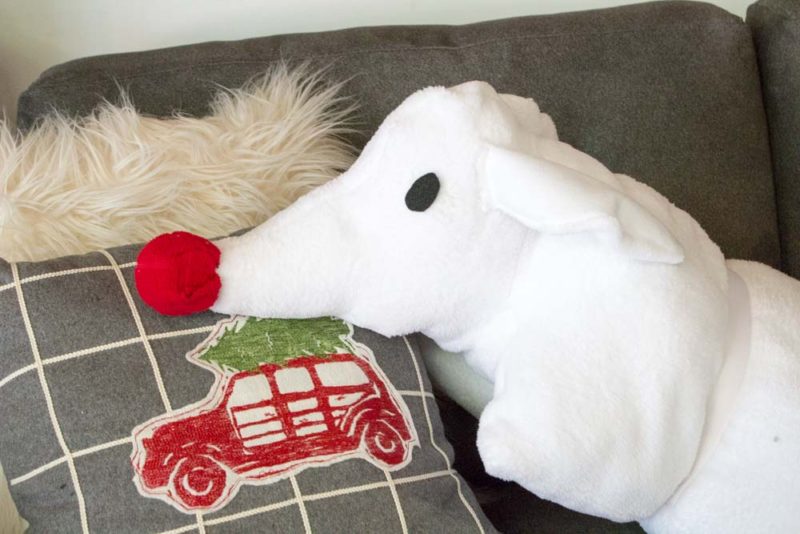
Now you can take Zero from Nightmare Before Christmas with you wherever you go with this DIY Zero Pillow Pal! A great gift for that Tim Burton lover in your life!| Stuffed Animal | Pillow Pet | Sewing project | Kids Gifts | Do It Your Freaking Self

So… when my Nightmare Before Christmas obsessed friend had her housewarming party and casually (but not really) mentioned how Disney had yet to come out with a Nightmare Before Christmas Zero Pillow Pal, the wheels started turning. Using mine as a guide, I made one for her as a christmas present and I gotta say, it turned out pretty awesome.

Do you have a Nightmare Before Christmas/Disney obsessed friend? Is it you? No judgements! Make your own after the jump!

Zero Pillow Pal

Time: Weekend Project
Cost: Under $20
Cozy level: 9

Continue reading

DIY No Sew Fox Ears Headband

on October 10, 2016

You guys, for some reason I’m in love with foxes this week. Honestly, fall means orange and fuzzy and stealing yummy treats from my friend’s kitchens, which basically means fall = foxes. Right? Maybe?

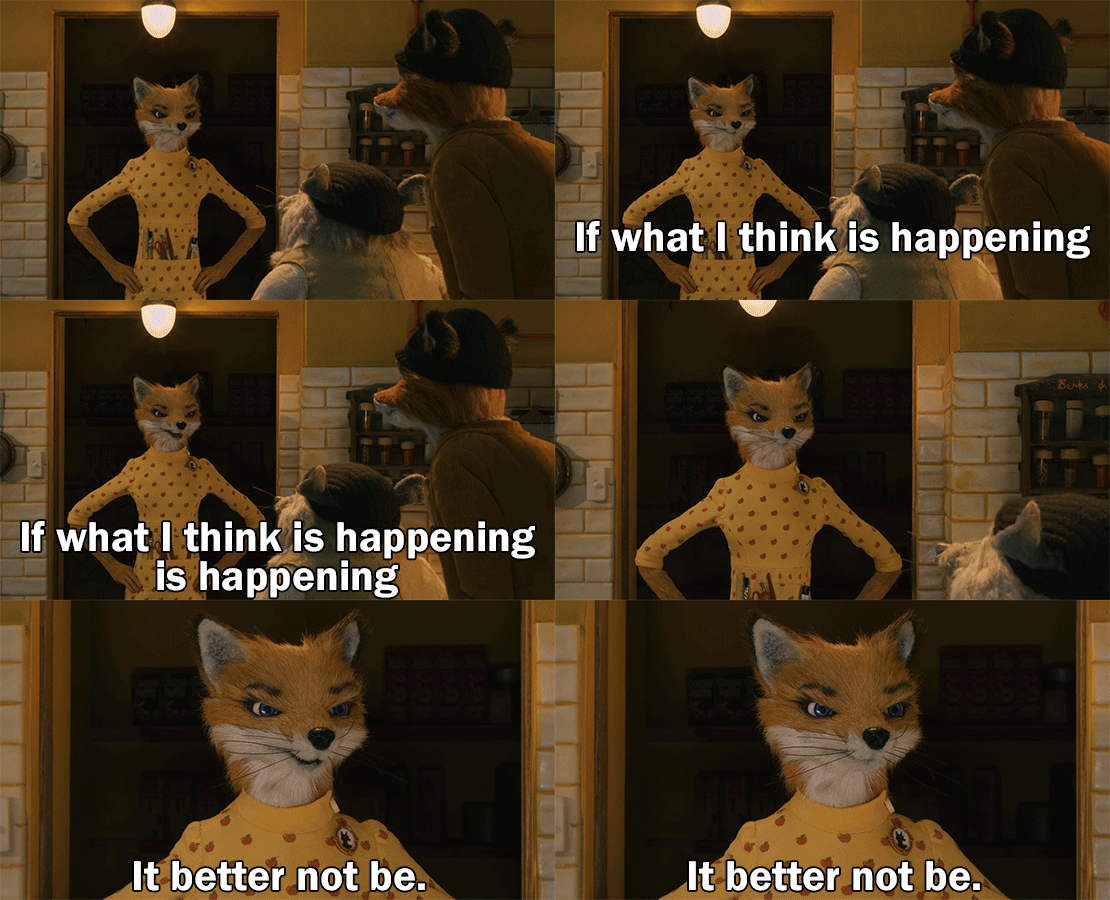
Okay, so the real reason I made these ears is because I found myself watching The Fantastic Mr. Fox a few nights ago and pretty much fell in love with Felicity Fox. Let’s be honest here even though Mr. Fox tries to run the show, Felicity is there to reign him in and basically be the voice of reason for the entire fiasco.

© Fox Searchlight Pictures

© Fox Searchlight Pictures

Yes folks, she is a badass. If you’re feeling similarly inspired by the Wes Anderson adaptation of the Roald Dahl classic, grab some felt and a glue gun. Its about to get foxy up in here with these DIY Fox Ears Headband!

Time: 15 Minutes
Cost: $5-10
Foxy Level: Like… 2?

Continue reading

DIY Halloween Glitter Pumpkins

on October 6, 2016

I’m going to preface this and say that it has been a ridiculous amount of time since I have gotten to carve a pumpkin. So if you want to come over and get messy and do that with me, I am down.

That being said, I somehow ended up with 6 foam pumpkins from the dollar tree this year. I honestly don’t know how it happened. They just seem to multiply like tribbles or something. I made it my mission this week to “edit” at least one of them so I could join the cool club of wonderfully painted and decorated pumpkins. And you know what…. I did it.

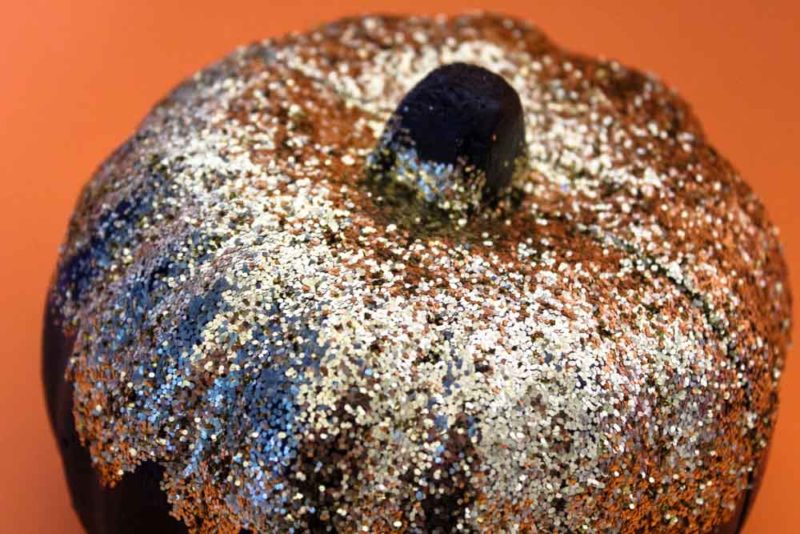
Transform foam pumpkins from the dollar tree into chic DIY Glitter Pumpkins for you halloween and fall decor!


Grab some paint, glue and glitter and no one will believe that these glitter pumpkins cost you less than $5 TOTAL. Seriously. Everything came from the dollar tree. Even the paint. Girl get on it!

Time: 30 minutes or less plus dry time
Cost: Under $5
Spooky level: 2…. they’re cute!

Continue reading

Halloween Glow in the Dark Slime

on October 4, 2016

Well, it is officially less than a month away from Halloween, which means a few things.

1 – That I’m no longer looked at weird for already having my livingroom decorated.
2 – That ya’ll are finally preparing for your halloween parties, and
3 – It is totally okay for me to buy and eat an entire package of Reeses Pumpkins…. right?

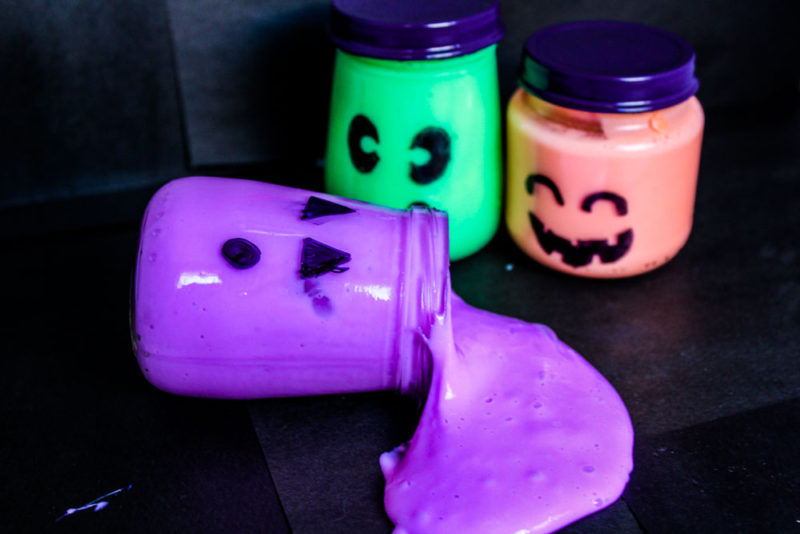
Create your own borax free Halloween Glow in the Dark Slime with only 3 ingredients! Fun for everyone and great for non-candy halloween favors!

So let’s talk about one of my favorite kiddo projects shall we? Slime. It’s really amazing as project that kids can make and it doubles as a sensory activity. Kids can get messy (I usually have them work sans shirts) and then wash off. Everything in slime is body safe so I don’t worry about it iritating their skin. Glow in the dark slime is also one of my favorite projects for Halloween time! It keeps the kiddos busy, makes an adorable party favor and everyone likes to pretend they’re a mad scientist right?

How to Make Halloween Glow in the Dark Slime

Time: 10 minutes or less
Kid engagement time: 1 hour+
Cost: $2 or less
Fun level: 10

Continue reading

BOO! DIY Halloween Typography Vase

on September 30, 2016

Add some DIY Typography to your halloween decor with this easy BOO! DIY Halloween Typography Vase!

Hands up if you never get out of Target without spending at least $50. The whole “make a list and stick to it” thing? Out the window the minute I hit the home decor section or the dollar section. And lord help me if I go through the kids bedding section because that is where I find unicorn sheets I never knew I needed (and I did, let’s be honest). What is your favorite random Target buy?
Decorate for Halloween with this easy Oh! Joy for Target inspired Halloween Typography Vase! - Party Craft - Halloween decorations - spooky decor - DIY Home decor - DIY Vas

Anyhoo, Halloween is in full effect at the good ol’ Targé and I came home with some interesting decor. One of my favorite random finds was not in the home decor or halloween sections, but from the party/craft section. Target has a wonderful selection of craft items and they’re exactly what you’d expect…cute and trendy. I ended up with this paper mache BOO sign that you’re supposed to paint… but I ended up taking it a step further.

Have a look and see what got made!

Time: 15 minutes + dry time
Cost: $5-10 depending on cost of flowers
Trendy level: A conservative 9

Continue reading

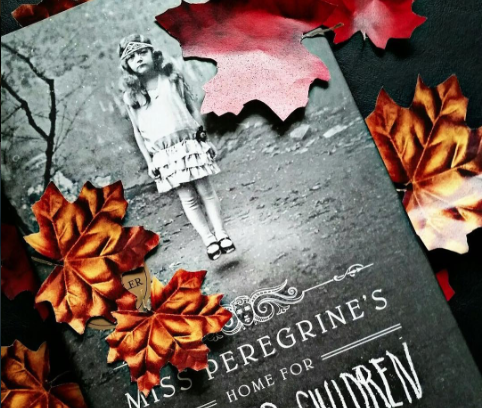
Miss Peregrine’s Home for Peculiar Children DIY Gallery Wall

on September 26, 2016

I don’t know about you guys, but one of my favorite things about Miss Peregrine’s Home for Peculiar Children was the photos that came with it. If you haven’t read the books yet and are just waiting for the movie to come out first, it’s important to note that the entire series was inspired by found vintage photographs that looked a bit… peculiar. Throughout the book series, these peculiar photos are interspersed with the story, giving the reader a visual on the characters even without a film. The cool part is that these photos are not photoshopped, but are probably photography tricks old timey photographers used.

screen-shot-2016-09-26-at-1-35-14-pm

With the Miss Peregrine’s Home for Peculiar Children premiere and halloween looming, I though it would be a perfect way to credit the work by creating a gallery wall. Here’s the thing… they always look super complicated. On pinterest you see all of these frames strategically hodge podged and you sit there thinking… I would totally mess that up. Yep. Right there with you. BUT!!! It’s actually really easy… and cheap! Come with me on a decorating adventure will you?

Time: 2+ hours
Cost: Under $10
Peculiar level: 8

Continue reading

How to Make a 5 Minute DIY Skull Vase

on September 23, 2016

Make a DIY Skull Vase in under 5 minutes! Just cut a hole in the top of a plastic skull and fill with fake flowers!

Does anyone skip fall decorating and go straight for halloween? I figure it’s probably easier for me to do halloween first instead of fall – halloween – fall again.

Okay, so I maybe went a little overboard with the halloween this year, but whatever. I’m a crafter. If you don’t have a ton of time to create things and are on the broke boat, you can still do amazing things for super cheap. You just need some ingenuity and a trip to the dollar store. This 5 Minute DIY Skull Vase can be made for under $5 (including fake flowers) and are great for your halloween and Day of the Dead decor.

Continue reading

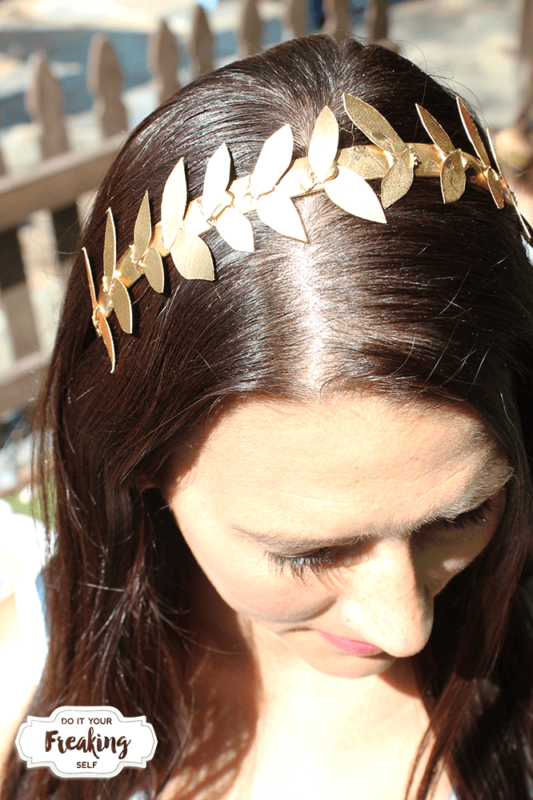
Be a goddess every day with this simple DIY Greek Headband

on August 22, 2016

Unleash your inner goddess with a fun and simple greek headband.

You guys, I am so excited about this DIY! Why? Because it’s super cute and super classy and super easy! You can wear it year round… or just for halloween!

Unleash your inner goddess with a fun and simple greek headband.

Do you ever buy a dress with the exact way you want to wear it? Accessories and all? Yep! That’s what I did! Except I couldn’t find the accessories I wanted and when I did, they were expensive as (you know what). And so, I did what any intrepid DIY-er would do, and I made it my Freaking Self.

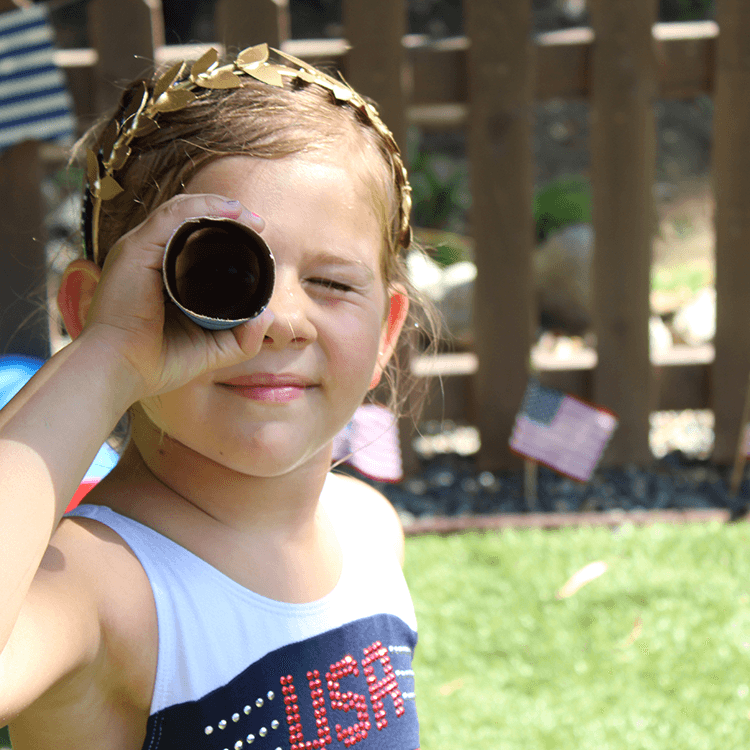
One of the things I love about this headband is that, while it can be used for an Athena costume at halloween, it can also be worn with a lot of great outfits if you need just a touch of gold. Most recently we used it for an Olympic themed play date with my friend Erin over at athomewiththezierings.com! The moms and kiddos loved them!

Unleash your inner goddess with a fun and simple greek headband.

So follow along and lets make some stuff!

Time: 30 minutes or less
Cost: $2 for headband and poster board/card stock
Cuteness level: a conservative 7

Continue reading

DIY Sharknado Costume Shirt

on July 28, 2016

I may have missed shark week, but you know what I did not miss? SHARKNADO!!

Yes, yes, I know. Sharknado Chelsea? Really? To which I emphatically reply YES! Those movies are the epitome of cheesy sci-fi and I adore them. We’re coming up on 4 now and I’m excited for all of the random cameos, really stupid ways they kill sharks (and people) and the drinking game we’ll probably play during it. This will be year number 3 (we didn’t do one for the first Sharknado) that my friends and I have done some type of Sharknado cookout or party. This year promises to be epic because I’m helping thrown that party with a friend at her beautiful home!

sharknado-4-poster-750x522-1462387223

Are you going to watch it? Will you snap me your MST3K references?  (I’m @ChelseaRiot on Snapchat!)

However, all of this being said, you’re probably like me in that you’re really excited about this television event and you wanna look festive but you’re really lazy and don’t feel like making anything. Wow, that was a really long sentence. Anyhoo, I’m right there with you. I’m going to grab some felt and an old shirt over here and show you how to make a really cool and really simple Sharknado Costume shirt. Come follow along so you can look super creative at your own sharknado viewing party…. even if it’s just you and your cat (yes, I went there. Deal with it)

Continue reading

7908931b45bb58060632ba4d10fa313cac59bfd6aaf838390e