This post may contain sponsored and affiliate links. Purchasing from these links helps support this website and my craft supply addiction.
Have you been disneybounding yet? I’m a bit in love with it. If you haven’t heard of disneybounding, it’s where you subtly dress up like characters and rides from the wonderful world of Disney. I’m particularly proud of this project because not only is it adorable, but it is unique and gets a ton of compliments when I’m out. If you want even more inspiration (including Mommy and Me style) and info about the movie, check out Lipgloss and Crayon’s post here.
But first! Can we talk about Pete’s Dragon please? I was born way after the original came out and at some point I think my parents deemed it too messed up and weird for my little eyes, so I never really saw it until I was an adult. That being said, when I finally did see it, I fell in love with Elliot. While he may be a cute, clumsy and mischevious dragon he is also a fierce protector. He sticks with Pete even while Pete tells him he’s doing everything wrong and really just loves on this child and takes care of him the best way he knows how.
So yeah, I kinda feel like Elliot sometimes when I’m working with my kiddos. Not that they have bad upbringings or whatever, because I have some of the best bosses on the planet. But I feel like I’m just out there taking care of them the best way I know how. Fun and clumsy, but fiercly protective.
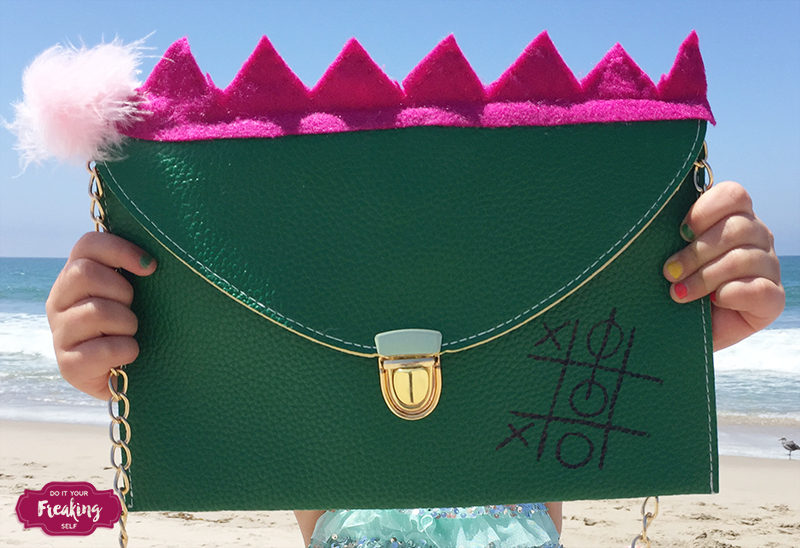
Okay, so sentiments aside, I’m super excited about the new movie (even though Elliot doesn’t have pink hair). And I was inspired to make this ultra cute DIY Disney Bound Pete’s Dragon Clutch
DIY Disney Bound Pete’s Dragon Clutch
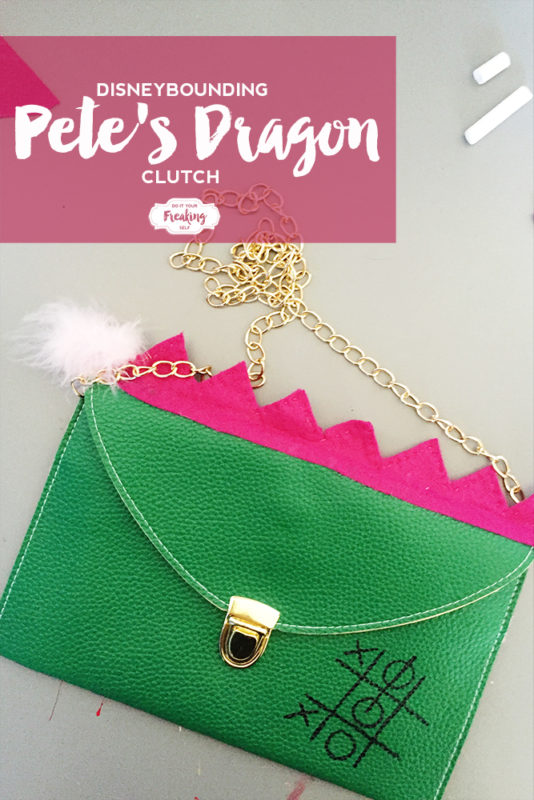
Time: 1 hour or less + dry time
Cost: $15 or less
Cuteness level: 10
Green Clutch Purse – from Amazon
Fushia felt
Pink Maribou Boa (these usually run about $3 at the craft store, but you can also use the end of a cat toy from the dollar tree)
E6000 Glue
Sharpie or Fabric Marker
Ruler
1. Fold felt in half and draw/cut spikes 1 inch tall from a base of 1/2 inch.
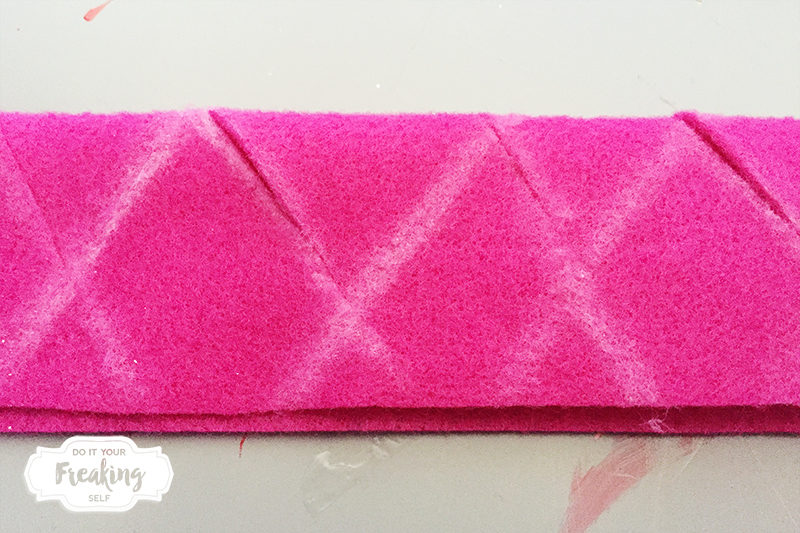
2. Glue spikes together with E6000 or hot glue leaving the base edge open. Use binder clips or paper clips to keep them together while it dries.
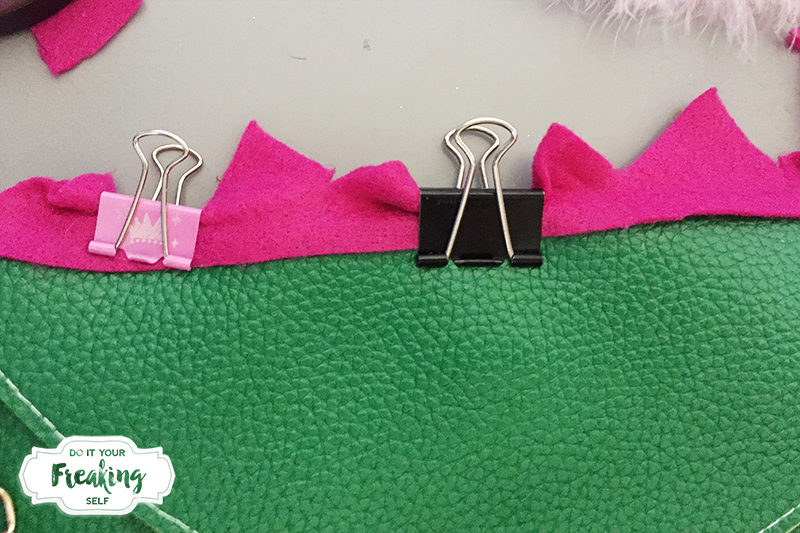
3. Once spikes are dry, measure the spikes lengthwise and cut so it is flush with the bag edges.
4. Cut a length of Maribou boa to 3 inches and fold in half.
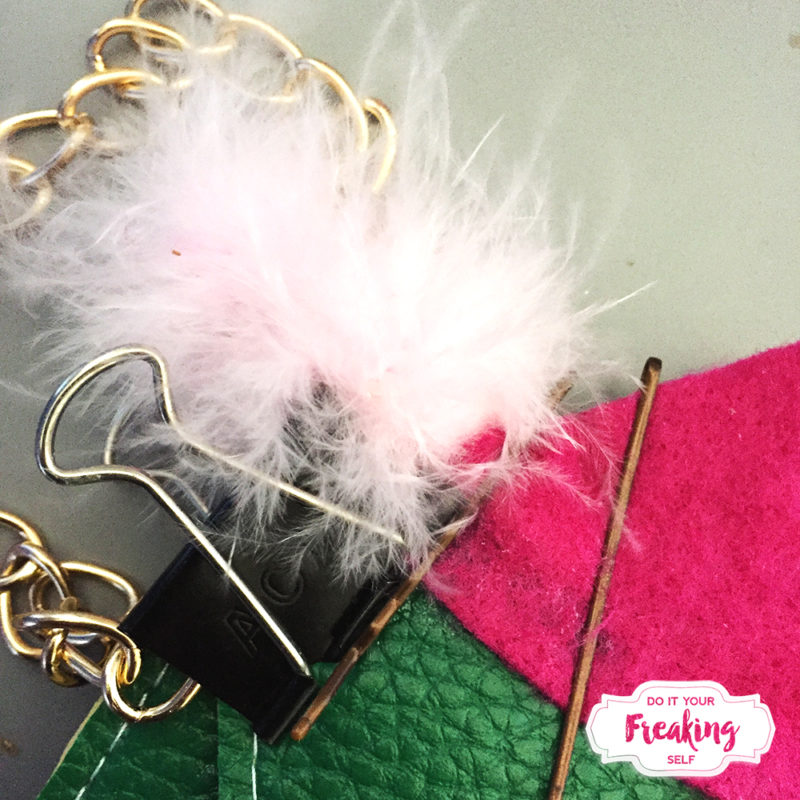
5. Here’s where it gets a little bit complicated. Liberally apply glue to the bottom edges of the base edge of your spikes. Then attach each side of the base to each side of the bag’s top fold. Kinda like it’s straddling. Before gluing down the last bit, Glue the edges of the boa and slide them into the end. Use binder clips for a sure hold and allow to dry.
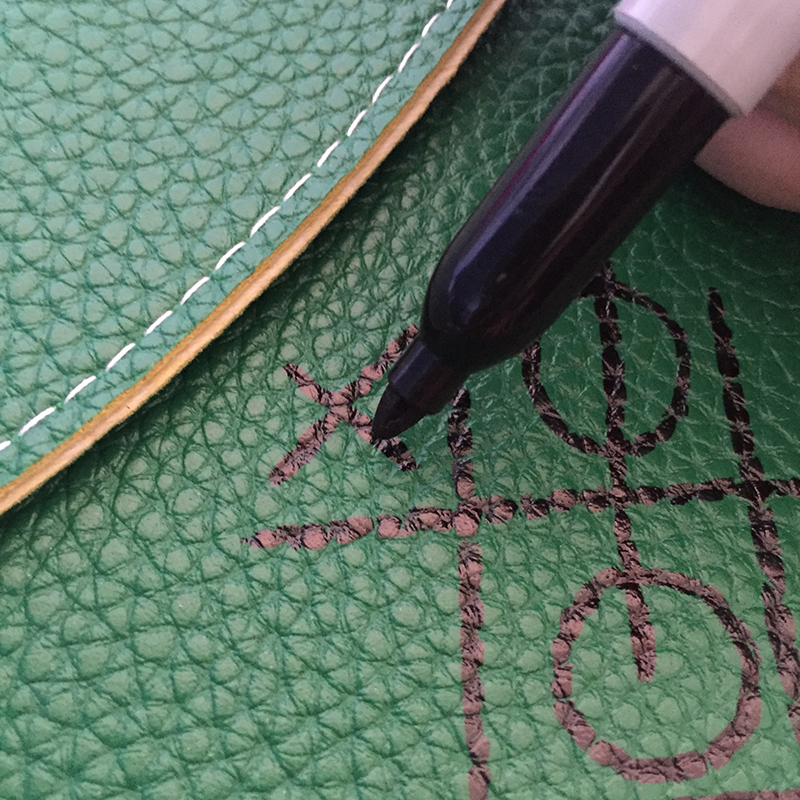
6. Use your fabric marker or sharpie and draw Elliot’s Tic Tac Toe board.
7. If you want to get really fancy, you can use embroider floss and a needle to stitch around the edges of your spikes.
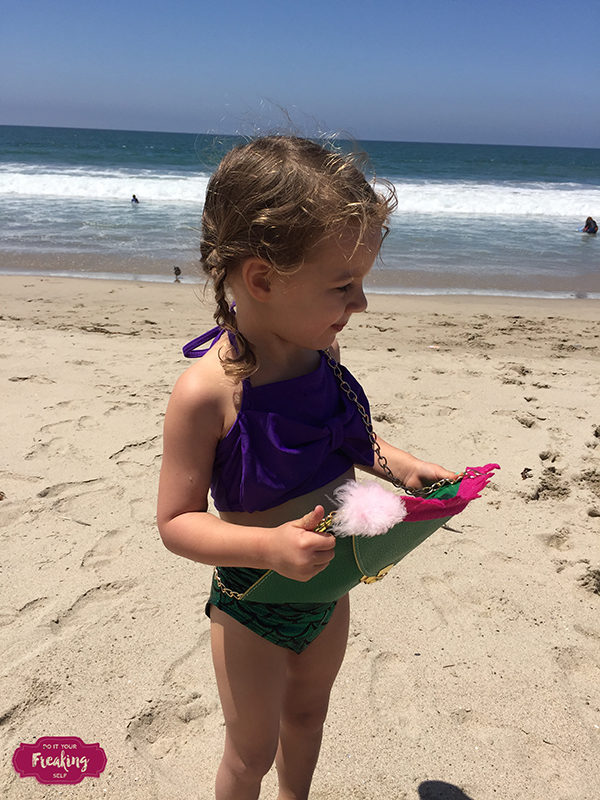
7. Let dry and cure for 24 hours before wearing your DIY Disney Bound Pete’s Dragon Clutch out.


