Make a DIY Skull Vase in under 5 minutes! Just cut a hole in the top of a plastic skull and fill with fake flowers!
Does anyone skip fall decorating and go straight for halloween? I figure it’s probably easier for me to do halloween first instead of fall – halloween – fall again.
Okay, so I maybe went a little overboard with the halloween this year, but whatever. I’m a crafter. If you don’t have a ton of time to create things and are on the broke boat, you can still do amazing things for super cheap. You just need some ingenuity and a trip to the dollar store. This 5 Minute DIY Skull Vase can be made for under $5 (including fake flowers) and are great for your halloween and Day of the Dead decor.
How to Make a DIY Skull Vase

Supplies:
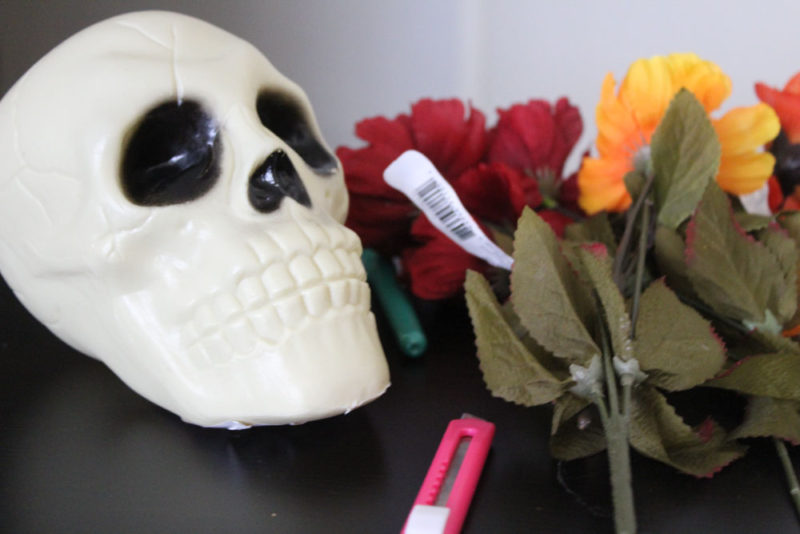
Large Plastic Skull from the dollar store
Marker
Craft knife
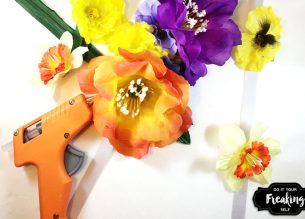
Fake Flowers of your choosing (also from the dollar store)
Rocks or something heavy to use as a weight
Wire cutters – not necessary, but super useful
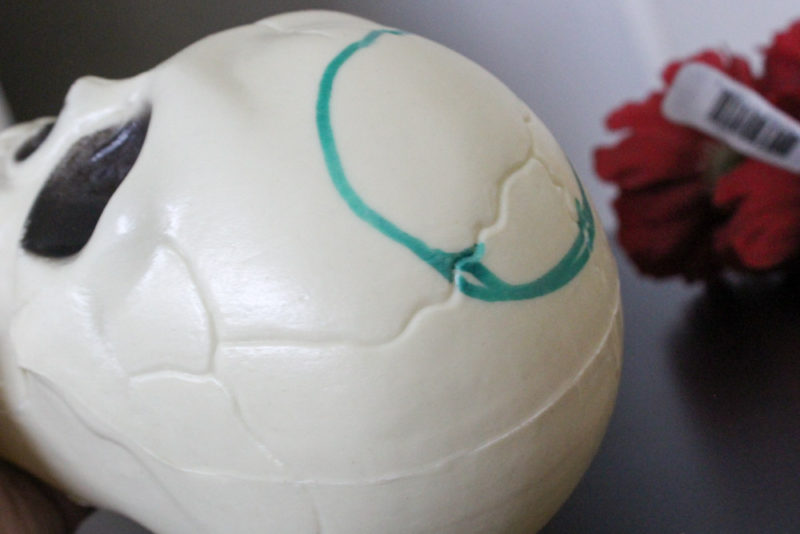
With your marker, draw a circle at the crown of the skull about 2 inches in diameter.
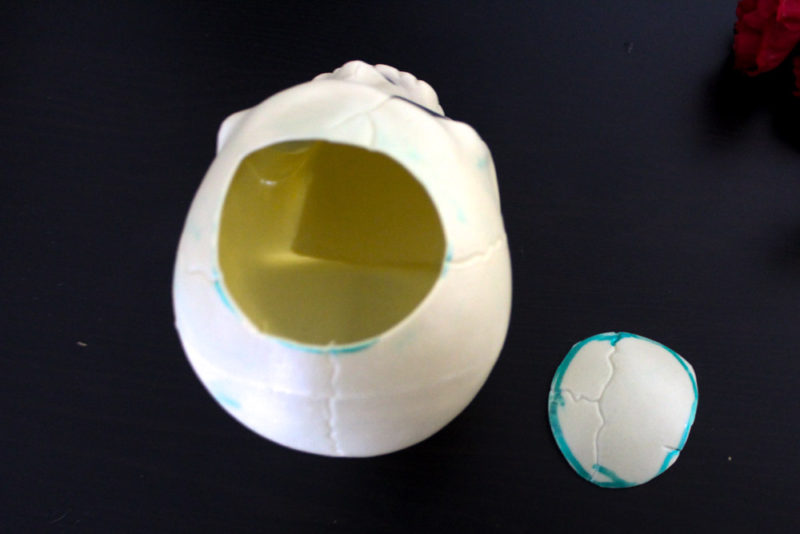
Grab your craft knife and carefully cut the circle out of the skull. It’s not brain surgery! (bad joke. okay, okay, I’ll stop)
Add your rocks to the bottom. This will help to keep the base stable and give them some weight so the skulls don’t just blow over.
Use your wire cutters to cut flowers at different lengths then insert into the hole you just made. Style as you like. I used harvest colors of red, orange and yellow, but you can use whatever you like.

Display on your mantle, porch, or wherever. These should end up costing, with flowers, less than $5 for both! Sweet!!!

** One thing I would change about this project is possibly adding some floral foam as a base for the flowers. It keeps them stable so your flowers don’t end up all over the floor if they fall over.