
One of my favorite Easter memories is dying eggs with my family. We’d pick an evening, stay up late, get one of those old school tablet dye kits and have at it. Sometimes my mom would write little messages on them in a white crayon for us to discover while we dyed them later.
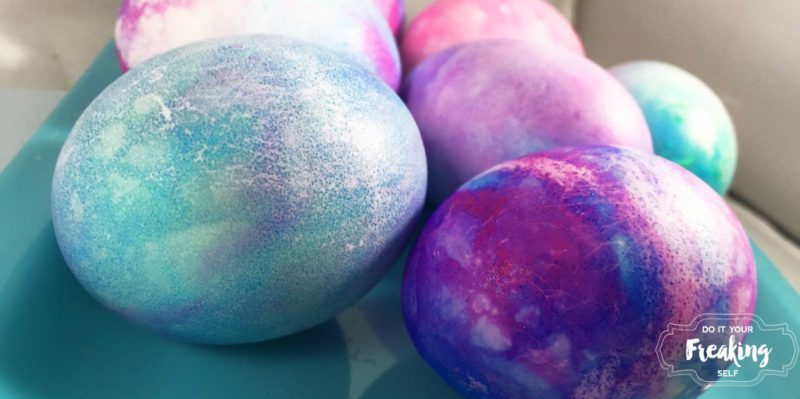
Well, times have certainly changed. There’s dye kits for everything. You want Sparkle Eggs? Find them here. Metallic eggs? Here. 3D eggs? Oh yeah, they have those too. But even though the egg kits are fun, I wanted to do something with the kiddos that could also double as sensory play, so we made these Marbled Shaving Cream Easter Eggs. This is best done outside or in the bottom of the bathtub (trust me). If you want to eat your eggs (I always HATED hard boiled eggs, but whatever) use Cool Whip instead.
Shaving Cream Easter Eggs
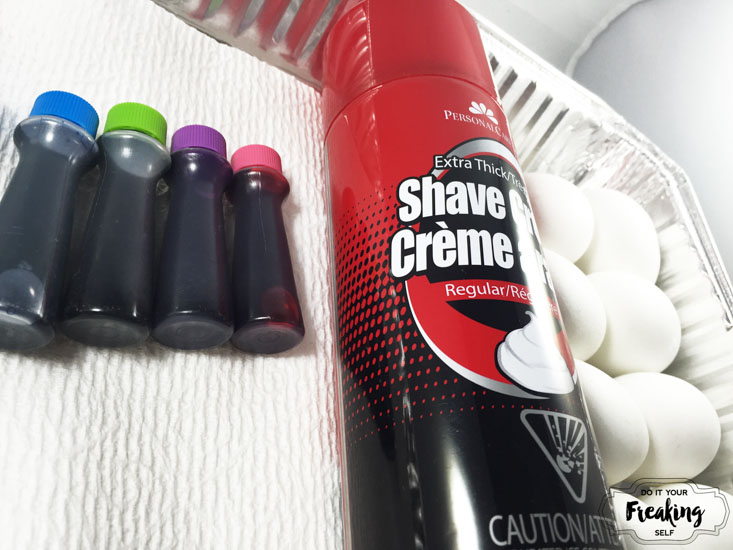
1 can shaving cream or Cool Whip
1 pack McCormick Food coloring
1 Dozen Eggs
Cooling Rack (I got mine from the dollar tree)
Paper towels
Disposable cake pan
Hard boil your eggs.
Place eggs at the bottom of a pot and fill until eggs are covered in about an inch of COLD water. Heat on a medium/high heat until the water boils. Then remove from the heat and let sit for about 8-10 minutes. Let cool to room temperature before using.
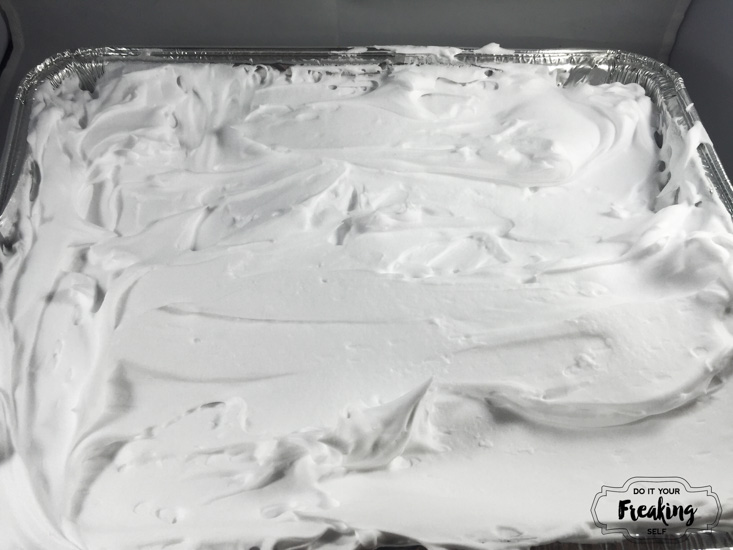
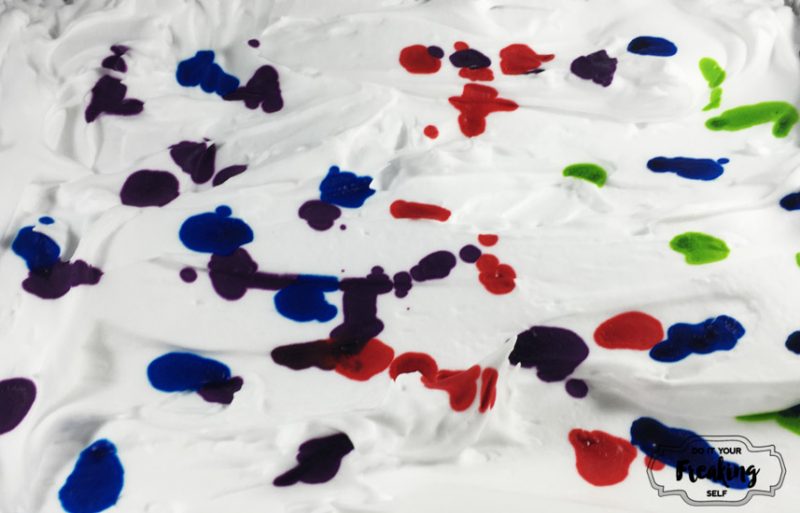
Let the kids spray the shaving cream (Gel won’t do) until its about half an inch thick. Spread it out so its smooth using a spoon or spatula.
Let the kids drop food coloring into different sections of the shaving cream/cool whip. About 5 drops/color/section. We found that using a maximum of 3 colors prevented things from turning a brown muddy color. Then use your spoon or a toothpick to swirl the food coloring a little bit.

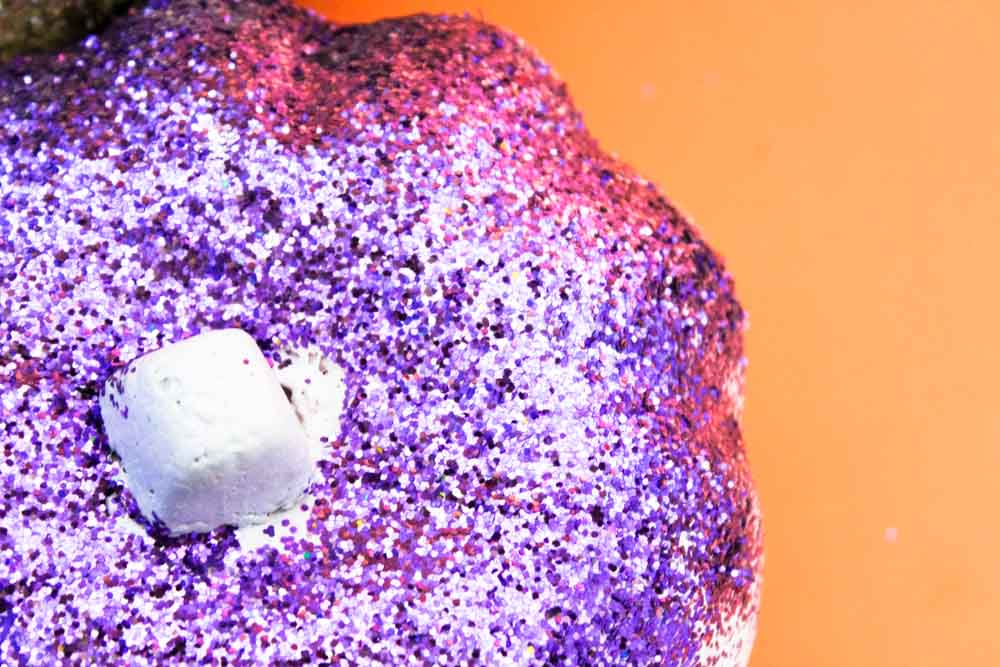
Here comes the fun part! Let the kiddos take their eggs and roll them around in the shaving cream. We found that you get the most pigment if you lightly roll on top of the shaving cream. They’re probably going to have purple hands be the end of this, but hey, you can’t win ’em all. You can also get some cheap food service gloves from the Dollar Tree and those will work wonders at keeping hands “clean”.
If you’re using cool whip, the kiddos, of course, will try to lick it off their hands before they let you wipe them!
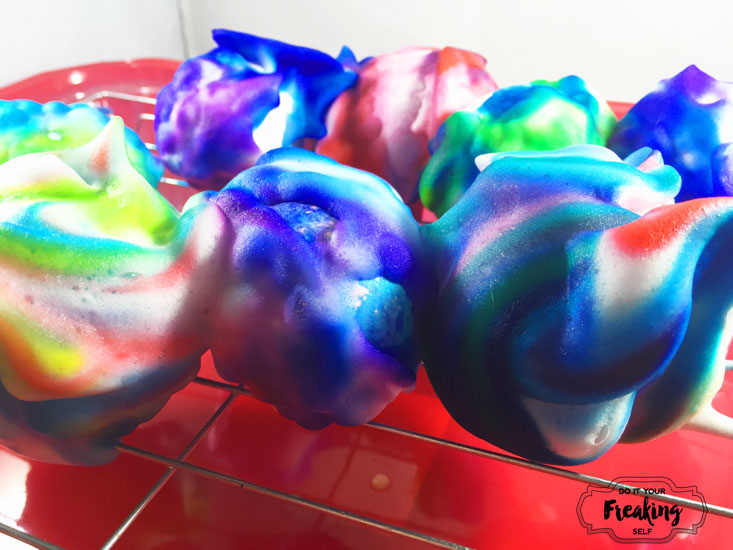
When the kids are done rolling and marbling their eggs place them on a cooling rack. DO NOT WIPE OFF OR RINSE OFF THE EGGS YET
Wait about an hour or more. Go outside and play, color a picture, talk about the true meaning of easter, put someone down for a nap, post a photo of your work in progress on Instagram … you know, do something!
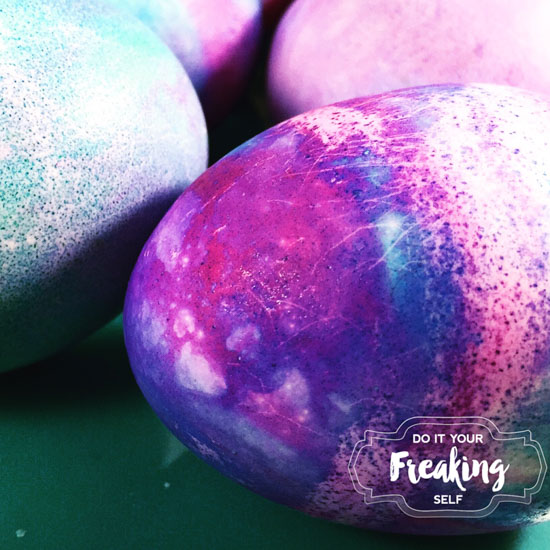
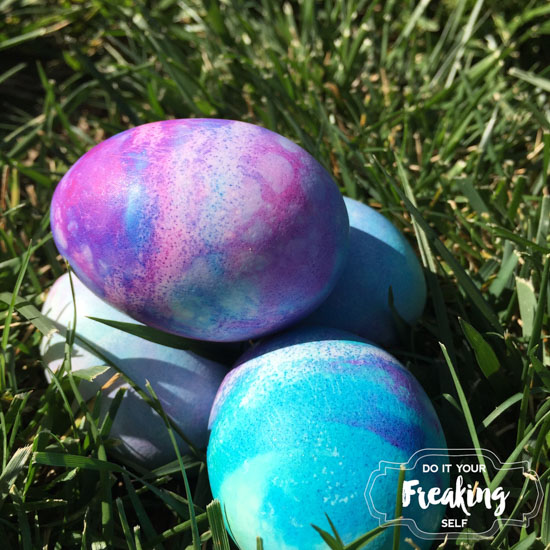
After letting them sit, WIPE off the shaving cream/Cool Whip with a paper towel and voila! Some pretty awesome eggs.
For a fun twist, use a white crayon to leave messages or make drawings on each egg. The kids will have a fun surprise when the eggs are finished!
The Breakdown:
Shaving Cream – $2
1 dozen eggs – $5
Food coloring – $3.5 (or on hand)
Cooling Racks – $1 (from the dollar tree)
Disposable Cake Pan – $2
Paper towels – on hand
Total Cost: $13.50

This post may contain affiliate links. Purchasing through them helps support this website. This post may also contain items gifted for consideration.


6 Comments
What a fun idea! Love this project for the kids! Pinned Thank you for sharing on Merry Monday! Have a great week!
March 28, 2017 at 8:23 amKim
Wow, that’s cool! Can’t wait to make my own.
March 28, 2017 at 9:01 pmSounds fun! Thanks for the tutorial !
April 3, 2017 at 5:18 pm[…] Marbled Shaving Cream Easter Eggs via Do It Your Freaking Self (PIN IT) Party #147 […]
April 9, 2017 at 6:01 pm[…] Peeps Cookie Cake TWELVE. Fun Easter Crafts for Kids THIRTEEN. Boxwood Easter Wreath FOURTEEN. Shaving Cream Easter Eggs FIFTEEN. Easter Watercolor Printable SIXTEEN. DIY Nest Necklaces from Plastic Easter Eggs […]
April 9, 2017 at 7:44 pm[…] Peeps Cookie Cake TWELVE. Fun Easter Crafts for Kids THIRTEEN. Boxwood Easter Wreath FOURTEEN. Shaving Cream Easter Eggs FIFTEEN. Easter Watercolor Printable SIXTEEN. DIY Nest Necklaces from Plastic Easter Eggs […]
September 4, 2017 at 11:07 am