These Princess DIY Chip Clips are so fun and easy to make! And they make your kitchen look super cute!
If you’ve been to my apartment recently you’ll know I use clothes pins for just about everything. Sure they’re great for hanging up clothes, but they’re also great as chip clips, holding embroidery floss, twisting tie dye shirts, etc. I use them a lot okay! and they’re cheap which is like a magic word in my language. They also tend to go missing a lot, those things are like socks! I’m sure one day I’ll find all the missing clothes pins wherever my missing socks are – in an alternate dimension. So cheap and useful are super high up on my MUST HAVE list. Another thing I like? Cute. Yes. Add all the cuteness to everything.
The kiddos I watch have been on a classic Disney princess kick (when are they not?) so we’re princess-ifying everything around these parts. We’ve been using these DIY Princess Chip Clips for brown bag lunches, road trip snacks and picking up pom poms (because motor skills ya’ll). You can even use the patterns to create your own cupcake toppers or puppets! Just glue them onto some popsicle sticks instead of clothes pins.
Princess DIY Chip Clips
Time: 1 hour or less
Cost: I used stuff on hand so… FREE! If you don’t, probably about $5 for a set.
Suggested viewing: Little Mermaid!
This post may contain affiliate links. Shopping from these links means that the price stays the same for you but I get a few pennies to keep the coffee pot full and possibly the cat fed.
Before I get into this DIY I wanna talk a little bit about the band mentioned in the lyric above. Do you ever feel weird being a fan of a band that is super huge AGAIN? Like I went to their shows when they opened to Honda Civic Tour for Fall Out Boy (their first tour). I was there through the split up and consequent unknown afterwards. So it’s really strange to me to attend a concert of Panic! at the Disco when a lot of their fans now are younger than I was when they first formed as a band. I’m totally happy for them but it just makes me feel so… old? At what point did I become the parent in the room?!? Anyone else?
Okay so Sharks. Can we talk about Sharks? Because I’m really excited that it is Shark Week and also the premiere of Sharknado 5! Yep! There are 5 of them. And I am the first to admit that I have watched and LOVE all of them so far. They are the epitome of cheesy sci-fi and and so out there that it’s hilariously amazing. As for Shark Week… I learn a ridiculous amount without having to be scared out of my wits a la Deep Blue Sea or Jaws (Cheesy, yes I know but imagine watching those when you’re like 12. No more oceans thank you very much!)
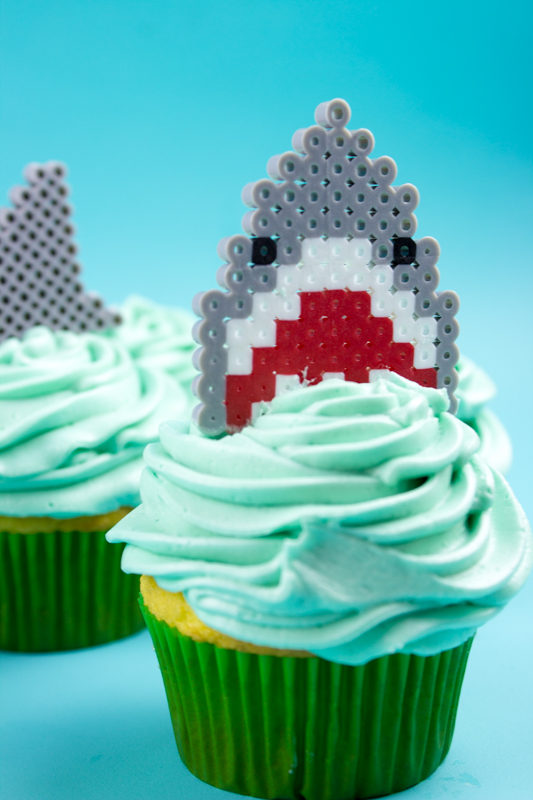
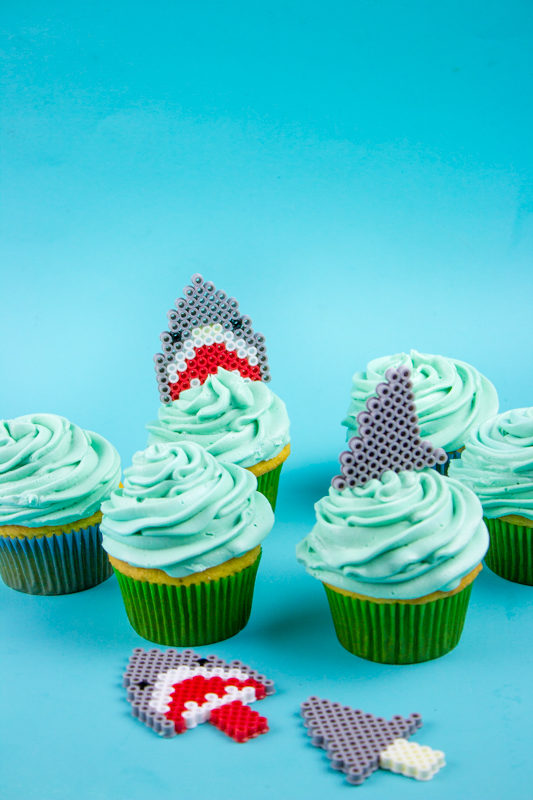
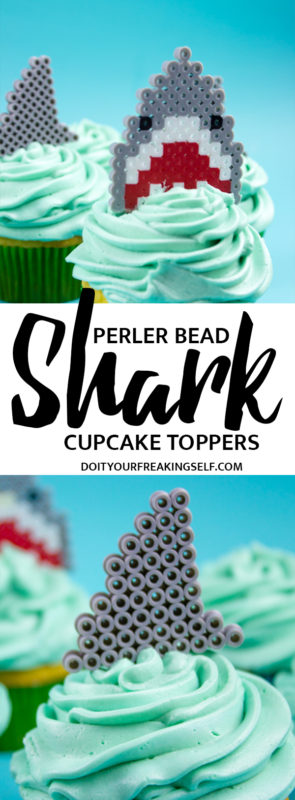
Okay, so DIY. Yes, that’s why we’re all here. I started these to be earings but they ended up being way to big to put on the side of your head so I had to do some quick thinking and decided that cupcake toppers was the proper solution. I really love this project in particular because I can get some of the older kiddos involved and keep them busy. Perler beads are your BFFs when you work with 6+ year olds!
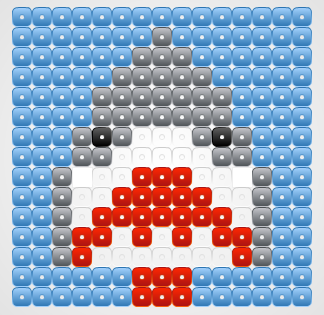
Make sure there are 3 rows of stick on the bottom. I forgot to add those to the pattern! Oops!!
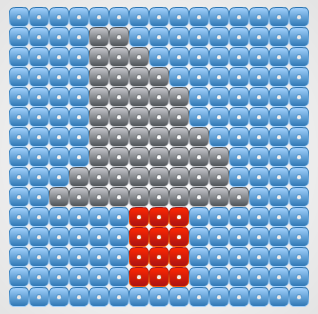
These are super easy, as usual. Grab a square peg board and follow the patterns above. Iron as directed and allow them to cool completely before removing them from the peg boards. I found that a large square can hold 2 sharks and 2 fins so keep that in mind if you’re working on a large batch.
Stick in your favorite cupcake recipe and get down with your bad self! Depending on how you iron, these can also be washed in the dishwasher – top shelf please!