This post may contain affiliate links. Purchasing through them helps support this website. This post may also contain items gifted for consideration.
We’ve all been there. It’s the day before a party, you’ve got the dress and shoes picked out, you’ve got your nails done and you’re ready to party the night away. But as the day approaches you realize that your hair that day is just not going to cooperate. The curls keep frizzing out. There’s not enough time to go to a dry bar and your go-to top knot just won’t do. Does any of this sound familiar?
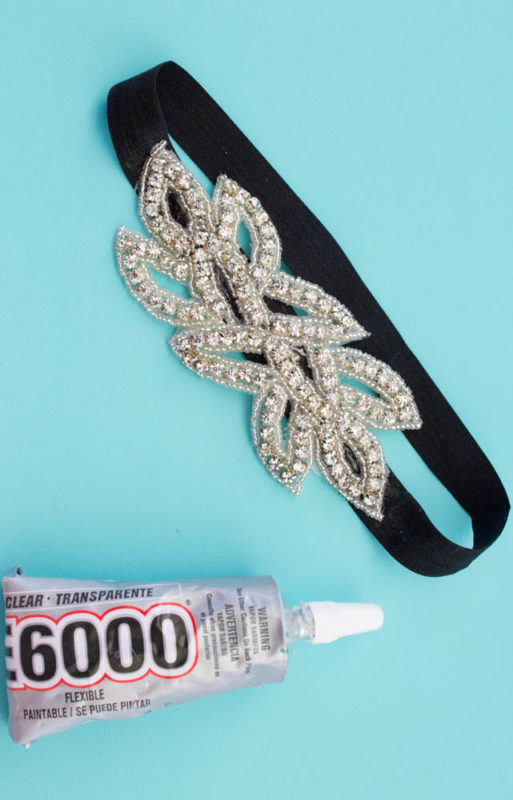
If it does, then you were probably me last week. Anyway… let me let you in on my favorite hair piece. These DIY headbands are perfect for when you need to fancy up your bun or top knot and super hero hair clip just won’t do. These are my GO TO accessory any time my hair decideds to misbehave for a fancy event (which is basically always). They look like you probably spent at least $40 on them, but really, if you do it yourself, you can make a crystal headband for $15 or less and still have a ton of supplies left over for your girlfriends. Did I mention they make great gifts? No skill required!!! Let’s do this!
DIY 1920’s Style Crystal Headband
Time: 1 Night to Weekend Project (because drying time)
Cost: Under $15
Fancy level: Off the Charts
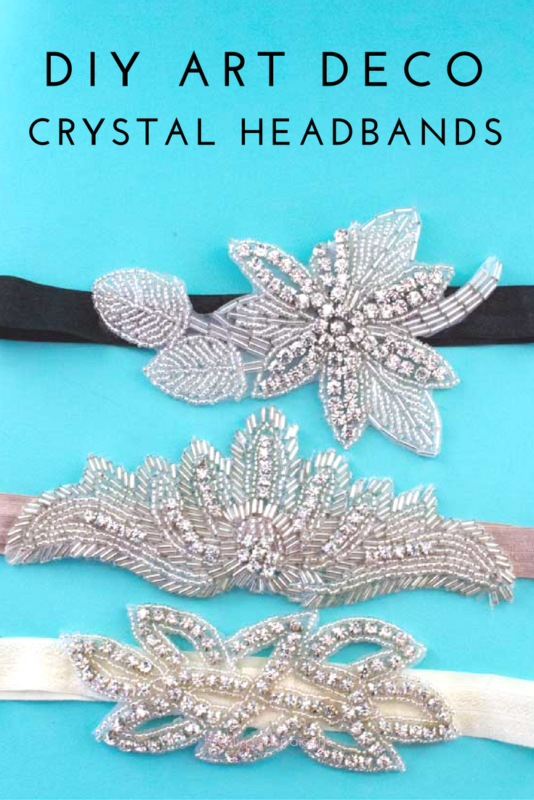
Supplies:
Scissors
Ruler
1 yard 5/8 inch fold over elastic
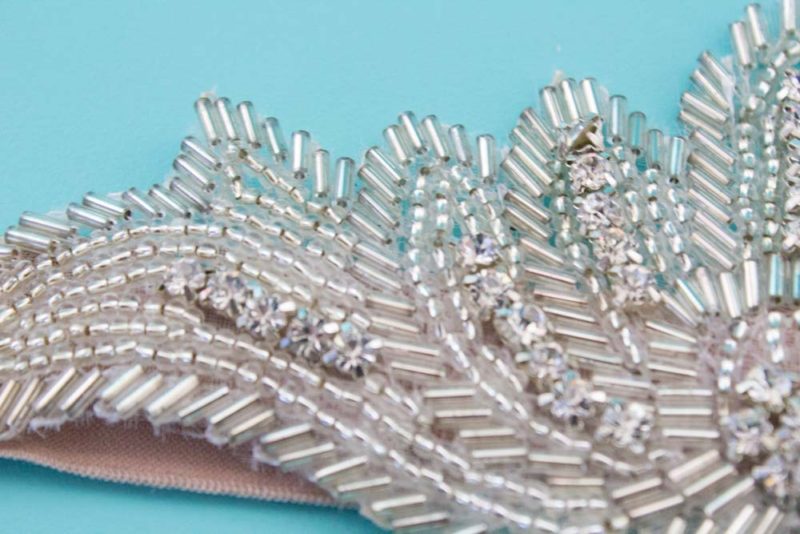
crystal applique – I found mine in the fashion district of DTLA, but you can find some great ones on amazon or on etsy. If there’s a shop around you that sells crystal appliques (usually jewelry shops and wedding fabrics), they might come in the form of a yard of appliques. In this case, make a bunch! They’re all sewed secure to the fabric so don’t be afraid of beads and crystals getting all over the floor.
e-6000 glue
Patience
1. Cut a 16.5 inch and a 1.5 inch piece of fold over elastic. (1 yard makes 2 headbands)
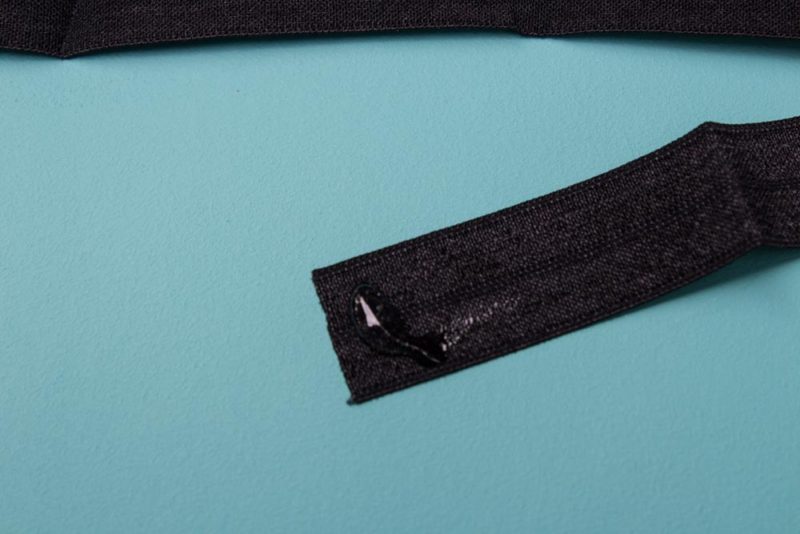
2. With e-6000 glue, connect the edges of the large piece of elastic by overlapping the 1/4 inch. Hold them in place for about 30 seconds then allow to dry for at least 2 hours.

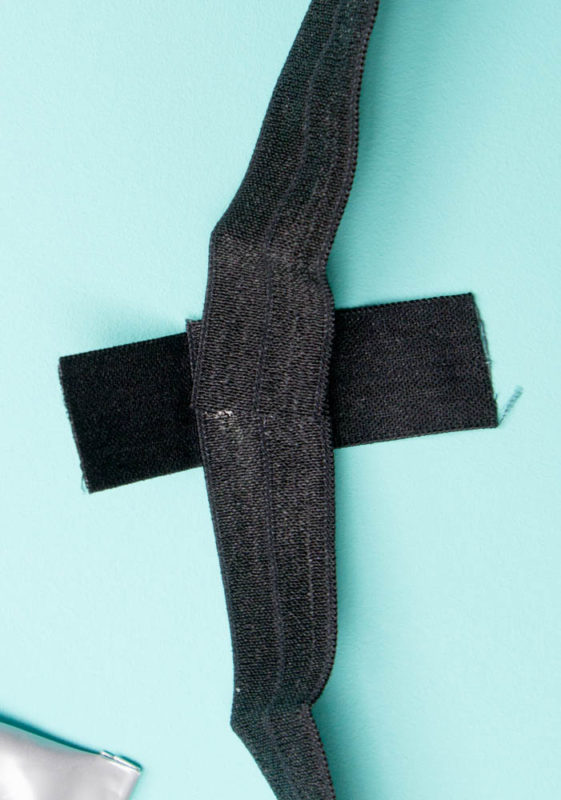
3. Continuing with the E-6000 glue, use the 1.5 inch piece of elastic to hid the overlap of the larger piece. Shiny side out, wrap the shorter elastic piece around the join so the overlap on this piece happens on the shiny side. Basically, you’re making the inside of the headband look pretty. Allow to dry for 2 hours.
4. Trim the edges off of the crystal applique if needed and use E-6000 to place a 4 inch line of glue along the center of the headband piece. Secure the applique to the glue line. Press down and hold for 30 seconds and allow to dry over night.

5. Get fancy! You’re ready to up your hair game with a DIY 1920’s Style Crystal Headband or give them as gifts to friends who also want to be fancy.



6 Comments
These are beautiful – makes me want to have a Gatsby Party!
December 4, 2016 at 6:33 amVery cute, and easy! Thanks for sharing! #TurnItUpTuesday
December 6, 2016 at 7:35 amSimply gorgeous idea! Love your site title too 😉 Pinning for later and following along!
December 8, 2016 at 7:46 amI cannot get enough of these gorgeous headbands. Who knew they could be so easy and inexpensive to make yourself! Love!!! Pinned and sharing. Thank you for joining us at Family Joy Blog Link-Up Party.
December 11, 2016 at 9:56 am[…] DIY Art Deco Crystal Headband – Do It Your Freaking Self […]
December 11, 2016 at 8:00 pmMy daughter and I were talking about how expensive holiday headband are. Cute! Thanks for sharing at the Inspiration Spotlight party! Pinned & shared.
December 12, 2016 at 12:40 pm