
Scare up a good treat by making a simple DIY Jack Skellington Cake stand! Perfect for your Halloween decor or party tablescape! Dollar Store DIY!

Do you ever have those movies that you’re maybe glad you didn’t see as a kid but are also your favorites? I was not allowed to see Nightmare Before Christmas when it came out. Granted, I was about 5 years old with an overactive imagination so this was probably a good decision on my parent’s part. And while I still have quite the imagination, this film has become one of my absolute favorites… At this time of year especially.
MAKE IT: NIGHTMARE BEFORE CHRISTMAS ZERO PILLOW PAL
Also, Hocus Pocus! I saw that movie when I was 7 and it (for some reason) scared the bejebus out of me! I don’t think my parents ever would have let me see it at that age, but we were at a neighbors house and no one really told our parents what we were watching. I spent the entire walk home thinking Billy Butcherson was chasing me and that I should never light a black candle. Like… ever. Now… I love that movie! It is so delightfully campy and I can’t figure out why I was scared in the first place. However, I probably would have loved it anyway so there’s that.
Okay so yes, I had protective parents. But a part of me is glad they understood me enough to not let me give myself nightmares.
Anyway!!! Welcome the Halloween Season! I’m so glad you’re here! It’s probably my favorite because it is also fall and I can wear sweaters with Star Wars characters on them and not get funny looks. This year, I’m hosting a Tim Burton inspired Halloween party so I KNEW I needed to create something Jack themed. This Food Safe DIY Jack Skellington Cake Stand cost me $10 MAX and I can’t wait to show you how to make it!
Food Safe DIY Jack Skellington Cake Stand

Time: 30 minutes + Heat/Dry Time
Cost: $10 or less
Spooky Level: 2
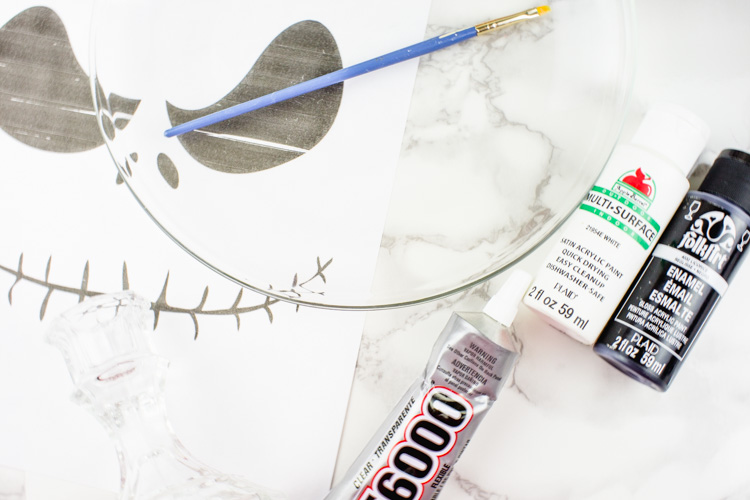
Supplies:
9″ Clear glass plate – I got mine from Ikea but you can get the same ones from amazon.
Multi Surface or enamel paint in black and white
Paintbrush and large foam pouncer
Clear spray sealant (optional)
Glass candle stick – I got mine from the dollar store
E6000 Glue
Printout of Jack’s Face – I sized mine to be 7.5 inches just to give myself some room – you can do this by either loading it into a photo editor or playing around with the scale.
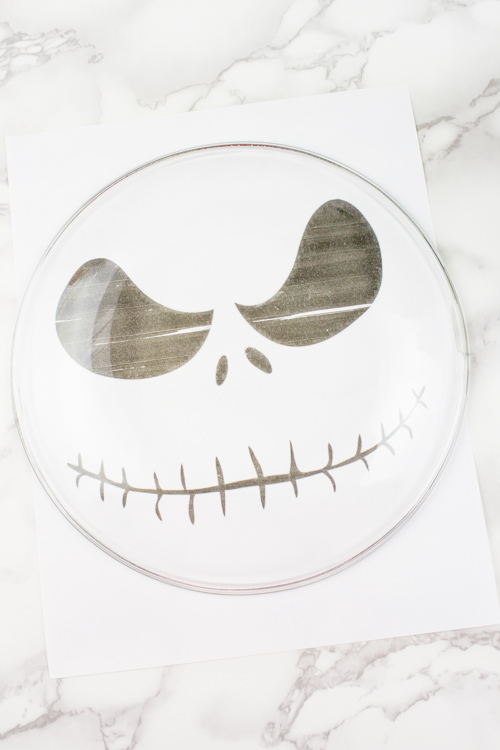
Start by cleaning the back of your plate with rubbing alcohol.
Place the Jack Skellington face on your surface with the plate FACE DOWN over it. This will give you a guide to paint the face!
Using a paintbrush and black enamel paint carefully paint the design on the back side of the plate. Allow it to dry then add a second coat. Let it dry for at least 2 hours.
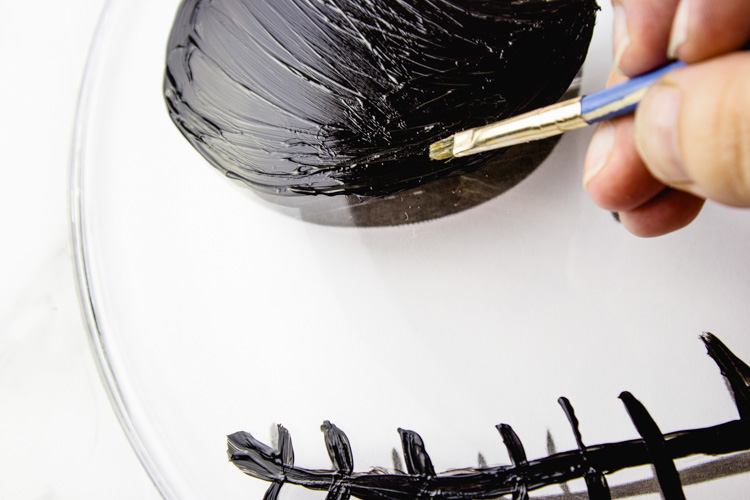

After painting the face, it’s time to fill in the back. I originally used spray paint but it ended up bubbling and probably wouldn’t have held up after washing. SO! Switching tactics, using white enamel or multi surface paint and a large foam pouncer, fill in the back of the plate. Make sure to paint over the black areas too so the plate will look good from all angles. Let it dry for an hour and go back in for a second coat or just fill in patchy places.
To heat set your paints PLEASE follow the instructions on your paint. Each kind is different with different dry times and I don’t want to tell you different.
I let mine dry for 1 hour then set the plate in a COLD oven paint side up. I then heated the oven to 350 then let it cook for 30 minutes once it hit temperature. After that I let it cool IN THE OVEN with the door open.
Once your paint is set, it’s time to add the stand part. I’ve seen people use other things like painted vases or wooden candle sticks so just find what you like. You do you girl! I chose the candle stick because I happened to have a few in craft storage and figured I should probably use it.

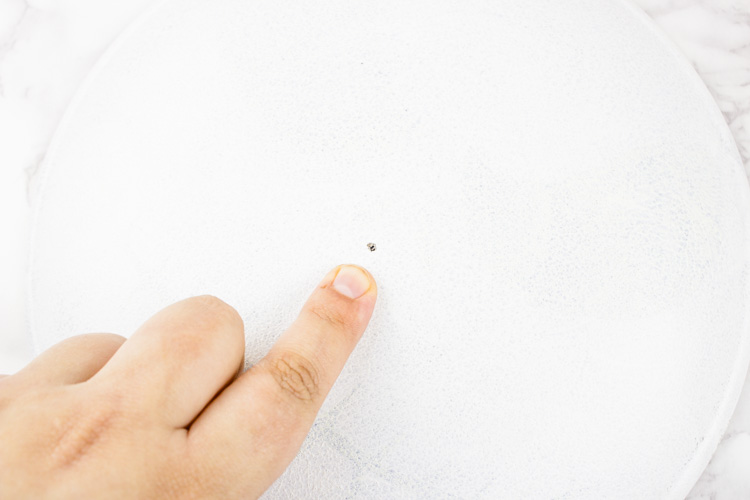
Mark the center of the plate – I measured 4.5 inches in from the edges – and use E6000 glue to secure the candle stick to the bottom of the plate. Let it dry overnight and you’re good to go!

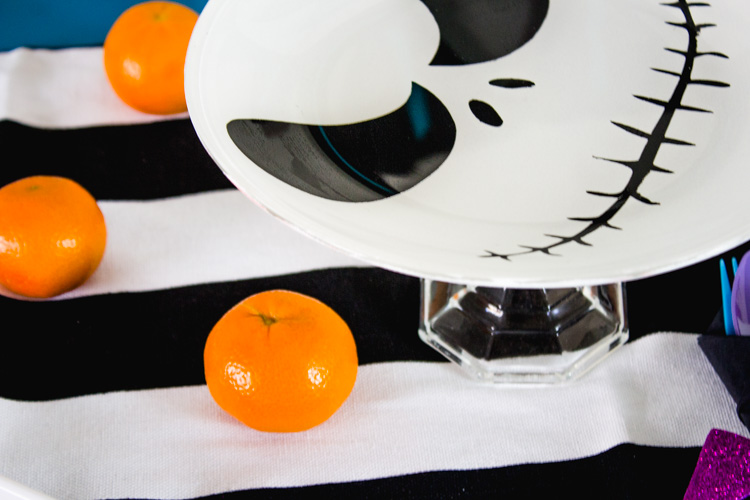
Use your DIY Jack Skellington Cake Stand as a cake stand or a cookie display! You can also use it as a jewlery holder or really whatever you’d need it for!


