And STEM lesson!
I’ve been working with some older kids recently and realized that some of the crafts I usually plan just won’t cut it. Its kind of exciting because it means I can create projects that are a bit more involved than usual.
J has been really into art. So much art! And while he has a ton of art supplies around the house, I thought it would be more fulfilling to make his own. Enter DIY WaterColor Paints! I know you can get them for super cheap at the dollar store, but this kills two birds with one stone… It is an activity for you to do together and can be used as a teaching tool.
Make Your Own Watercolor Paints
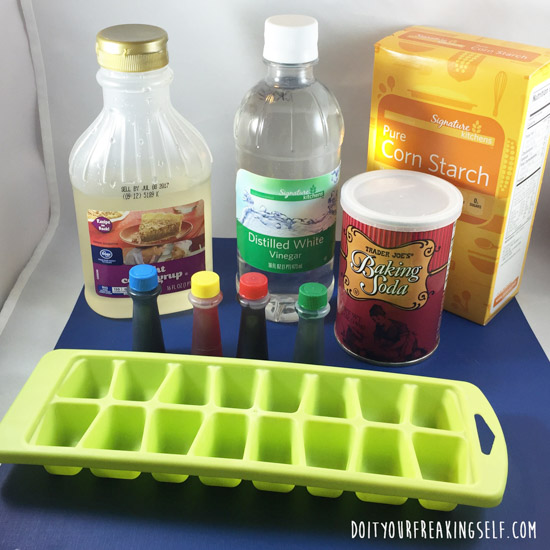
Ingredients:
4 Tbl baking soda
2 Tbl cornstarch
1/2 tsp corn syrup
2 Tbl white vinegar
Food Coloring
Tools:
Ice Cube Tray
Metal spoon
Toothpics
Lets get started.
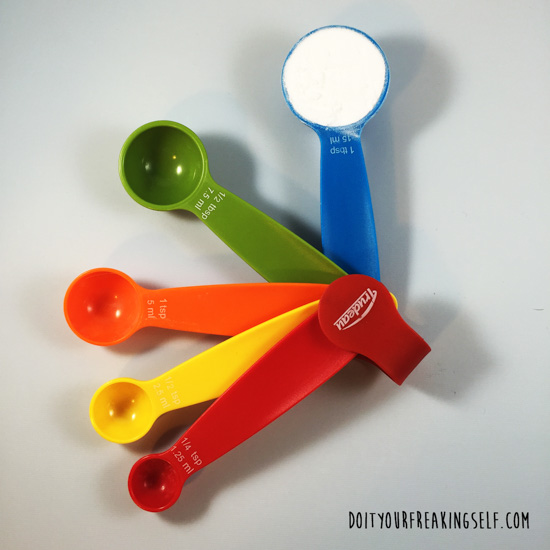
This craft is really cool because it gets the kiddos learning about measurements. J asked a ton of questions about my measuring spoons and how much each one held, so we experimented with how many teaspoons made a tablespoon (3) etc.
Mix together corn starch and baking soda. Let your kiddos stir them together until they’re combined.
Have your child help measure and SLOWLY pour the vinegar into the baking soda/corn starch mixture. Before you do that, ask them what they think will happen. They will be so excited about the ensuing “explosion”. Add corn syrup.
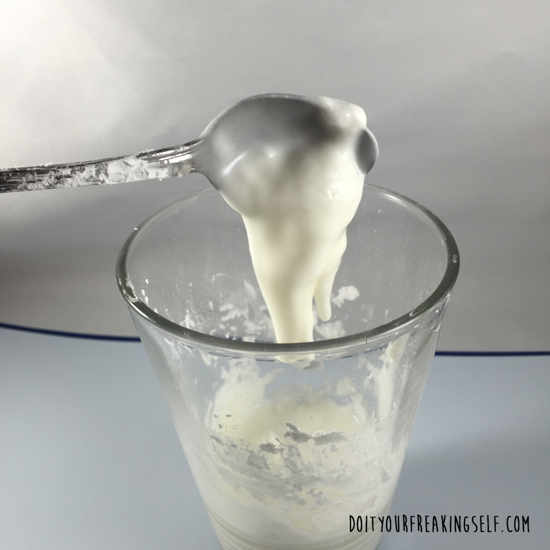
Have your kiddo help you stir the mixture. Notice that it starts to get hard to mix. Thats because your cornstarch has some really interesting properties in that it can act like a solid when agitated to quickly, or a liquid when handled slowly. Have them try mixing fast then slow. See what happens! (You can also make ooblek at a later date to illustrate this!)
If its too hard to mix, you can use about a half tablespoon of white vinegar to liquefy it a bit more.
Evenly distribute your mixture into your ice cube trays. We filled about 10 cavities in a standard size tray.
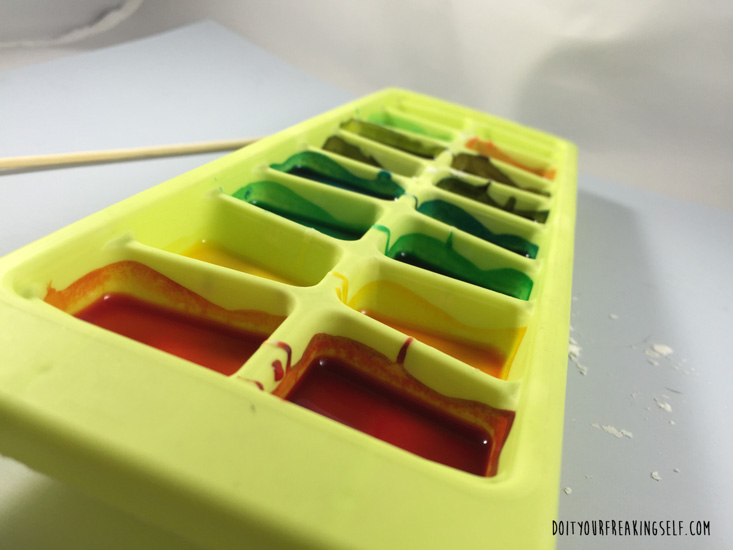
Now comes the fun part! The kiddos will love adding the different colors and using the toothpicks to mix them. If they’re too liquid and about 1/4 teaspoon cornstarch per cavity to help them thicken.
We used gel colors to get a more vibrant color.
15 drops/cavity for liquid food colors
7-10 drops/cavity for gel colors
NOTE: If you’re using only liquid food colors and try to make purple, it comes out as black. No clue why, but that is what happened with us.
Let them dry for about a day (or faster if you’re like me in the middle of the California heat)
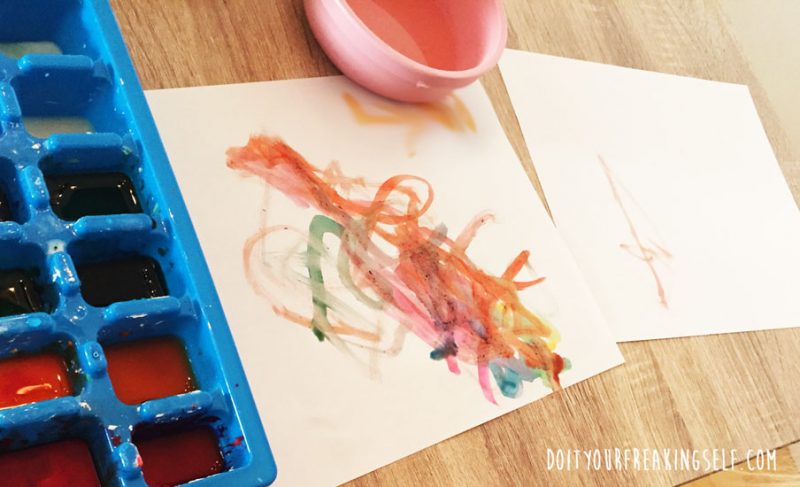
Once your paints are dry, let your kiddo’s imagination run wild with their home made watercolor paints.
Pin for later:
I thought I’d take a quick second to share an out take. As you may know, I have a cat who likes to be in the middle of my business… but not when I want her to be. Welcome to cat ownership people!





1 Comment
[…] of the Rainbow Paper Plate Craft Paper plates Watercolor paints Black construction paper Yellow construction paper or Gold paint Scissors stapler or glue […]
February 29, 2016 at 1:15 pm