
Now is around the time of year that Do-It-Yourself-er in all of us is getting super ambitious about making all of our own Christmas presents. I know I am. But the closer and closer the parties and subsequent big day get that ambition seems to dwindle and we find ourselves at starbucks or target shopping for gift cards and random tchotchkes. So much for those half finished scarves and hats we were making. They’ll just sit in a corner until next year.
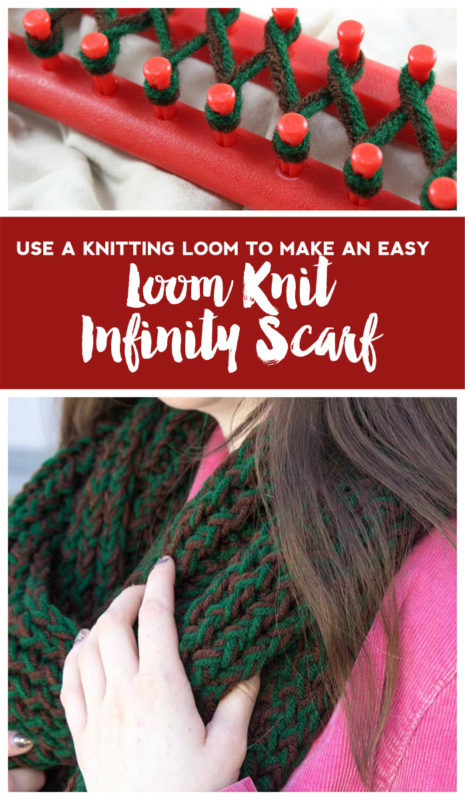
But you know what you guys? You can still make really awesome hand made scarves that don’t take forever to knit. Let me introduce you to the knitting loom. The answer to all of your scarf making woes. So sit down, kick up your feet, turn on netflix and let’s make a loom knit scarf!
Time: 2 episodes of Gilmore Girls (or 2 hours)
Cost: $15 or less
Skill level: Beginner/Easy
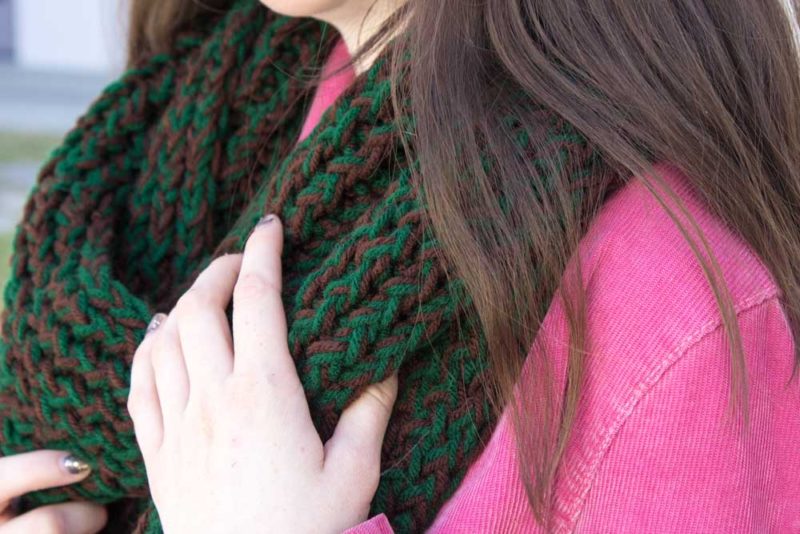
Infinity Loom Knit Scarf
Knitting loom with at least 24 pins
Loom Hook
Yarn Needle
Gilmore Girls
Yarn
– 2 skeins Red Heart Super Saver OR
– 1 skein Lion Brand Homespun Yarn
– 1-2 skeins any kind of chunky yarn
Crochet Hook (optional)
Paper Straws
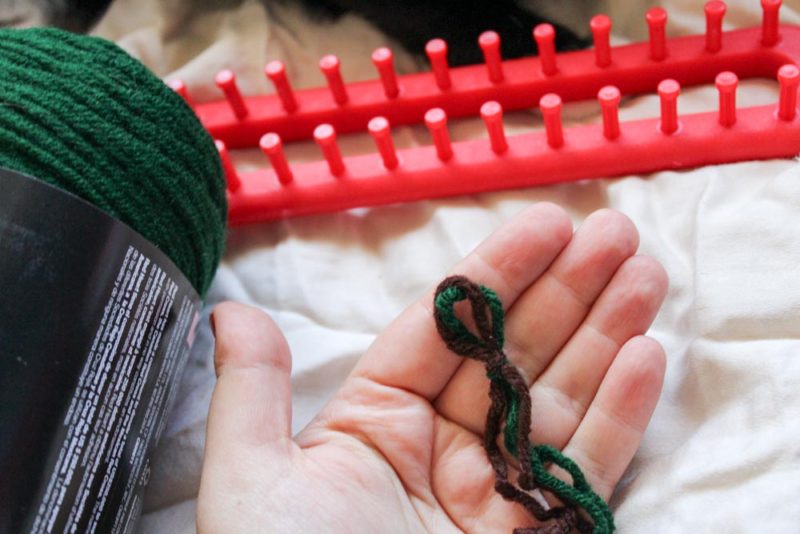
Here’s the thing with yarn you guys. Use what you like. The chunkier the yarn, the faster it is going to knit up. I used 2 coordinating skeins of Red Heart super saver yarn, but that didn’t knit up as fast as some other yarns I’ve used. Find something you like and go with it. Experiment. You’re making something hand made, it’s not going to be perfect!
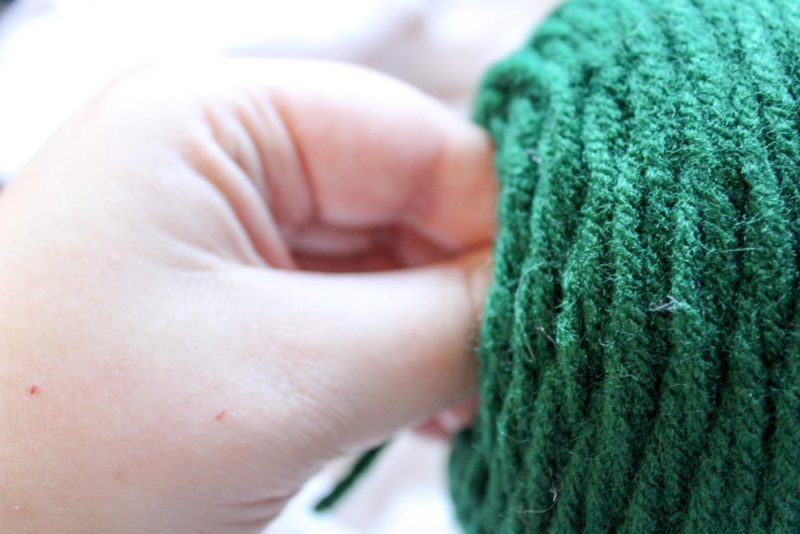
First things first. Start your yarn. Let me let you in on a little secret… pull from the middle. Find the end of the yarn in there and pull out. This is going to keep your yarn from pulling away from you (which sucks)
To create a “yarn pen”, cut a paper straw in half and carefully thread your yarn down the tube. I used a shishkabob stick to get it all the way down. This will help you to have nice even stitches across the scarf and save your fingers from too much twisty turning.
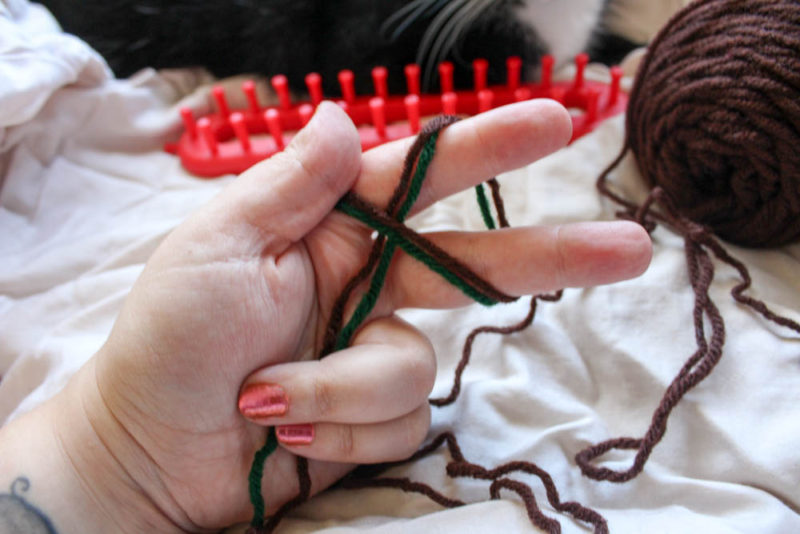
With the yarn pen pushed down toward the yarn balls, start with a slip knot with about 4-5 inches of tail. Secure the slip knot to the very end prong of the loom. Got it? Good.

Now, depending on the size you want your scarf, I’d suggest using 12 on each side, so 24 total. Whatever you are most comfortable with.
Let’s number the prongs. All the prongs closest to you on the bottom are the odd numbers and the top row are the even numbers.
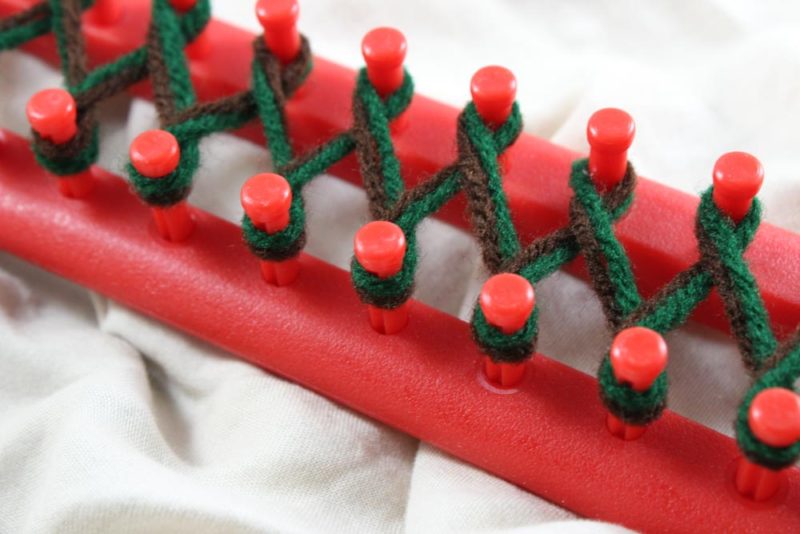
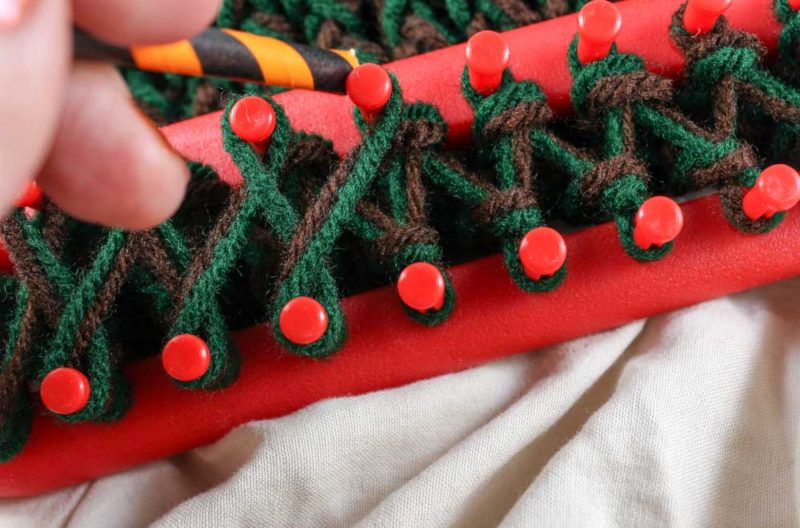
Grab the non-tail end of the yarn and put it between prongs 1 and 3. Wrap it clockwise around prong 1 and take it up in between prongs 2 and 4.

Wrap the yarn counter clockwise around prong 2 and bring it down in between prongs 2 and 4. Repeat the figure 8 pattern until you get to the desired width of the scarf. I had a 24 prong loom so I did the whole length of the loom.
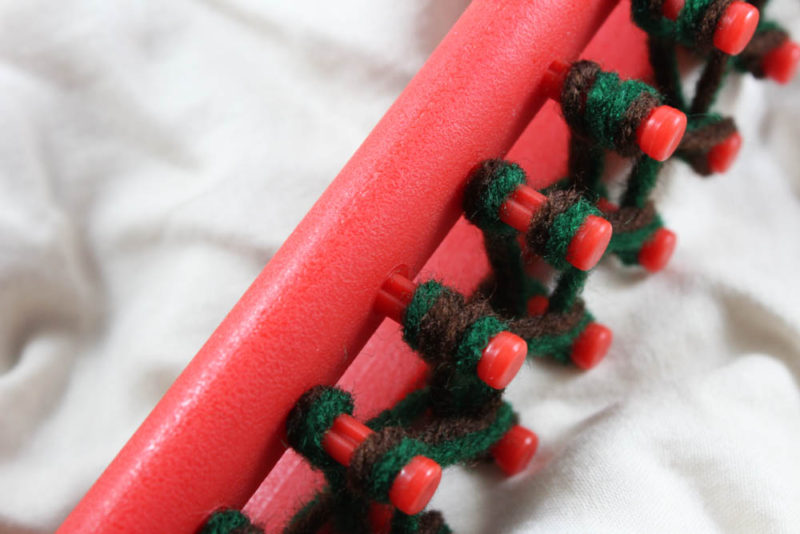
Once you get to the last prong, weave your yarn (and yarn pen) back up though the last prongs you used on the opposite side. Repeat the figure 8 pattern back the way you came. When you get to the end, pull the yarn between two pegs on the other side and hold it with your finger.
Once you’re double wrapped grab the loom hook. It’s time to get to the fun part of your loom knit scarf.
With the loom hook working from left to right, take the bottom loop and bring it up and over the top one then lifing the bottom loop completely off the prong.
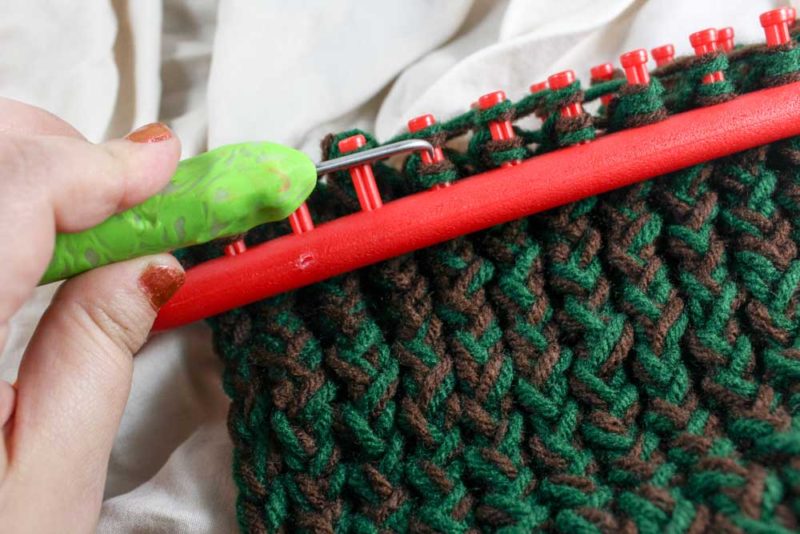

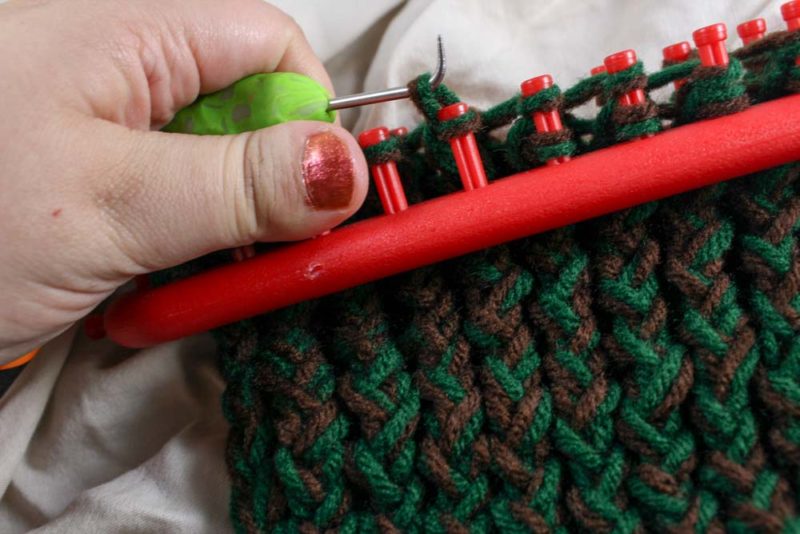
Continue this process all the way around except for the last loop since it will only have one loop on it.
Once you’ve got it all done, the loops on the prongs down so they’re on the bottom or the pegs.
Repeat the wrapping/hooking process for a lot of rows. Like a lot of them. Don’t forget you’re always going to end up with a single loop on then end. Don’t worry about it. Seriously, it’s part of the pattern.
 After about 4 rows, remove the slip knot. Don’t pull or anything, just simply take it off the prong.
As you get more comfortable with wrapping and looping you’ll get super fast and you can get a scarf done in just an hour or two. Perfect for those with only a few hours a night and a lot of projects to do.
So yeah, keep going until your scarf is the desired length (about 5-6 feet). Then it’s time to cast off. It’s ridiculously easy if you use a crochet needle. I’m just going to send you to this video link because these guys explain it better than I ever could.
Once you’ve casted off, grab your yarn needle and attach the ends of the loom knit scarf with a flat seam.
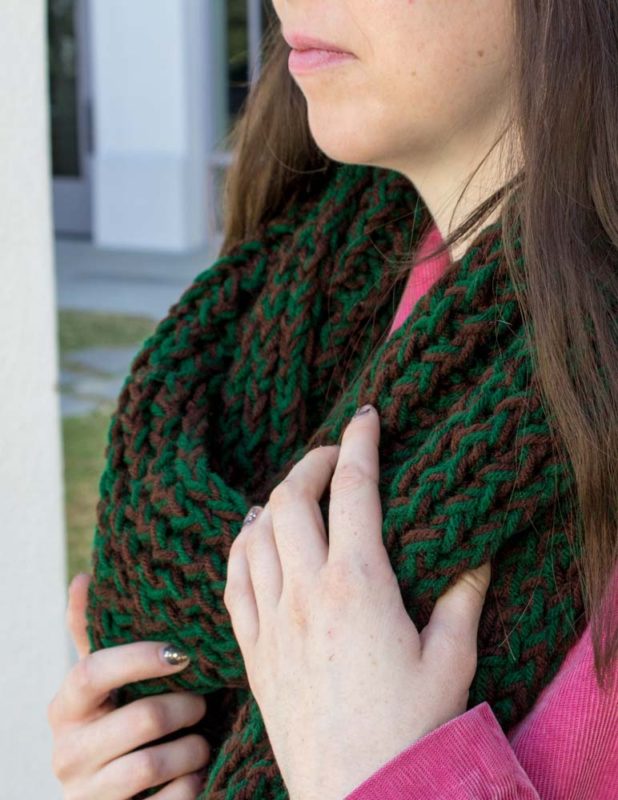
Guess what! You just made a loom knit scarf all by yourself! Now take what you’ve learned and whip up a bunch more and no one will have to know that you spent under 2 hours a piece on them!


20 Comments
This turned out great! I’ve just started learning how to knit but I’ve never used a loom – the fact that it would only take me two episodes of Gilmore Girls (haha!) sounds very appealing though!
-Clarissa
November 9, 2016 at 3:20 pmThanks! I’m a bit obsessed with loom knitting. Knitting itself is a great way to turn off your mind once you get the hang of it. I tend to stick to smaller projects because my attention span is nil. Needless to say sweaters are out of the question. I love the loom because instead of a week or two to finish a scarf, I can get one done in a few hours.
November 13, 2016 at 5:26 pmI used your post and love it. It took me a lot longer than two episodes, more like 8-10 altogether but well worth it. Visuals and description very user friendly. Thank you!
June 17, 2017 at 8:37 pmI’m glad the time was worth it! If you feel comfortable, send me a photo at doityourfreakingself @ gmail.com. I’d love to see what you made!
June 20, 2017 at 10:33 amLooks great! Thanks for sharing on craft schooling Sunday, great to meet you!
November 14, 2016 at 3:36 am[…] skinny scarf -delia creates DIY loom knit infinity scarf -do it your freaking self kate spade inspired pocket scarf -gina michele how to crochet the side […]
November 18, 2016 at 4:00 amI would love easy patterns to crochet things on the looms, such as infinity scarves, and blankets for watching TV , etc . Thanks , Sheila
February 5, 2017 at 7:58 amThanks for stopping by! The plan right now is to have a new crochet or knit project a month. Not sure if I’ll get that far but I’m genuinely hoping to get that out there.
February 8, 2017 at 7:29 pmI am using a infinity scarf loom called S loom. How do I finish it and take it off do you know?
March 24, 2017 at 12:08 pmNot knowing what type of bind off you’re going for, I’d suggest sticking with the basic bind off. Here’s a really simple illustrated tutorial.
March 27, 2017 at 7:00 pmI am used a loom to make an infinity scarf but it keeps curling along the edges, I have tried hand washing and leaving it to dry with weights and even ironing it but it keeps curling every time I wear it, which makes my 24 stitch look thin like a 15 stitch. Any suggestions on how to keep the edges uncurled?
April 25, 2017 at 12:36 amHi Nicola! Edges curling can depend on a lot of things. If you followed the method outlined in this post, it could be that you used a smaller yarn or your stitches were too tight. Usually when things curl, its because there is more yarn in the back of the stitch than the front depending on the stitch that you use.
April 25, 2017 at 3:42 pmtoo late to do anything for this year, but I am excited to start after the first of the year for next year…I am going to get my granddaughter, daughter and daughter in law a loom too !!!
December 17, 2017 at 11:42 pmIt’s not too late! Grab some chunky yarn and you can get one done in a night or two! That is such a lovely idea. One of my favorite memories is of my grandmother and I crafting around the holidays!
December 19, 2017 at 11:57 amHow do I attach the ends?
January 15, 2019 at 11:28 pmI used a yarn needle (they’re the colorful plastic ones) and used the long tail of yarn from my cast off. On a flat surface, lay the ends so they’re touching and stitch the two ends together by crossing from the left side (or right depending on how you lay it out) over to the right side. Then Under to the left side. Do this from stitch to stitch. – I guess its called a Whip Stitch. Here’s a video to help you out too! https://www.youtube.com/watch?v=9zMFAYuaTlU
January 16, 2019 at 10:07 amI luv the scard but now im trying to make a pair of fingerless gloves. Can u help a fellow crafter/knitter out?
November 18, 2019 at 5:12 amYay! I’ve actually never done fingerless gloves but I feel like I totally need to try now. If you’re looking for patterns, here’s a link to ravelry with a bunch of free loom knit patterns for those. Good luck! Ravelry – fingerless gloves
November 18, 2019 at 6:15 pmSo should you always have 2 loops in the pegs before you lift one off? You do your first row from left to right, right to left and then lift off. Do I still go up and back before taking one off the peg. I ended up with three loops on it when I did that.
December 1, 2019 at 11:48 amHi Ann, you should always have 2 rows on each peg before you life over and off. Lift over and off then go the other direction. So you’re working one way, lifting up and off, then working the other way. The only exception to this will be starting off because you’re laying both rows.
December 1, 2019 at 3:11 pm