I don’t know why, but every year during back to school time I end up with at least 5 new notebooks that I probably didn’t need. In fact, I have half a shelf of notebooks that I haven’t even cracked. I can’t help it! Lately, I’ve been toying with the idea of keeping a traveler’s notebook. One that I can shove all of my random photos, notes, people, places, things, etc. into to keep track of things. Ya’ll know I don’t update facebook enough, so what am I gonna have when everything is said and done? I don’t even have digital posts to back it up?
Okay, so check out these super easy diy mini journals I made for that express purpose. There is nothing worse than lugging a huge book around with you and finding something and these diy mini journals are perfect for trips, seasons, or (if you’ll be going to see Fantastic Beasts and Where to Find Them) the magical creatures you see. These also make really wonderful Christmas presents and gift tags!
Time: 20 minutes
Cost: $20 (or less if you already have some items on hand)
DIY Mini Journals
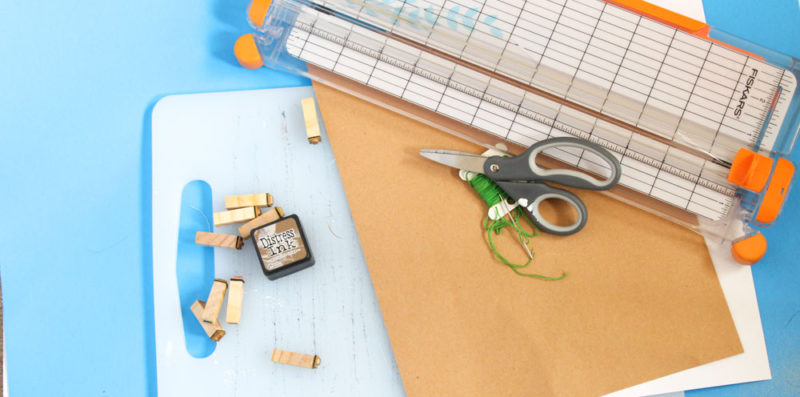
1. Kraft Paper Card Stock
2. Regular computer paper
3. Awl
4. Paper cutter/Ruler
5. Needle and Embroidery thread
6. Sharpies
7. Paper clips or binder clips (optional)
8. Bone folder or really big marker to get a sharp edge
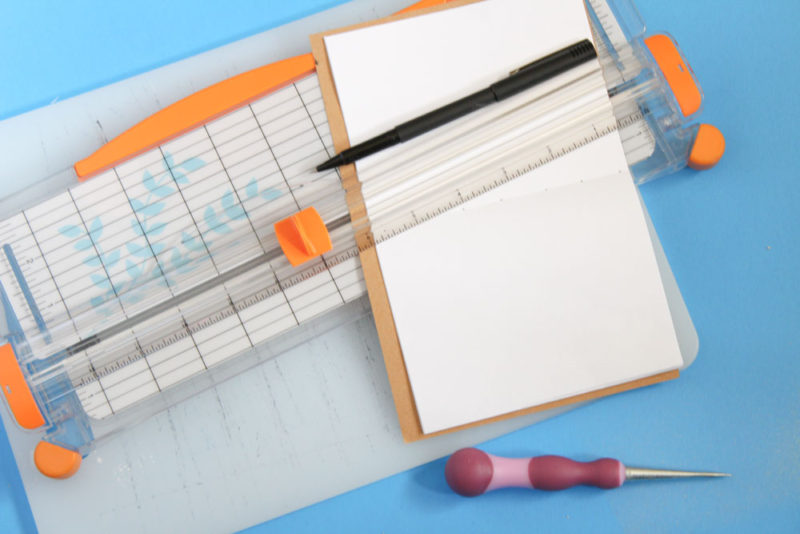
Cut the cardstock (cover) to 5 inches by 7 inches, which makes a book that is 5 inches tall and 3.5 inches wide. Cut the computer paper to slightly smaller than your cardstock. I cut 5 sheets of paper 4.75 inches wide, then I folded them in half and trimmed the folded papers to 3.25 inches. Use your bone folder to get a crisp edge.

Unfold and use the paper clips to keep everything centered while you sew the binding.
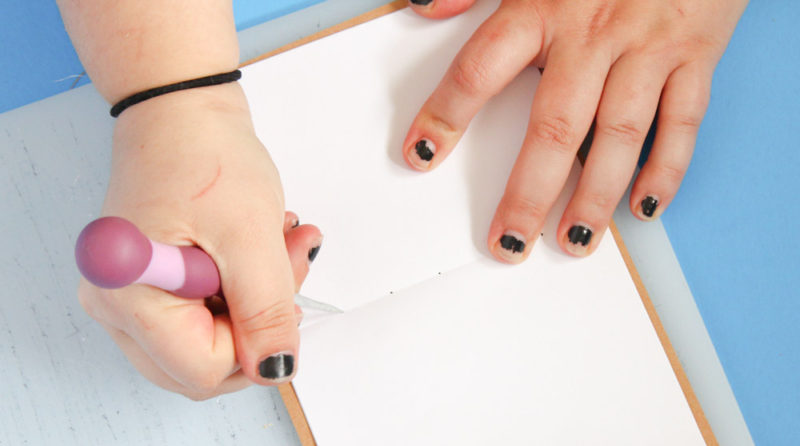
Take the ruler and measure out 5-7 dots along the center fold of your papers.
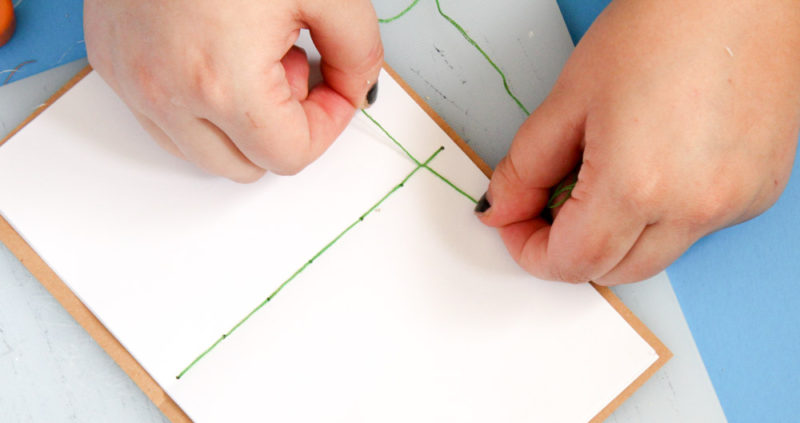
Use the awl to punch holes down the center fold of your notebook using the dots as a guide. You can also use the needle to punch holes, but trust me when I say the awl is going to make life so much easier.
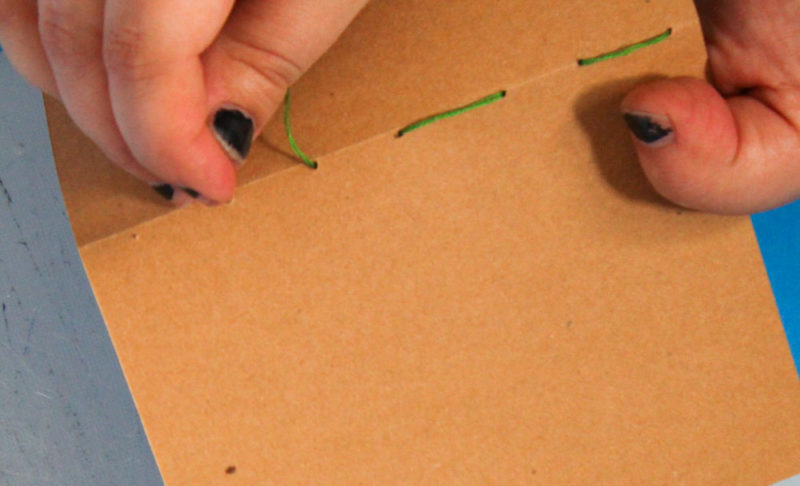
Stitch the notebooks together! Using the needle and embroidery thread sew through the holes you made with the awl. Starting at the bottom inside, thread your needle in towards the back of your notebook. Then thread it back towards the inside in the next hole. Keep going until you get to the last hole then repeat the process going back down. This should give you what looks like a line of thread down the binding. Tie off on the inside with a square knot and trim ends.
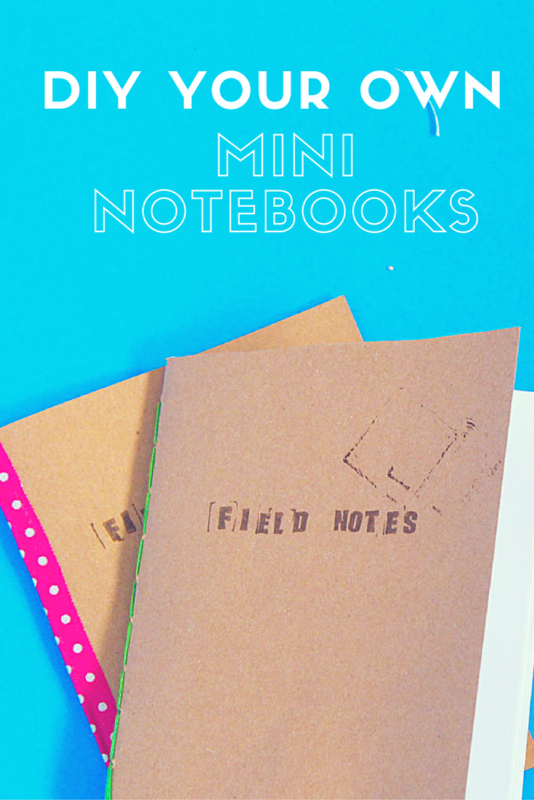
Decorate the cover! I wanted to keep mine simple so I just used some ink and letter stamps left over from this project to create “Field Notes” on the cover. I also used some fabric washi tape left to give them a colorful binding but you can use whatever! Make them your own!

Okay… final step? Go on an adventure and fill up the notebook!