


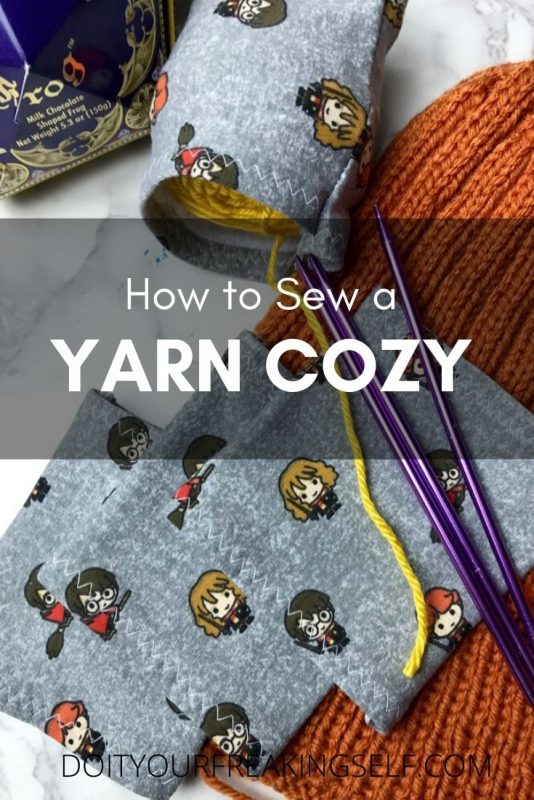
Keep your yarn stash tangle free with a yarn cozy! Grab your favorite jersey knit fabric and make your own yarn cozy with this simple tutorial.
Last year I made my first cardigan. Yep. Well, it was actually my second because I made the first one and it didn’t fit so I took it apart and made the one I’m currently wearing. Its a bit oversized and super snuggly and not at all practical. AND I LOVE IT. I might post about it at some point if you guys are interested but this post is not about my sweater. Its about what happened after I took that first one apart.
That first sweater took A LOT of yarn. Like 7 skeins of yarn, and taking that apart and rewinding it is a chore to say the least. So I did myself a favor and got a yarn winder and wound all of those piles of yarn into nice manageable sized cakes. Then I did the same for 80% of my yarn stash because it was fun and I tend to fixate. So I was talking to my boss about all of my yarn winding and she showed me this wonderful thing called a yarn sock! AKA a yarn cozy.
If you’ve never seen one of these things they are like socks for your yarn and keeps the center pull cakes or skeins from bopping around in your bag and unwinding into a tangled mess. Upon receiving this wonderful gift I immediately figured… Hey! I can make that!
So I did. And I’ve got it mostly figured out so that I can now tell you how I did it.
How to Sew a Yarn Cozy
Cost: $10 or less (I had everything but the fabric on hand)
Time: 30 minutes or less
Skill level: Beginner
Supplies:
1/4 yard jersey fabric (at least 9 inches wide)
Spray starch
Fabric Scissors
Water soluble pen (really anything works because its going to be folded into seams)
Iron
Sewing machine with matching thread (I just used white for everything)
Instructions:
1. Start by cutting a 6×9 block of fabric.
TIP: The reason you get 1/4 yard is that its about 9 inches which is what you need for the width. This is to make cutting easier in the long run. With the width already cut to size all you need to do is cut across in 6 inch intervals. I got about 9 from a quarter yard that way. Thats a lot of skeins of yarn to cover!

2. Grab your iron and starch cause this stuff ROLLS like crazy. You’re going to create hems on the LONG sides of the yarn cozy. First about 1/4 inch hems and then roll those hems over again to about 1/2 inch. I kind of eyeballed mine but here’s a picture for a visual. Pin those guys down.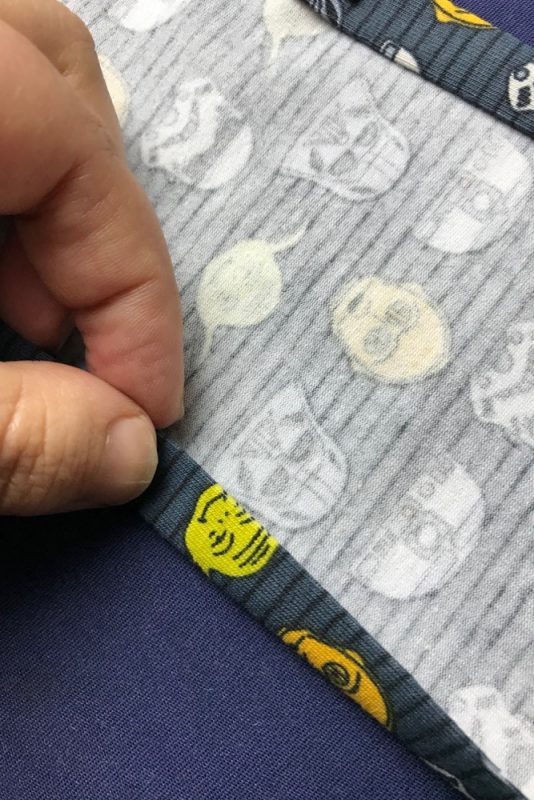
Pardon the unpainted nails in this image. This is just how we’re rolling these days.
3. Using a wide zig zag stitch on your sewing machine, sew down each side. The wide zig zag stitch allows the fabric to stretch over whatever size skein or cake you may have.

4. Sew up the short ends. Fold the yarn cozy in half (wrong sides out) and measure 4- 4 1/2 inches. Then sew a seam down that line. I ended up having around a 1/2 inch seam.
5. Finish! Trim off your excess fabric, cut all the extra strings – because you know you’ve got a million), then turn it right side out. Congrats! You’ve made your first yarn cozy!
I did these in batches so I ended up with a lot to share… which is awesome because who wouldn’t want a cute handmade yarn cozy?

** If you want, you can bind these edges with a zigzag stitch that goes over the edge of the fabric. I didn’t do this but it can reinforce the whole project.


5 Comments
Can you explain step #4 better? You lost me there…
May 20, 2020 at 8:42 amBasically, you’re going to sew the rough short edges together to make a tube of fabric. This part is completely customizable depending on the size of skein or cake you want it to fit but I usually shoot for making my seam about 4 to 4.5 inches from the folded edge. Hope that helps! Happy crafting!
May 20, 2020 at 11:41 pmI’ll try it. Thanks.
May 22, 2020 at 4:52 amThis looks great! I’m assuming it really only works with center pull skeins? I’m trying to knock out some last minute xmas gifts and the yarn I’m using is so silky, the whole skein melts into a puddle and even slips off my ball winder when I try to cake it… ???
December 12, 2021 at 5:10 pmI generally work with center pull skeins but I totally feel your pain! Before I got my winder, I learned to make my own by wrapping around a pen or knitting needle and it has never let me down, no matter the yarn texture. This video is the closes to what I actually do. I just use the end of a pen instead of my thumb.
I have also been known to use a clean/empty starbucks cup as a yarn bowl in a pinch.
Good luck with all you holiday making!
December 12, 2021 at 7:54 pm