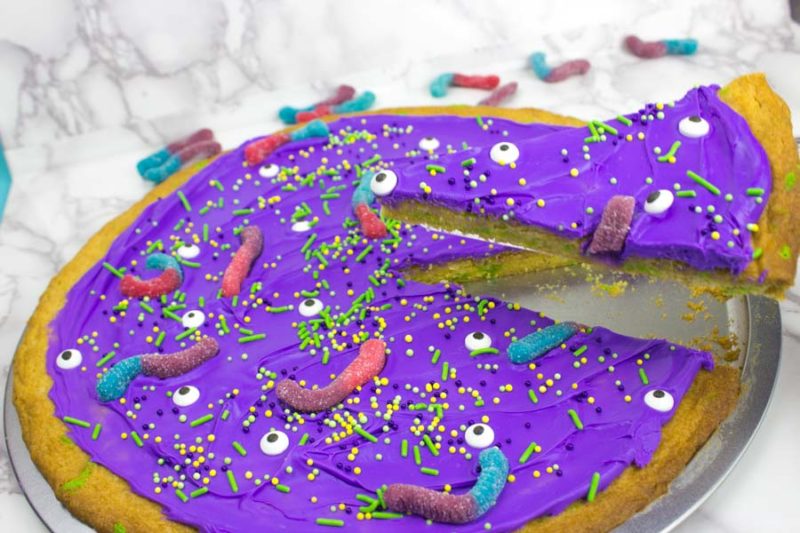
This easy monster cookie cake is a super simple dessert to make for all of your Halloween parties! This giant cookie is an adorable crowd pleaser!

I was sitting at a friend’s BBQ over the summer and the topic of party desserts came up. As in, we were talking about all how our parents grabbed a cake from the store and had them put our names on it, or they picked up a ton of cupcakes. These days, especially living in LA, I have seen it all. Ice cream carts, cotton candy artists (yep, those exist), mini desserts that look like a mosaic…. and these are at KIDS parties. One of the things we missed most were those giant cookies; you know the ones I’m talking about. Chocolate chip cookies the size of your head (or bigger) instead of a cake. We’ve pretty much had them at every gathering since and I’ve gotta be honest… BEST DECISION EVER!!!
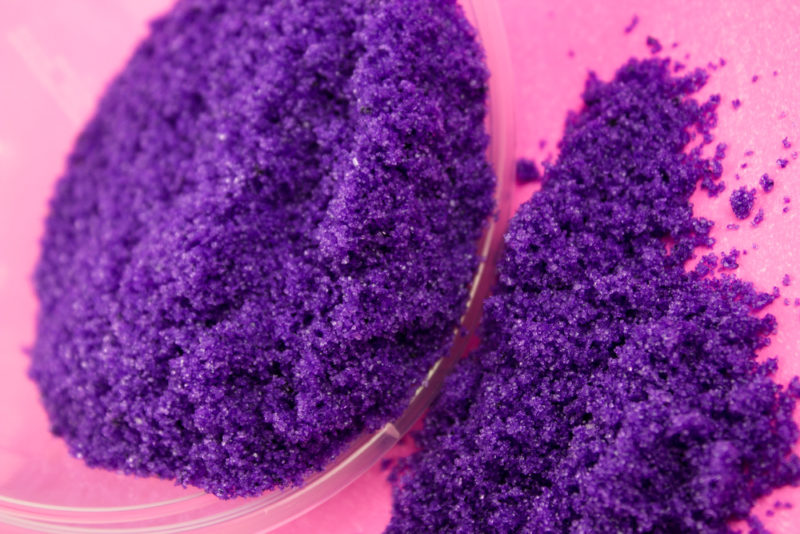
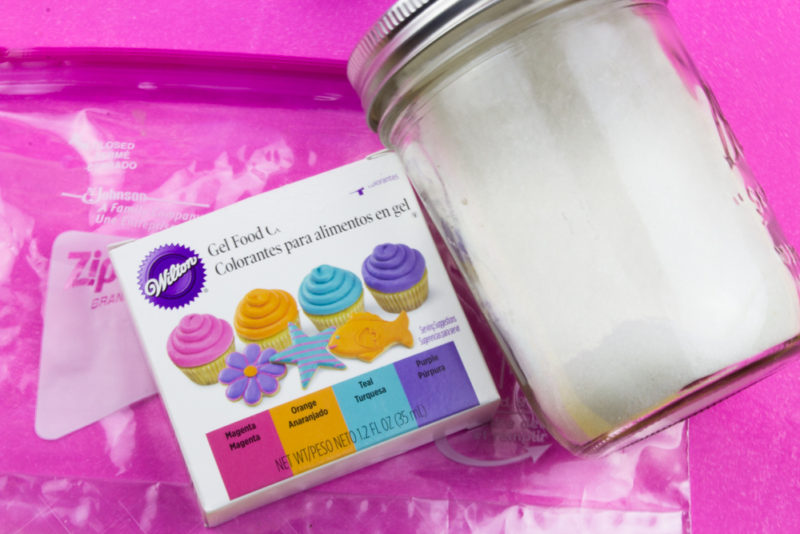
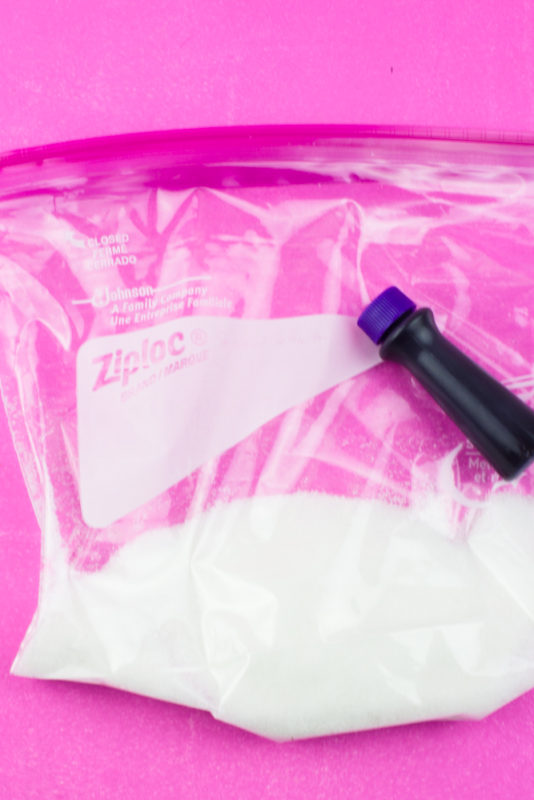
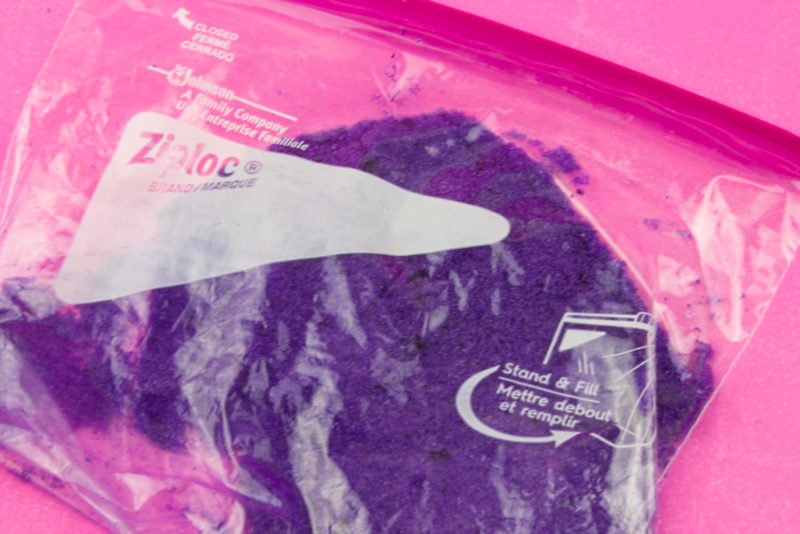
MAKE IT: Halloween Glow in the Dark Slime
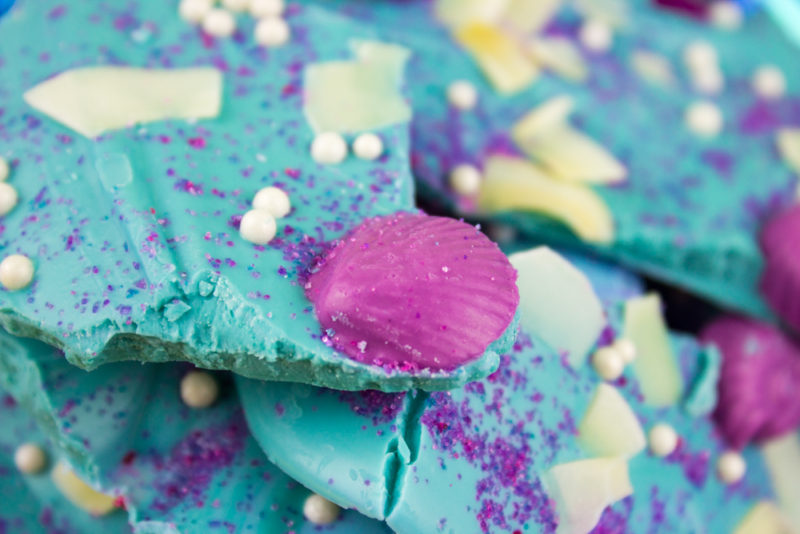
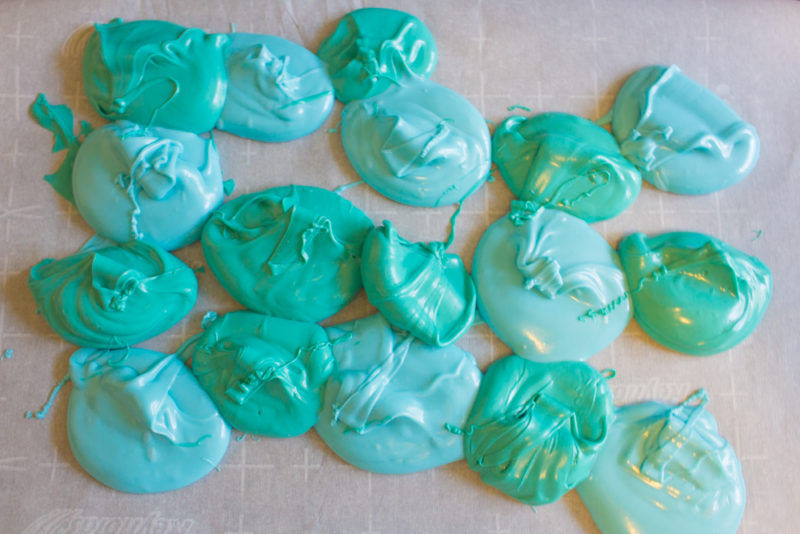
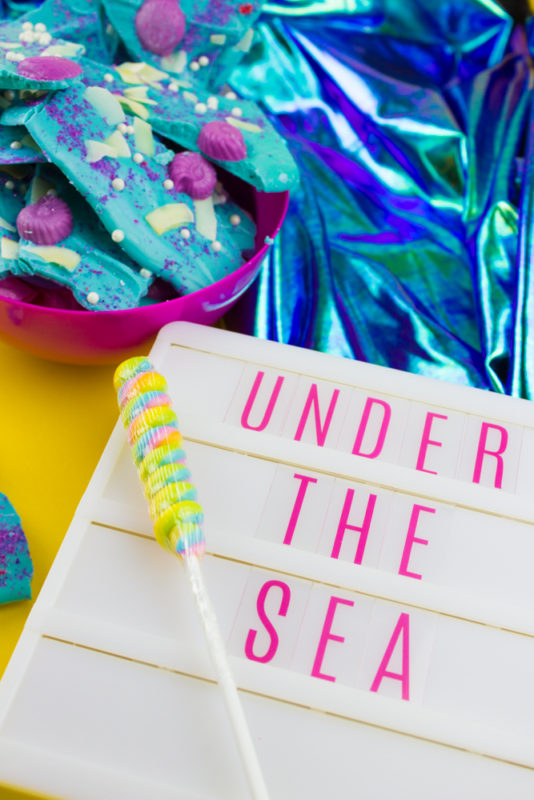
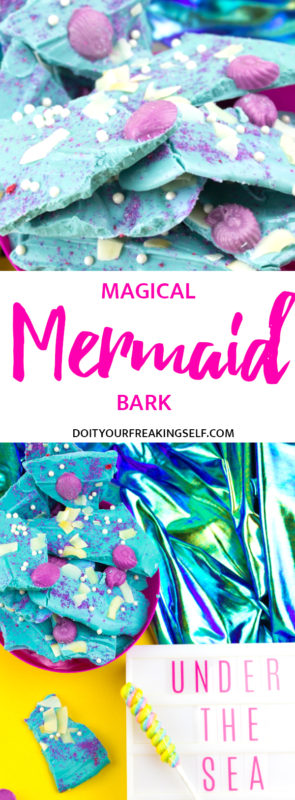
This particular project, how stinkin cute is it?!? I had the candy eyes left over from my Hank the Octopus bark last year and then I thought I lost them and was about to buy more until I realized they were in a prop box – Someone help my unorganized self! Anyway, I found them and decided, yep. This is happening.
You really can’t mess this monster cookie cake up and I had very few dishes to do at the end so kitchen win!
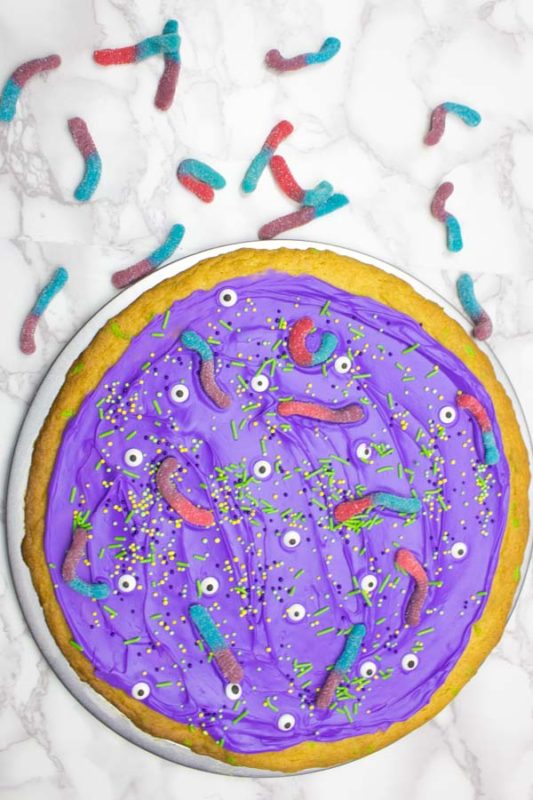
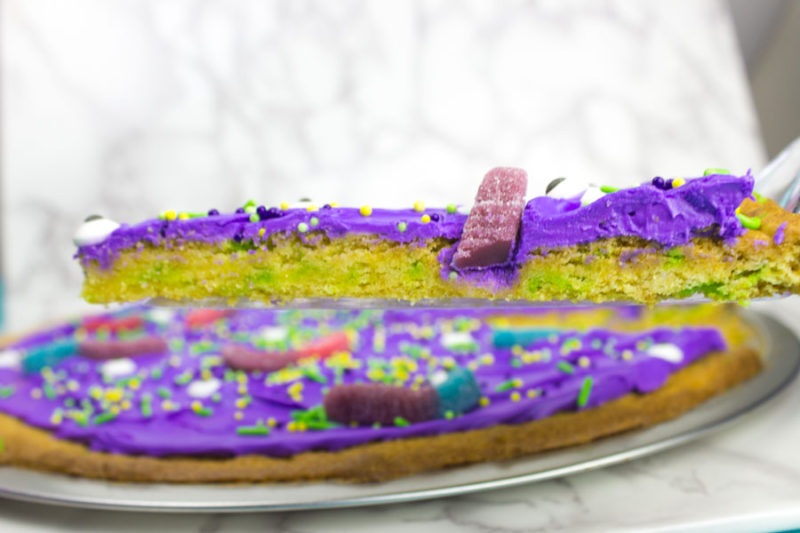
Cake Mix Monster Cookie Cake
Time: 45 min start to finish
Cost: $5-10
Spooky level: Not at all – but super cute!
Ingredients:
1 Box cake mix – white or yellow
2 eggs
1/2 c room temp butter
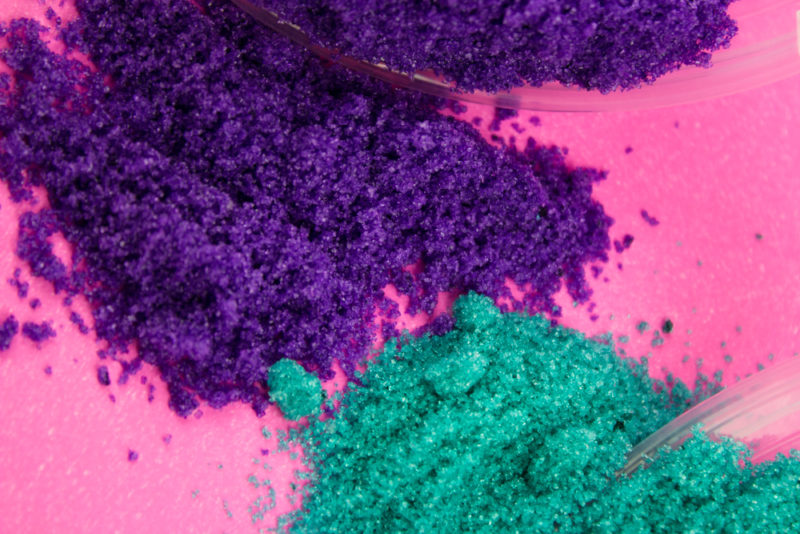
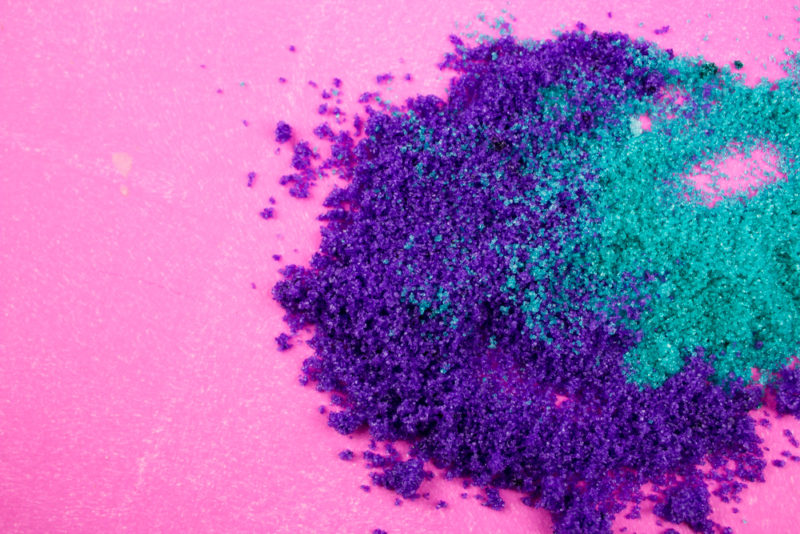
Added sugar sprinkles for color – Green funfetti anyone?!?
Decorations:
1/2 can white frosting
Purple food coloring
Candy eyeballs
Sour gummy worms
Sprinkles!
Supplies:
Medium mixing bowl
Round pizza pan
Baking spray
Wooden spoon and Spatula
To make:
Preheat oven to 350 and grease a round cake pan with baking or non-stick cooking spray.
Mix all cake ingredients together until fully incorporated. Use the back of a wooden spoon to make break up any lumps. Spread it evenly onto the pizza pan leaving 1/4 inch space from the edge – the cookie will expand!
Bake for 15-18 minutes, or until edges are golden brown. Let cool.

To decorate:
Mix white frosting and purple food coloring and spread evenly on top of cooled cookie cake.
Add sprinkles, candy eyeballs and sour gummy worms!
Are you in love with this as much as I am? PIN it to your Halloween or Party boards to save it for later!


 Anyway! Back to when I tried to Kon Mari last spring. I basically got rid of all of my pants, boots that I hadn’t worn in a while, some sweaters, and generally all things fall. Now that it’s time to pull those things out? I’m down to a Star Wars sweater and my Union Suit collection. It’s rough guys. I know I should look at this as an opportunity to go shopping, but when you’re a plus size lady on a budget options are limited. If you’ve got suggestions PLEASE leave them in the comments! Have you ever gotten rid of things then realized it was probably not a good idea?