
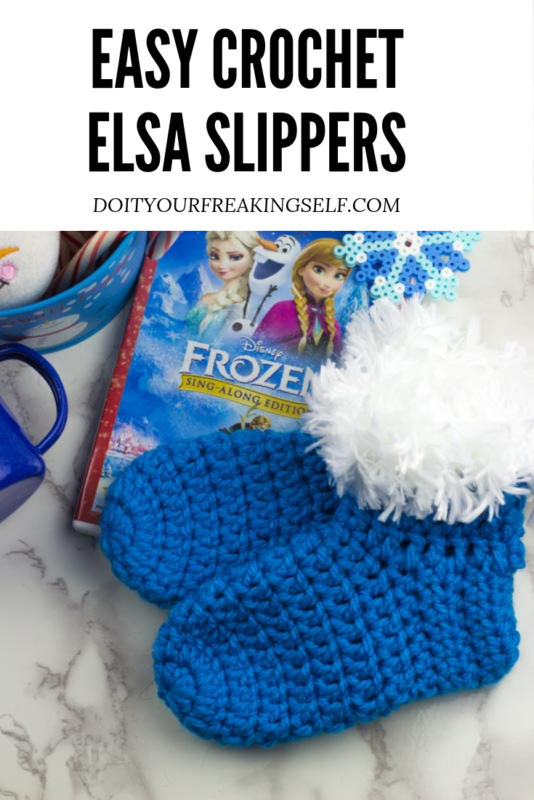
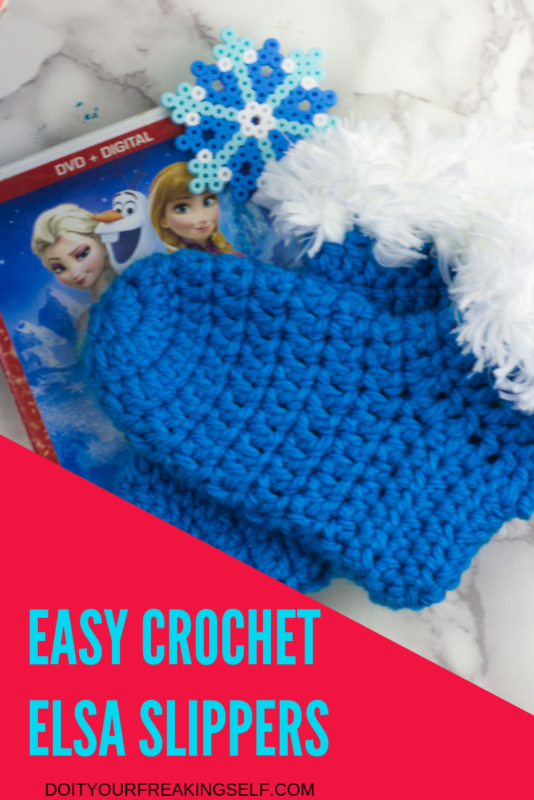
Keep your princess feet cozy this winter with some comfy crochet Elsa inspired Frozen Adventure Slippers!
California in the winter is weird. Especially apartment living. Here’s what happens. You go to bed at night feeling okay or possibly a little cold. Between 12 and 2 am, you’ve gotta take the covers off because you’re HOT, wake up and its freezing. Then! In the middle of the afternoon, when its 77 degrees outside, you’re still bundled up because you refuse to turn on the heat and it is FREAKING COLD. I used to be able to withstand this… revel in it even. Apparently I am now a California girl who hates weather changes. Who knew!

This is also the time of year where I’m still knitting and crochet-ing everything – because it is a post apocalyptic life skill!
These are some Elsa inspired slippers I made for one of my kiddos who asked santa for “Gloves to go with all of my Elsa Dresses”… so, I figured I’d throw in some slippers to keep her tootsies warm.
If you’re looking for an adult version, you can find it HERE.
Frozen Adventure Slippers
Cost: $5-10
Time: 1-3 hours
Suggested Viewing: Wreck It Ralph – ya’ll thought I was gonna say Frozen right?
Fits kids size 8+
Supplies:
Size J crochet needle
Red Heart Soft Essentials yarn in Turquoise
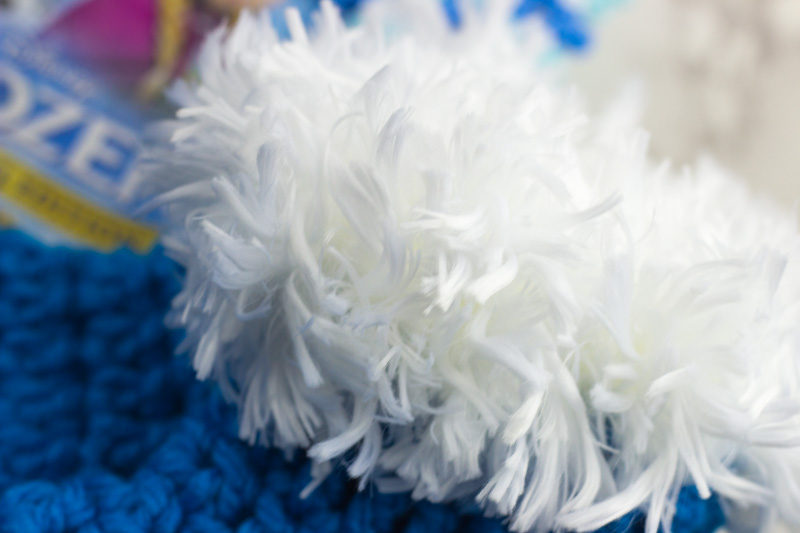
Red Heart Fur Yarn in Polar
Magic Ring: Single crochet 10 times into a magic ring. Tighten and slip stitch into the first stitch on the ring. Ch 2
Round 1: Half Double Crochet twice into each stitch. Slip stitch into the first stitch of the round. Ch 2(20)
Round 2: HDC into each stitch. Slip stitch into First HDC of round. Ch 2 –
Rounds 3-8 Repeat until you have enough length to fit the length of the foot – a little past mid way or before the heel starts. I used 8 rounds for a kids size 9 foot, so you can increase or decrease from there.
Make the Heel:
Working from where you left off in part 1,
Row 1: HDC into each stitch for 15 stitches (you should have 5 left unworked). Turn work, CH 2
Row 2-6: HDC into each stitch (15 stitches) Turn work, Ch 2
Tie off end leaving a 6 inch tail.
Fold the flat heel portion in half and turn inside out. You’ll have the folded part pointing outwards from the inside of the slipper (if that makes sense). Stitch the edges together to form a heel. Secure the end and weave it in. Then flip the heel right side out!
MAKE IT: DIY The Snuggle is Real Stenciled Sweatshirt
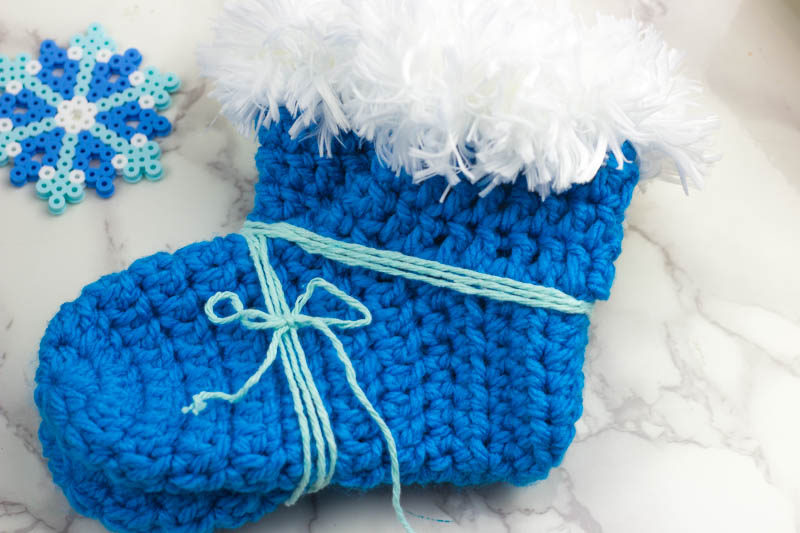
Make the cuff:
Slip stitch into the top back of the heel you just made. Chain 2.
HDC around the cuff of the slipper, you’ll want anywhere from 20 to 24 stitches.
Slip stitch into the first stitch on the round. Chain 2.
Build up the cuff by completing rounds of HDC until you’re happy with the height of your cuff. Secure and weave in ends.
Fur cuff:
Switch to Fur Yarn and Single crochet around the top of the cuff for one row. This yarn has so much bulk you’ll end up with a really fluffy edge with minimal work. Fasten off the end.
Weave in your tails.
Repeat the entire pattern a second time (because you will probably need 2 of these) and you’re off for your very own Frozen Adventure! If you want to make these No-Slip, add some puffy paint or hot glue to the bottom. You’ll thank yourself for it later.


